Menu 10—Output Setup, continued
Menu 10 Displays with Key Entries
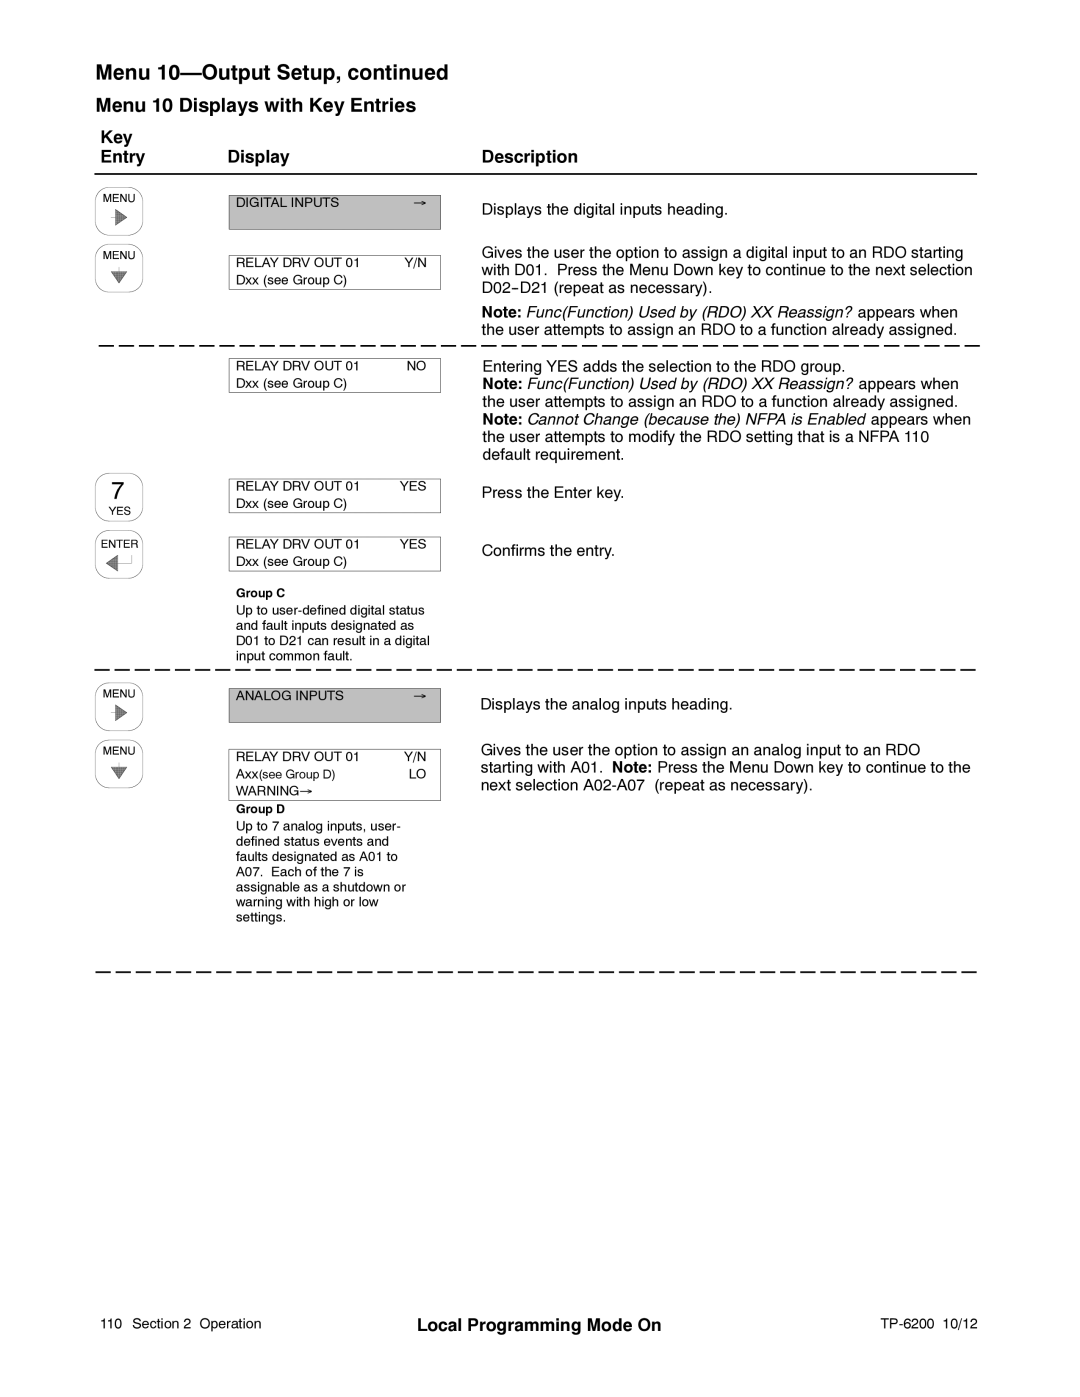
Key |
|
|
Entry | Display | Description |
DIGITAL INPUTS | → |
|
|
|
|
RELAY DRV OUT 01 | Y/N |
Dxx (see Group C) |
|
|
|
RELAY DRV OUT 01 | NO |
Dxx (see Group C) |
|
Displays the digital inputs heading.
Gives the user the option to assign a digital input to an RDO starting with D01. Press the Menu Down key to continue to the next selection
Note: Func(Function) Used by (RDO) XX Reassign? appears when the user attempts to assign an RDO to a function already assigned.
Entering YES adds the selection to the RDO group.
Note: Func(Function) Used by (RDO) XX Reassign? appears when the user attempts to assign an RDO to a function already assigned. Note: Cannot Change (because the) NFPA is Enabled appears when the user attempts to modify the RDO setting that is a NFPA 110 default requirement.
RELAY DRV OUT 01 | YES |
Dxx (see Group C) |
|
|
|
|
|
RELAY DRV OUT 01 | YES |
Dxx (see Group C) |
|
|
|
Group C
Up to
Press the Enter key.
Confirms the entry.
ANALOG INPUTS | → |
|
|
|
|
RELAY DRV OUT 01 | Y/N |
Axx(see Group D) | LO |
WARNING→ |
|
|
|
Group D
Up to 7 analog inputs, user- defined status events and faults designated as A01 to A07. Each of the 7 is assignable as a shutdown or warning with high or low settings.
Displays the analog inputs heading.
Gives the user the option to assign an analog input to an RDO starting with A01. Note: Press the Menu Down key to continue to the next selection
110 Section 2 Operation | Local Programming Mode On |
|