4 | 39 |
8Touch the Basic items that describe the characteristics of the copies you are making. The items are:
Paper Size: Select Auto (paper size is matched to original size), or the copy size that you desire. Be sure that you have loaded the correct paper size in the tray.
Number of Sides: Select
Backside Orientation: Select Normal or Flip (applies when
Pages per sheet: Select 1, 2, 4, or Booklet.
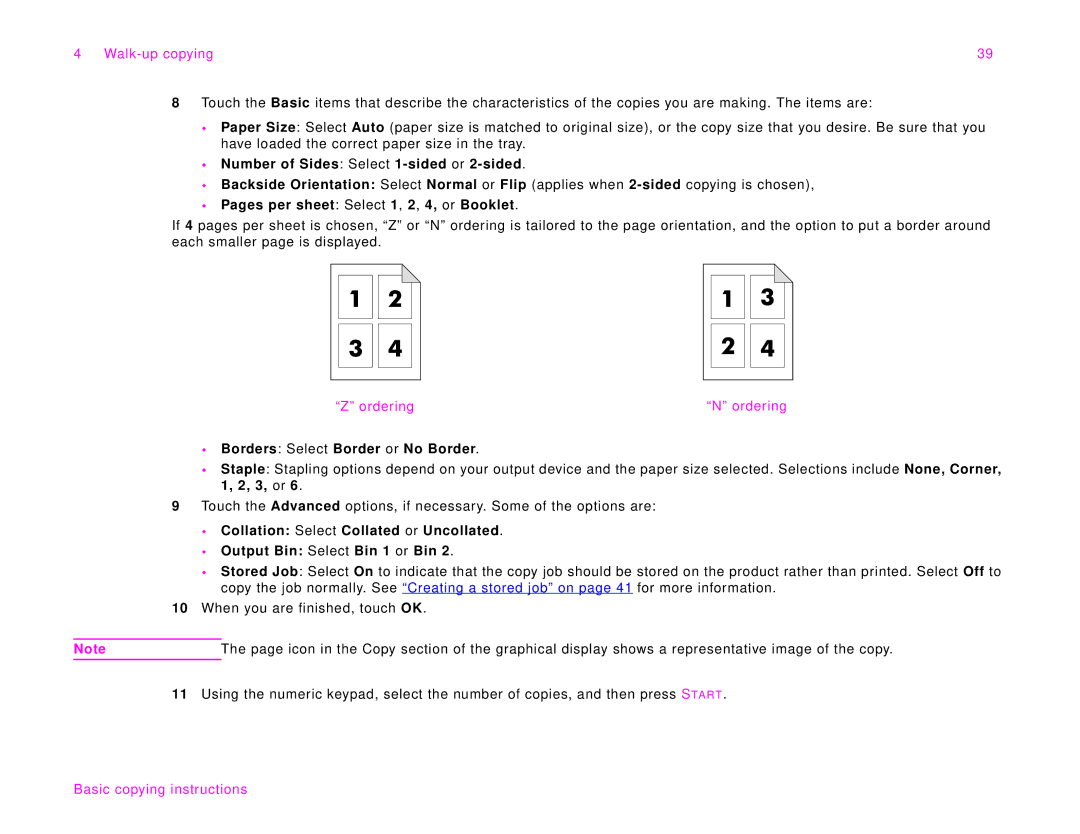
If 4 pages per sheet is chosen, “Z” or “N” ordering is tailored to the page orientation, and the option to put a border around each smaller page is displayed.
“Z” ordering | “N” ordering |
Borders: Select Border or No Border.
Staple: Stapling options depend on your output device and the paper size selected. Selections include None, Corner, 1, 2, 3, or 6.
9Touch the Advanced options, if necessary. Some of the options are:
Collation: Select Collated or Uncollated.
Output Bin: Select Bin 1 or Bin 2.
Stored Job: Select On to indicate that the copy job should be stored on the product rather than printed. Select Off to copy the job normally. See “Creating a stored job” on page 41 for more information.
10When you are finished, touch OK.
Note | The page icon in the Copy section of the graphical display shows a representative image of the copy. |
11Using the numeric keypad, select the number of copies, and then press STAR T.