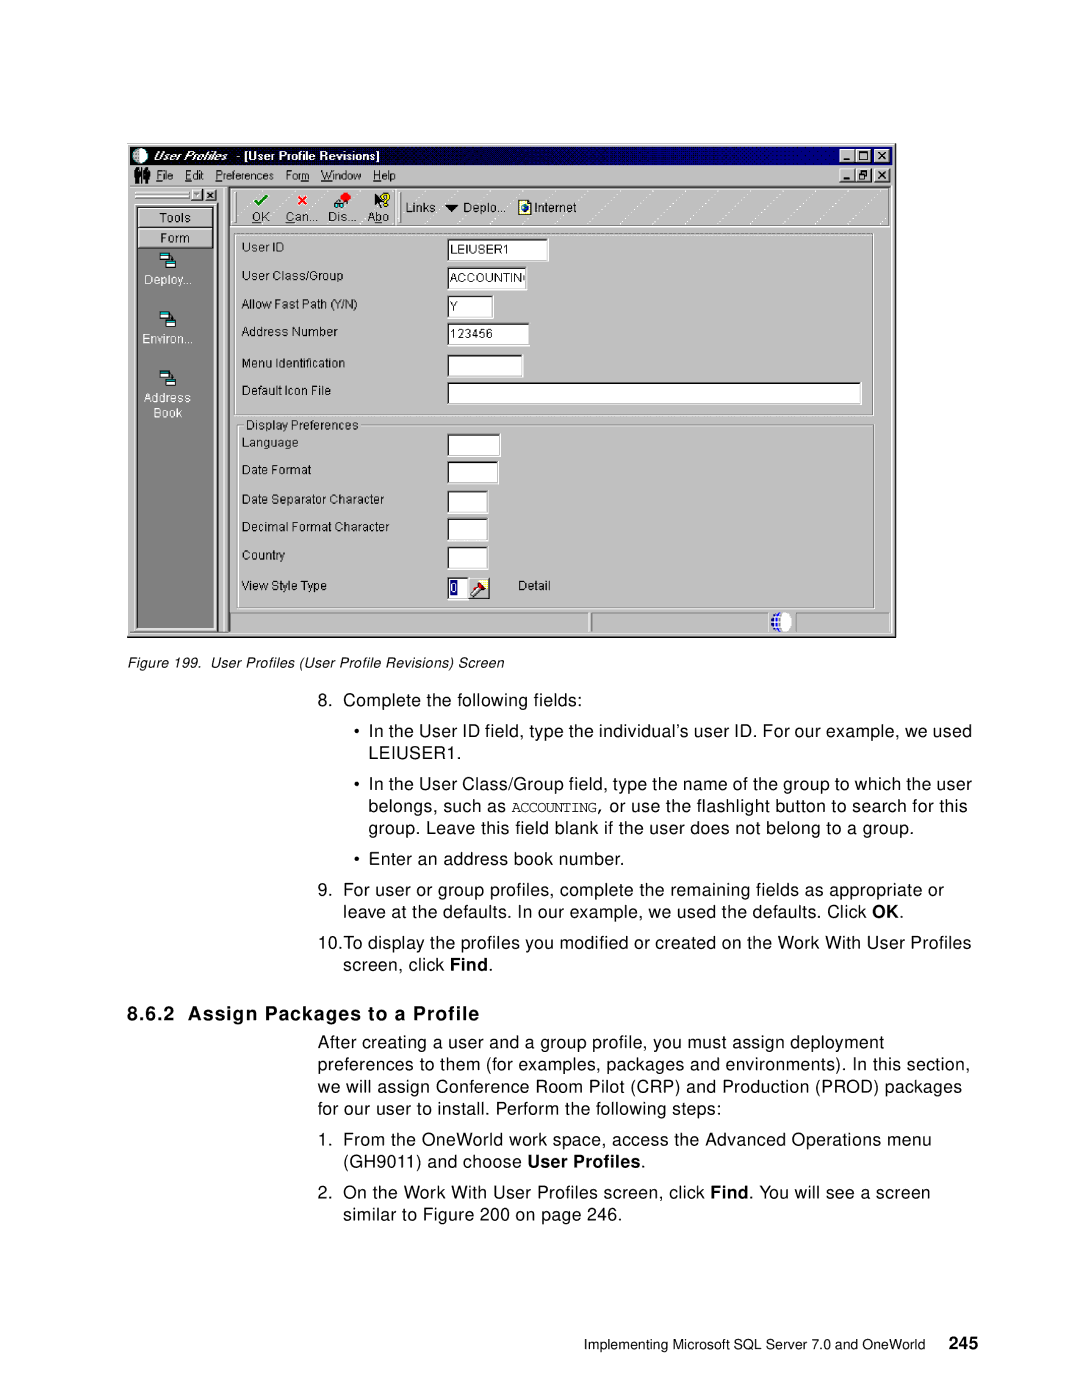
Figure 199. User Profiles (User Profile Revisions) Screen
8.Complete the following fields:
•In the User ID field, type the individual’s user ID. For our example, we used LEIUSER1.
•In the User Class/Group field, type the name of the group to which the user belongs, such as ACCOUNTING, or use the flashlight button to search for this group. Leave this field blank if the user does not belong to a group.
•Enter an address book number.
9.For user or group profiles, complete the remaining fields as appropriate or leave at the defaults. In our example, we used the defaults. Click OK.
10.To display the profiles you modified or created on the Work With User Profiles screen, click Find.
8.6.2 Assign Packages to a Profile
After creating a user and a group profile, you must assign deployment preferences to them (for examples, packages and environments). In this section, we will assign Conference Room Pilot (CRP) and Production (PROD) packages for our user to install. Perform the following steps:
1.From the OneWorld work space, access the Advanced Operations menu (GH9011) and choose User Profiles.
2.On the Work With User Profiles screen, click Find. You will see a screen similar to Figure 200 on page 246.
Implementing Microsoft SQL Server 7.0 and OneWorld 245