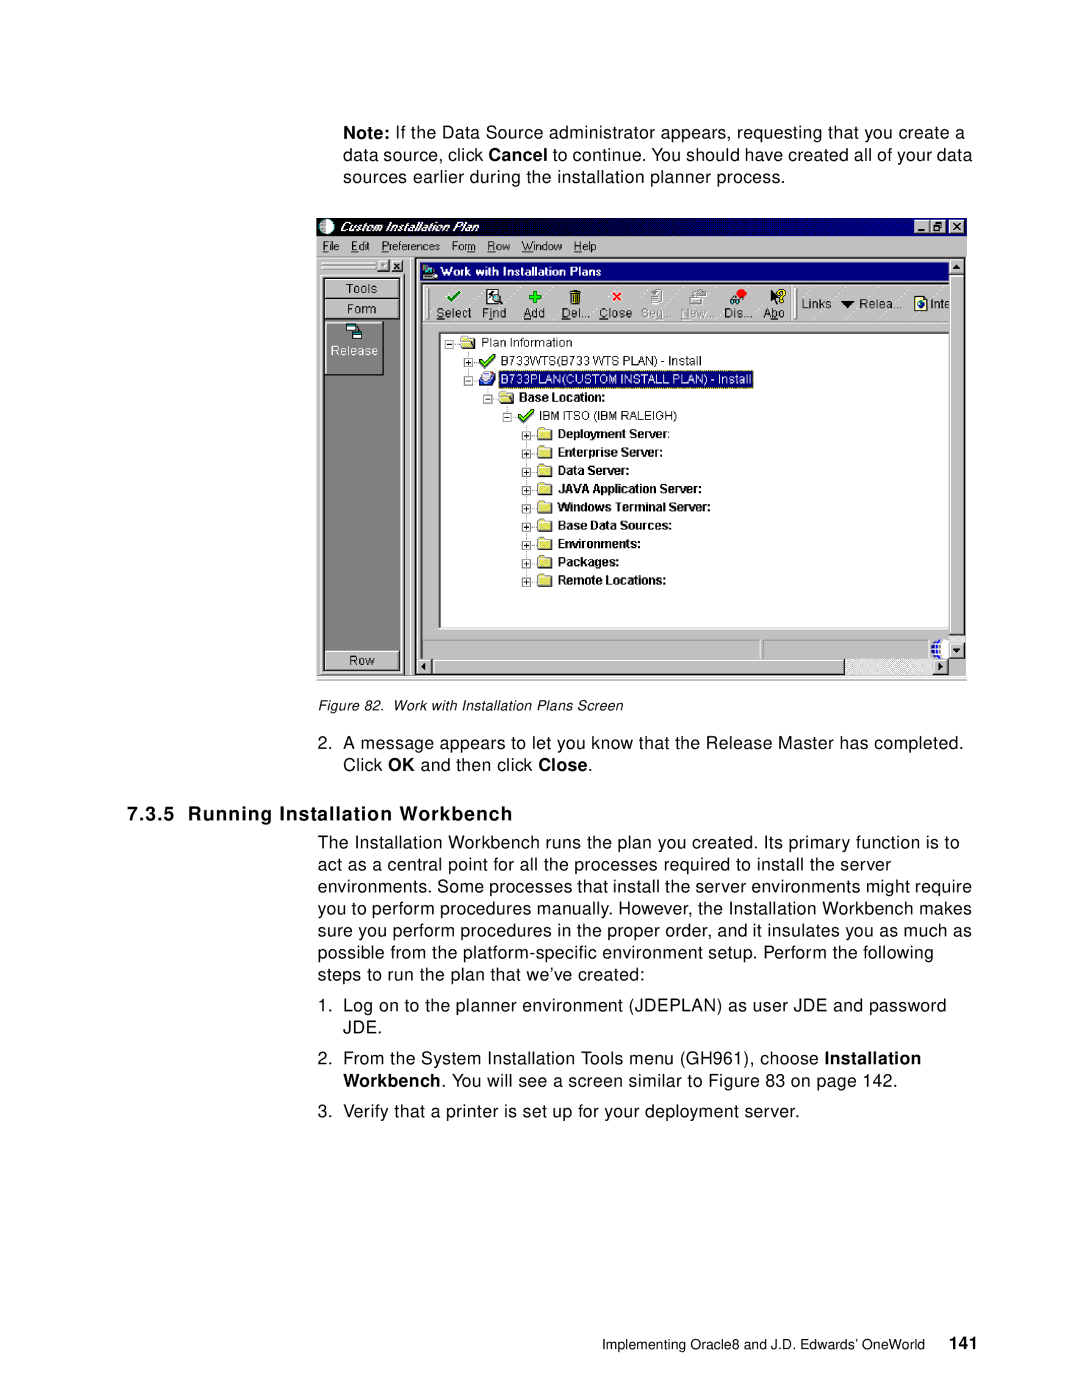
Note: If the Data Source administrator appears, requesting that you create a data source, click Cancel to continue. You should have created all of your data sources earlier during the installation planner process.
Figure 82. Work with Installation Plans Screen
2.A message appears to let you know that the Release Master has completed. Click OK and then click Close.
7.3.5Running Installation Workbench
The Installation Workbench runs the plan you created. Its primary function is to act as a central point for all the processes required to install the server environments. Some processes that install the server environments might require you to perform procedures manually. However, the Installation Workbench makes sure you perform procedures in the proper order, and it insulates you as much as possible from the
1.Log on to the planner environment (JDEPLAN) as user JDE and password JDE.
2.From the System Installation Tools menu (GH961), choose Installation Workbench. You will see a screen similar to Figure 83 on page 142.
3.Verify that a printer is set up for your deployment server.
Implementing Oracle8 and J.D. Edwards’ OneWorld 141
