items was selected. Click OK. If any of the above are chosen, then refer to J.D. Edwards’ OneWorld Installation Guide (Windows NT - Based Systems), Release B73.3 guide.
Note: For instructions on WTS (Windows Terminal Server), refer to Chapter 9, “Implementing Windows NT Terminal Server Edition” on page 251.
33.Next, OneWorld prompts you for the data source information for the shared data sources. Click OK and use Table 18 in the next several screens.
Table 18. Data Sources Names within OneWorld Databases
Database Name | Data Sources |
|
|
JDEB733 | System - B733 |
| Object Librarian - B733 |
| Data Dictionary - B733 |
| machinename - B733 Server Map |
| machinename (where machinename is the enterprise |
| server) |
| machinename - logic (where machinename is the |
| enterprise server) |
|
|
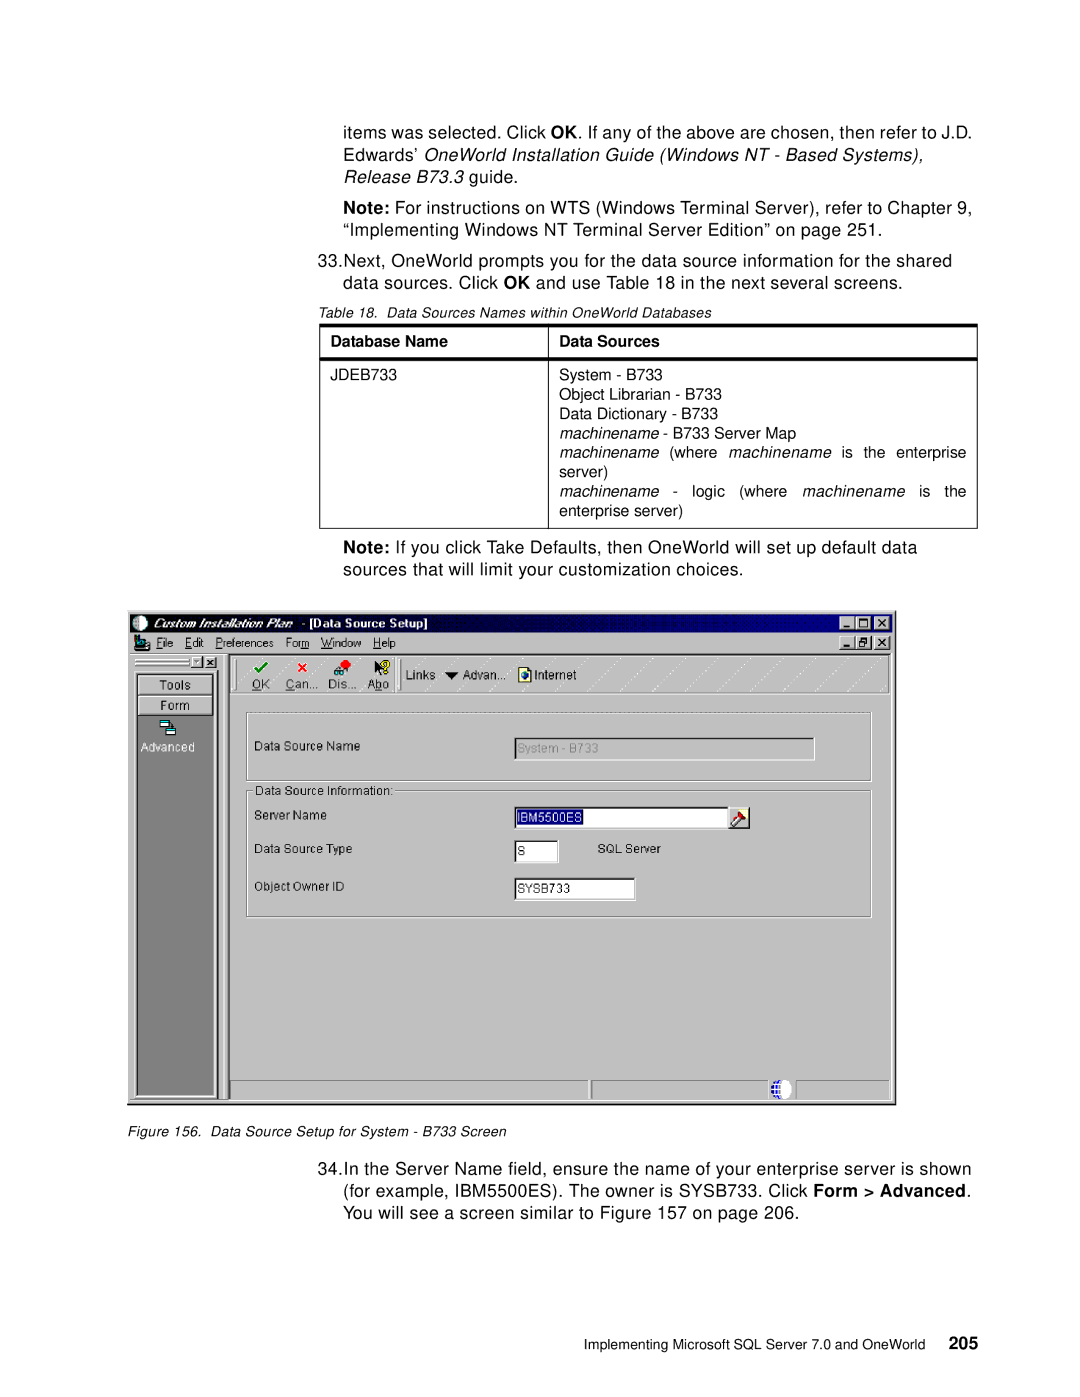
Note: If you click Take Defaults, then OneWorld will set up default data sources that will limit your customization choices.
Figure 156. Data Source Setup for System - B733 Screen
34.In the Server Name field, ensure the name of your enterprise server is shown (for example, IBM5500ES). The owner is SYSB733. Click Form > Advanced. You will see a screen similar to Figure 157 on page 206.
Implementing Microsoft SQL Server 7.0 and OneWorld 205