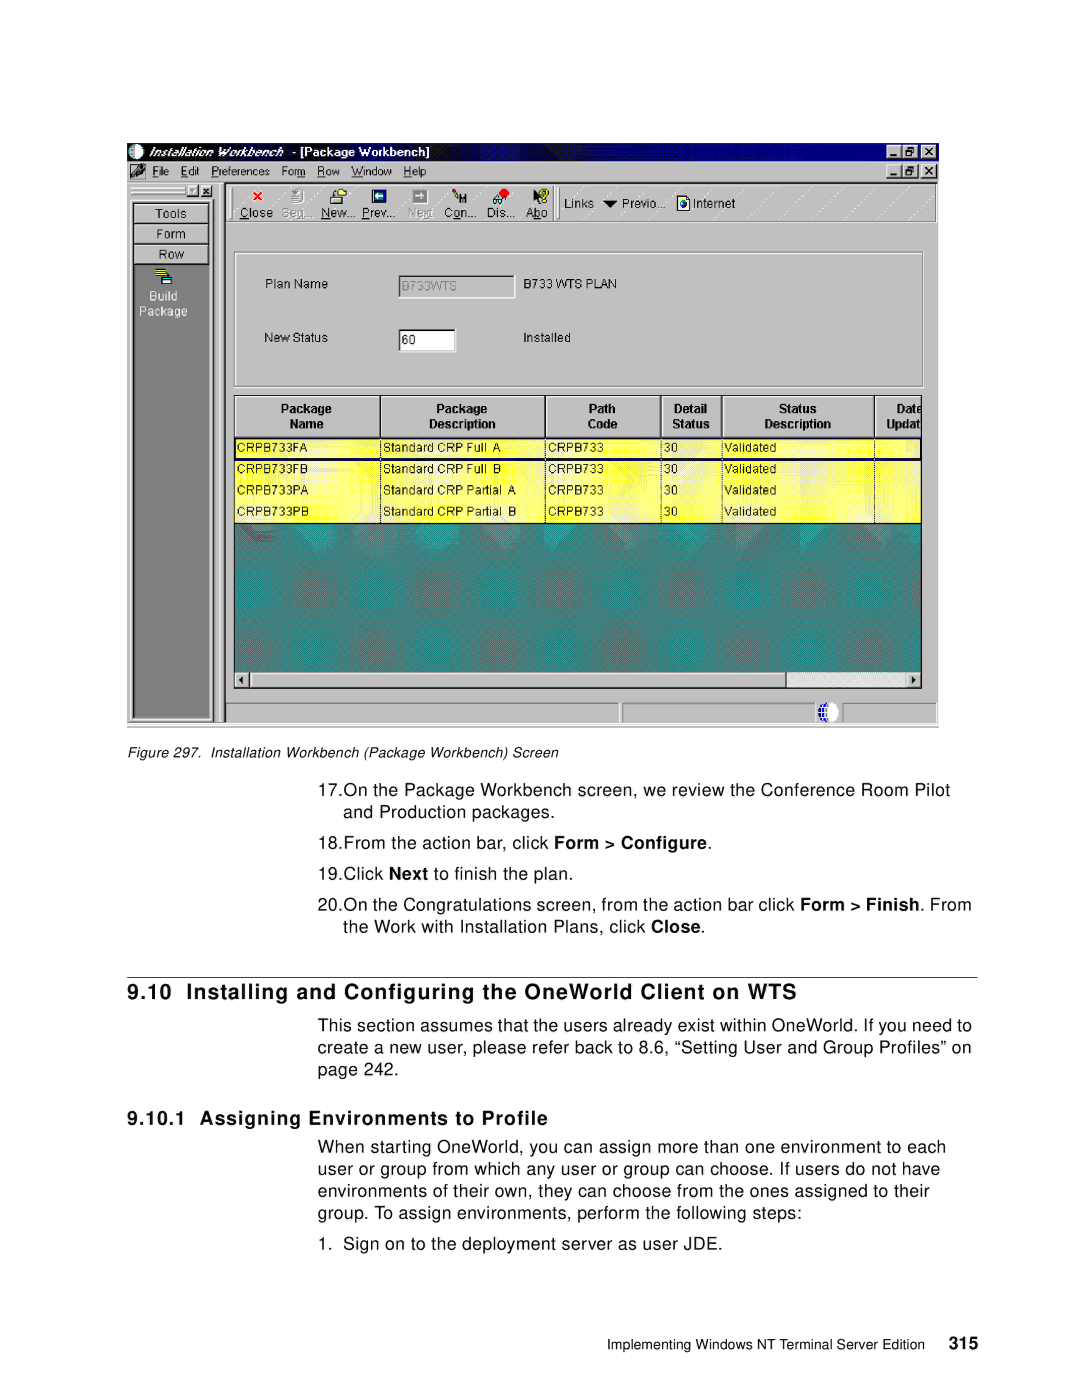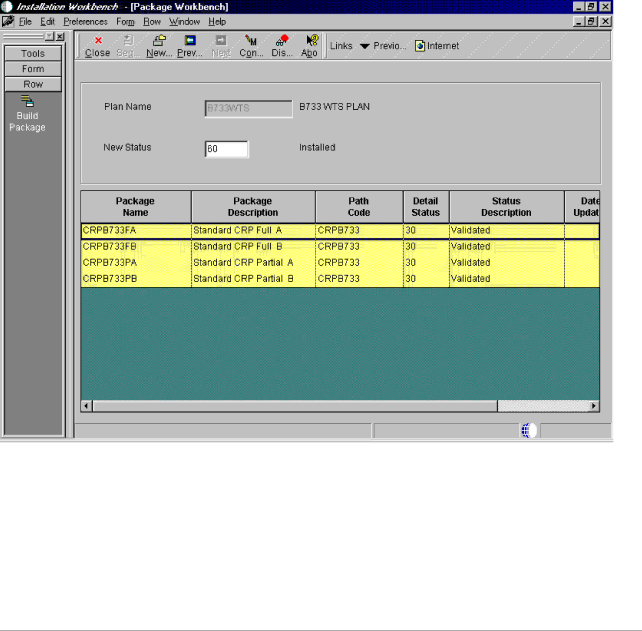
Figure 297. Installation Workbench (Package Workbench) Screen
17.On the Package Workbench screen, we review the Conference Room Pilot and Production packages.
18.From the action bar, click Form > Configure.
19.Click Next to finish the plan.
20.On the Congratulations screen, from the action bar click Form > Finish. From the Work with Installation Plans, click Close.
9.10 Installing and Configuring the OneWorld Client on WTS
This section assumes that the users already exist within OneWorld. If you need to create a new user, please refer back to 8.6, “Setting User and Group Profiles” on page 242.
9.10.1 Assigning Environments to Profile
When starting OneWorld, you can assign more than one environment to each user or group from which any user or group can choose. If users do not have environments of their own, they can choose from the ones assigned to their group. To assign environments, perform the following steps:
1. Sign on to the deployment server as user JDE.