however the basic steps are shown below. For Paper Type Revisions, enter the following fields:
•Paper Type = Select the paper type that you are going to use.
•Paper Heights = Specify the height of the paper for this paper type.
•Paper Width = Specify the width of the paper for this paper type.
•Unit of Measure = Indicate the unit of measure in which the paper height and width are entered.
4.Click OK and then Cancel to continue.
8.5.2Adding a Physical Printer
In this section, we will add a physical printer to our OneWorld setup. Complete the following steps:
1.On the Printers (GH9013), choose Work with Physical Printers (P98616).
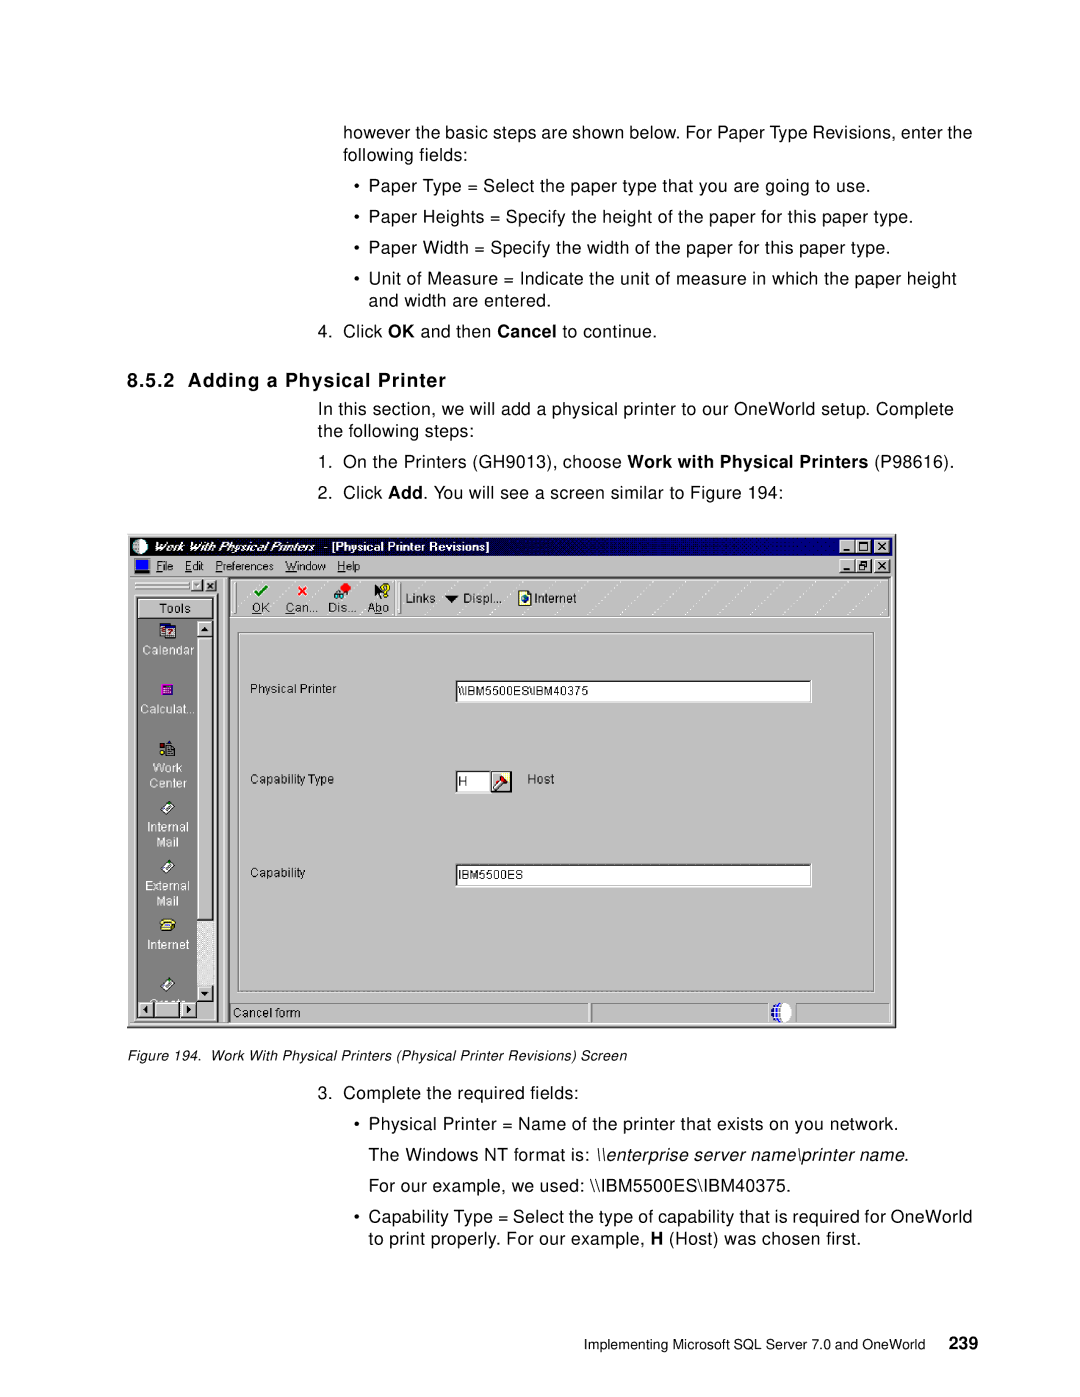
2.Click Add. You will see a screen similar to Figure 194:
Figure 194. Work With Physical Printers (Physical Printer Revisions) Screen
3.Complete the required fields:
•Physical Printer = Name of the printer that exists on you network. The Windows NT format is: \\enterprise server name\printer name. For our example, we used: \\IBM5500ES\IBM40375.
•Capability Type = Select the type of capability that is required for OneWorld to print properly. For our example, H (Host) was chosen first.
Implementing Microsoft SQL Server 7.0 and OneWorld 239