The Installation Planner will guide you in a
In this section, you will provide information such as database type, enterprise server, operating system platform, install path, etc. For this example, the installation plan will be defined in the following procedures:
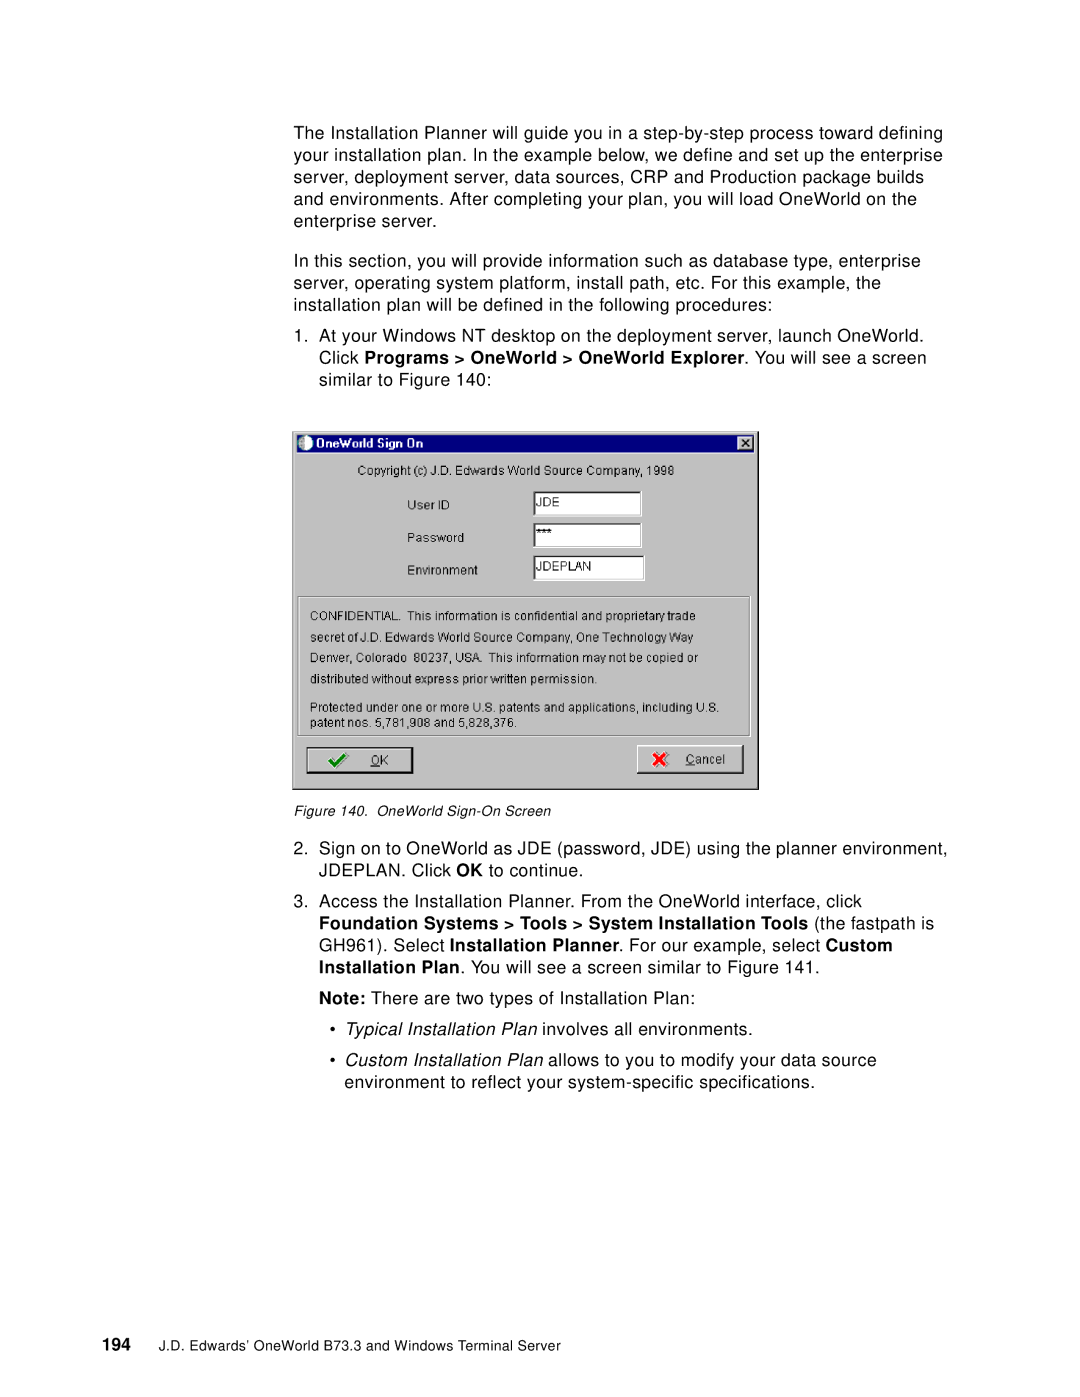
1.At your Windows NT desktop on the deployment server, launch OneWorld. Click Programs > OneWorld > OneWorld Explorer. You will see a screen similar to Figure 140:
Figure 140. OneWorld Sign-On Screen
2.Sign on to OneWorld as JDE (password, JDE) using the planner environment, JDEPLAN. Click OK to continue.
3.Access the Installation Planner. From the OneWorld interface, click Foundation Systems > Tools > System Installation Tools (the fastpath is GH961). Select Installation Planner. For our example, select Custom Installation Plan. You will see a screen similar to Figure 141.
Note: There are two types of Installation Plan:
•Typical Installation Plan involves all environments.
•Custom Installation Plan allows to you to modify your data source environment to reflect your
194J.D. Edwards’ OneWorld B73.3 and Windows Terminal Server