Chapter 9 MXYX
(Arm type, moving arm type, pole type, gantry type
![]() WARNING
WARNING
Always use the designated bolt, and securely tighten it with the correct torque. Failure to observe this could cause the robot position to deviate, and could also lead to serious accidents.
1)Tap M8 coarse screw thread holes into the installation base where the robot is to be installed.
Refer to the
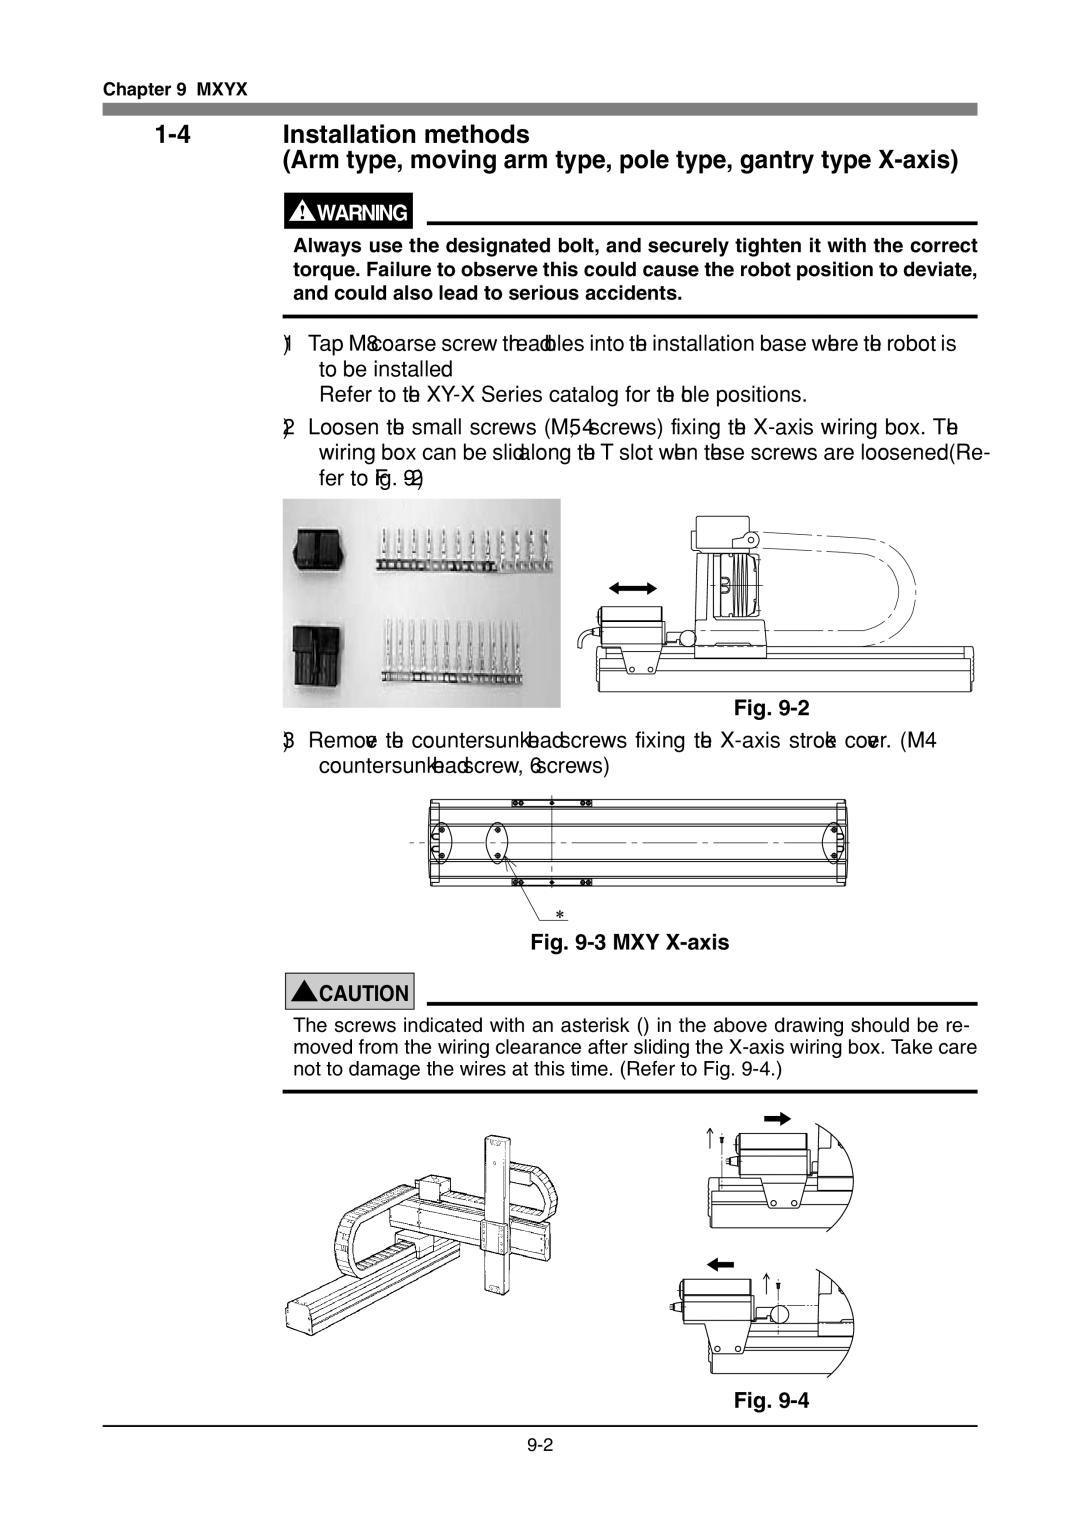
2)Loosen the small screws (M5, 4 screws) fixing the
Fig.
3)Remove the countersunk head screws fixing the
Fig. 9-3 MXY X-axis
!CAUTION
The screws indicated with an asterisk (*) in the above drawing should be re- moved from the wiring clearance after sliding the
Fig.