Chapter 3 Preparing the Robot
7-2 Connecting with the TRCX controller
7-2-1 3-axis model
![]() WARNING
WARNING
When connecting the robot cable, insert the robot cable connector straight into the mating connector on the controller. Inserting the connector while tilted might cause the pins to make poor contact, causing robot malfunc- tion and the connector itself might even break.
!CAUTION
These connectors all work in only one direction. Take a good look at the con- nector shape before trying to attach it. Connecting the wrong way may damage the connectors.
!CAUTION
With the TRCX3 controller, the MOTOR connectors XM and ZM have the same shape. Take care not to reverse the robot cable XM and ZM when connecting.
1)Prepare the required tools. Precision
2)While referring to Table
3)While referring to Table
4)Use the precision
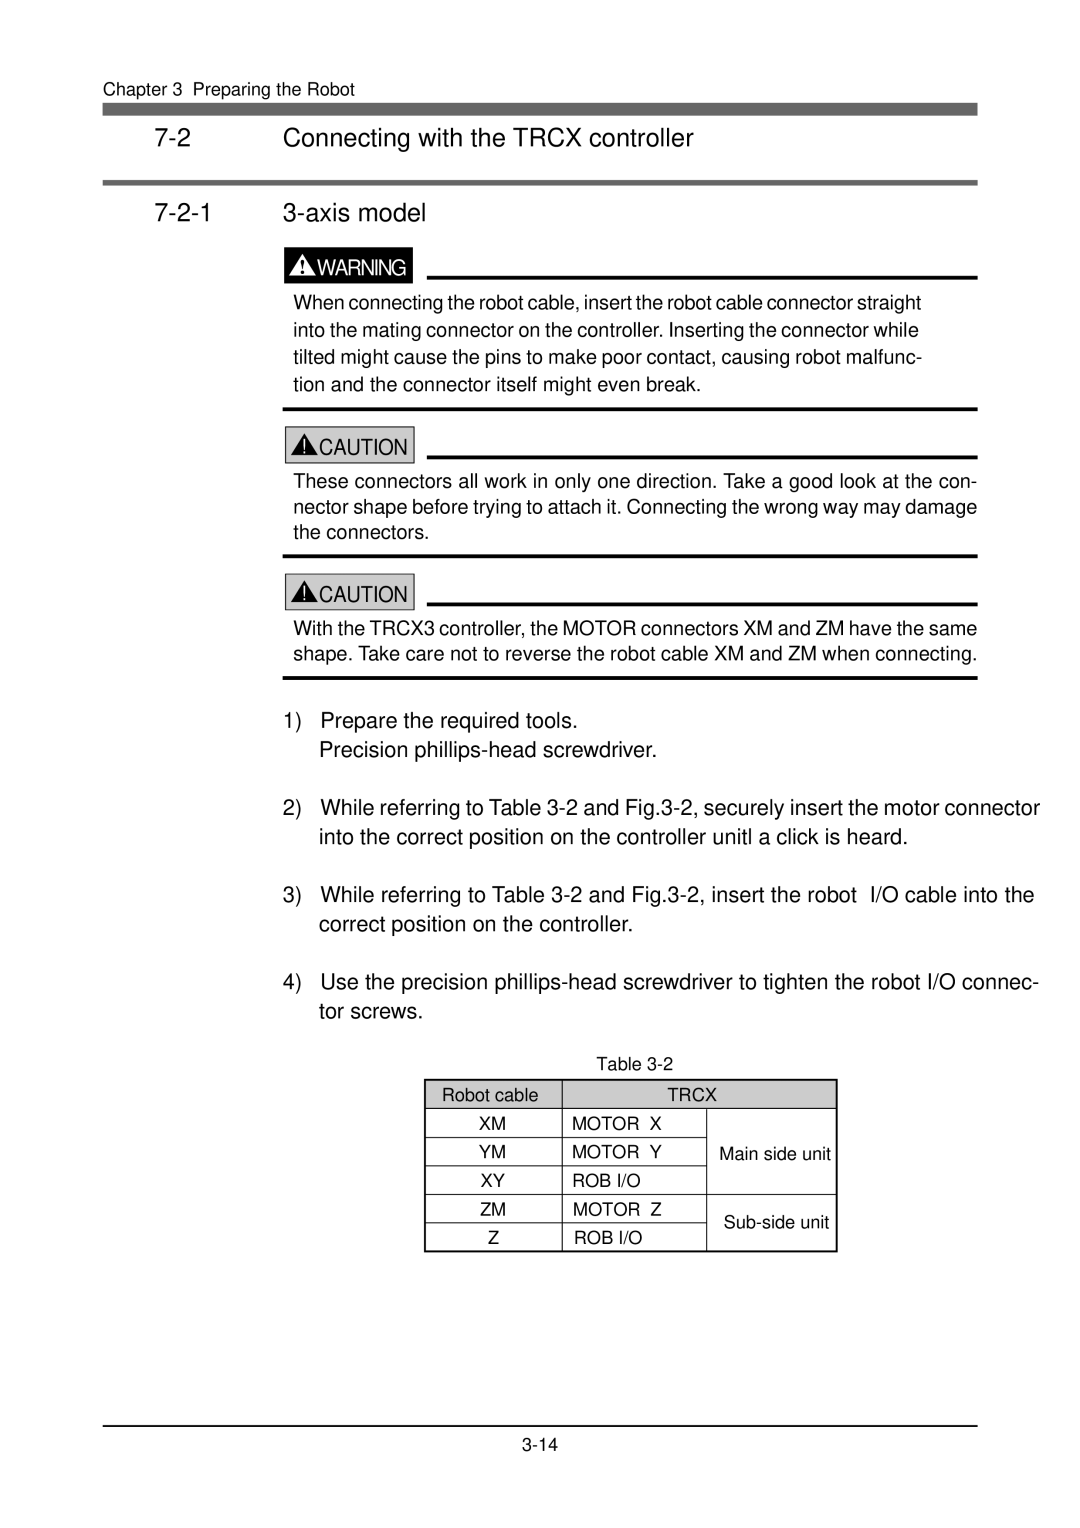
Table
Robot cable |
| TRCX | |
XM | MOTOR X |
|
|
|
|
|
|
YM | MOTOR Y |
| Main side unit |
XY | ROB I/O |
|
|
|
|
|
|
ZM | MOTOR Z |
| |
|
|
| |
Z | ROB I/O |
| |
|
| ||
|
|
|
|