Installation Overview
Scale Diagnostic Mode
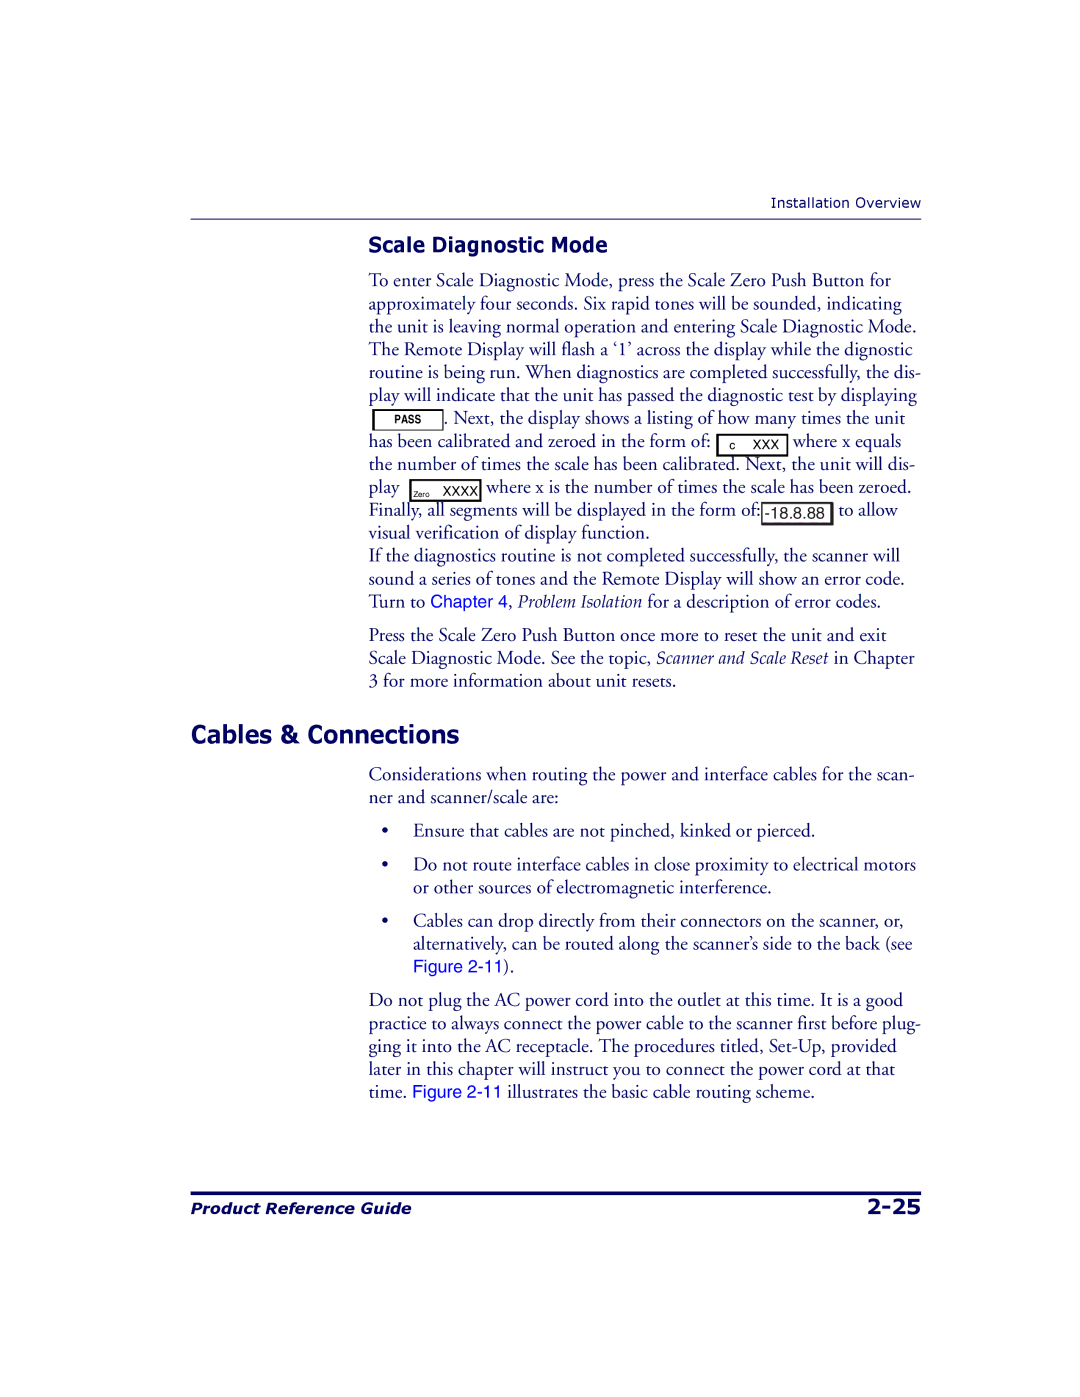
To enter Scale Diagnostic Mode, press the Scale Zero Push Button for approximately four seconds. Six rapid tones will be sounded, indicating the unit is leaving normal operation and entering Scale Diagnostic Mode. The Remote Display will flash a ‘1’ across the display while the dignostic routine is being run. When diagnostics are completed successfully, the dis- play will indicate that the unit has passed the diagnostic test by displaying ![]()
![]() PASS . Next, the display shows a listing of how many times the unit has been calibrated and zeroed in the form of:
PASS . Next, the display shows a listing of how many times the unit has been calibrated and zeroed in the form of: ![]()
![]() c XXX where x equals the number of times the scale has been calibrated. Next, the unit will dis-
c XXX where x equals the number of times the scale has been calibrated. Next, the unit will dis-
play ![]()
![]() Zero XXXX where x is the number of times the scale has been zeroed. Finally, all segments will be displayed in the form of:
Zero XXXX where x is the number of times the scale has been zeroed. Finally, all segments will be displayed in the form of: ![]()
![]() to allow visual verification of display function.
to allow visual verification of display function.
If the diagnostics routine is not completed successfully, the scanner will sound a series of tones and the Remote Display will show an error code. Turn to Chapter 4, Problem Isolation for a description of error codes.
Press the Scale Zero Push Button once more to reset the unit and exit Scale Diagnostic Mode. See the topic, Scanner and Scale Reset in Chapter 3 for more information about unit resets.
Cables & Connections
Considerations when routing the power and interface cables for the scan- ner and scanner/scale are:
• Ensure that cables are not pinched, kinked or pierced.
• Do not route interface cables in close proximity to electrical motors or other sources of electromagnetic interference.
• Cables can drop directly from their connectors on the scanner, or, alternatively, can be routed along the scanner’s side to the back (see Figure
Do not plug the AC power cord into the outlet at this time. It is a good practice to always connect the power cable to the scanner first before plug- ging it into the AC receptacle. The procedures titled,
Product Reference Guide |
