2 Polarity (Pol)
3 Bit Assignment
Each label has a polarity assigned to it. The default for all the labels is positive ( + ) polarity. You can change the polarity of a label by touching the polarity field. This toggles the polarity between positive ( + ) and negative ( −).
In the state analyzer, negative polarity inverts all the data. In the timing analyzer, negative polarity inverts all the data, but doesn’t change the actual waveforms in the Timing Waveforms Menu.
The bit assignment fields allow you to assign bits (channels) to labels. Above each column of the bit assignment fields is a line that tells you the bit numbers from 0 to 15, with the left bit numbered 15 and the right bit numbered 0. This line helps you know exactly which bits you are assigning.
The convention for bit assignment is:
*(asterisk) indicates assigned bit
. (period) indicates unassigned bit
At power up the 16 bits of Pod 1 are assigned to the timing analyzer, and the 16 bits of Pod 5 are assigned to the state analyzer.
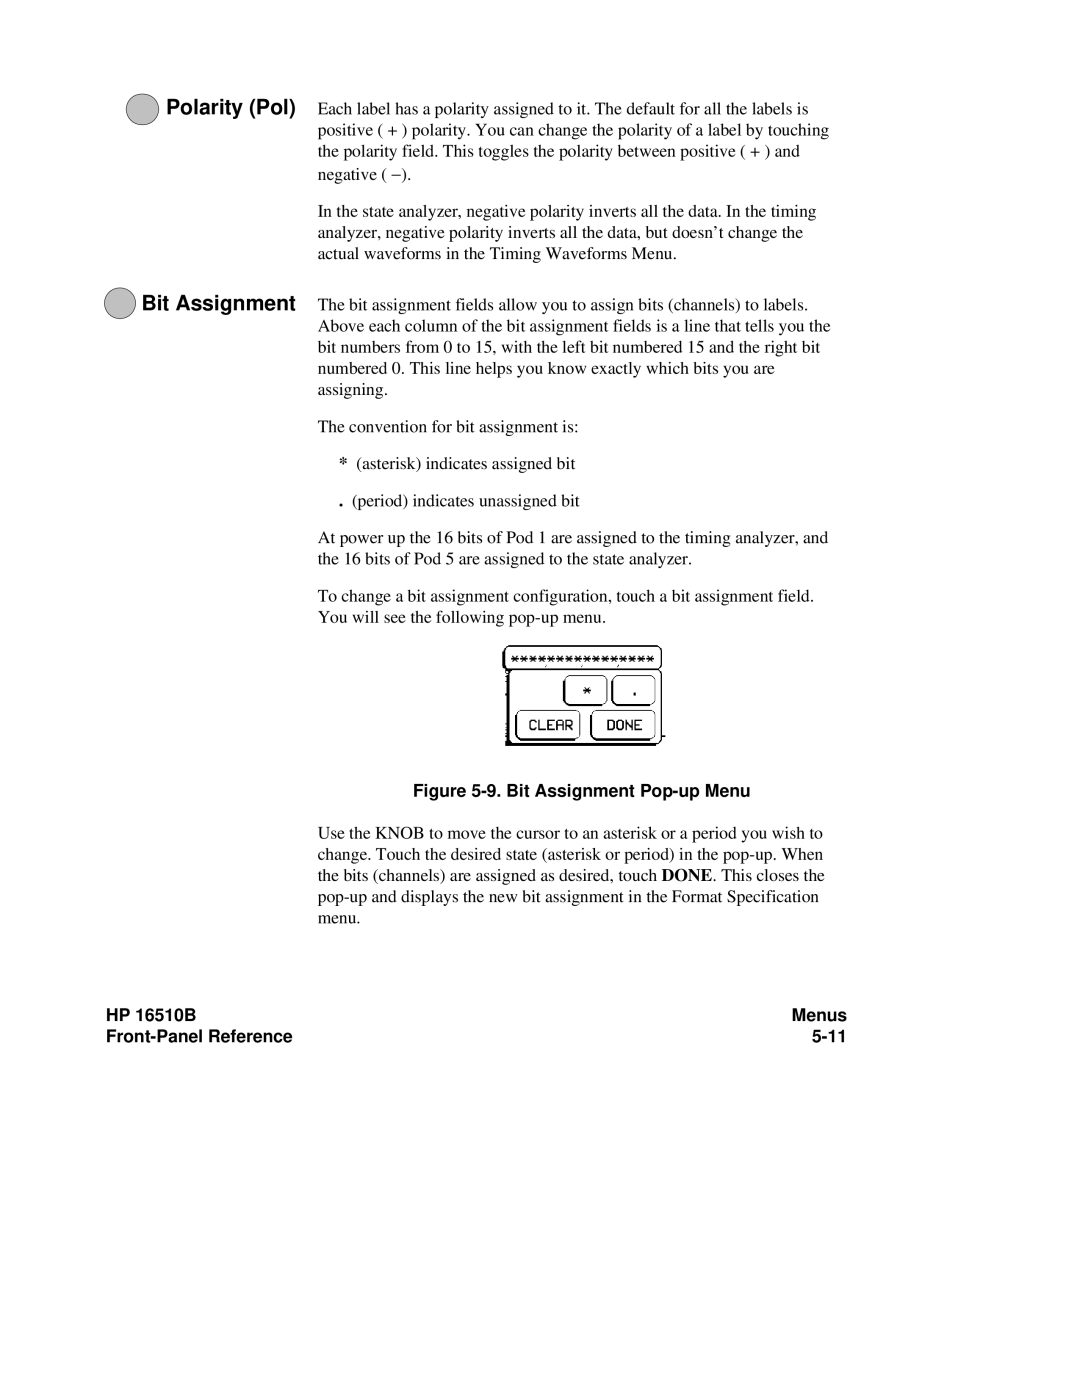
To change a bit assignment configuration, touch a bit assignment field. You will see the following
Figure 5-9. Bit Assignment Pop-up Menu
Use the KNOB to move the cursor to an asterisk or a period you wish to change. Touch the desired state (asterisk or period) in the
HP 16510B | Menus |