Applications
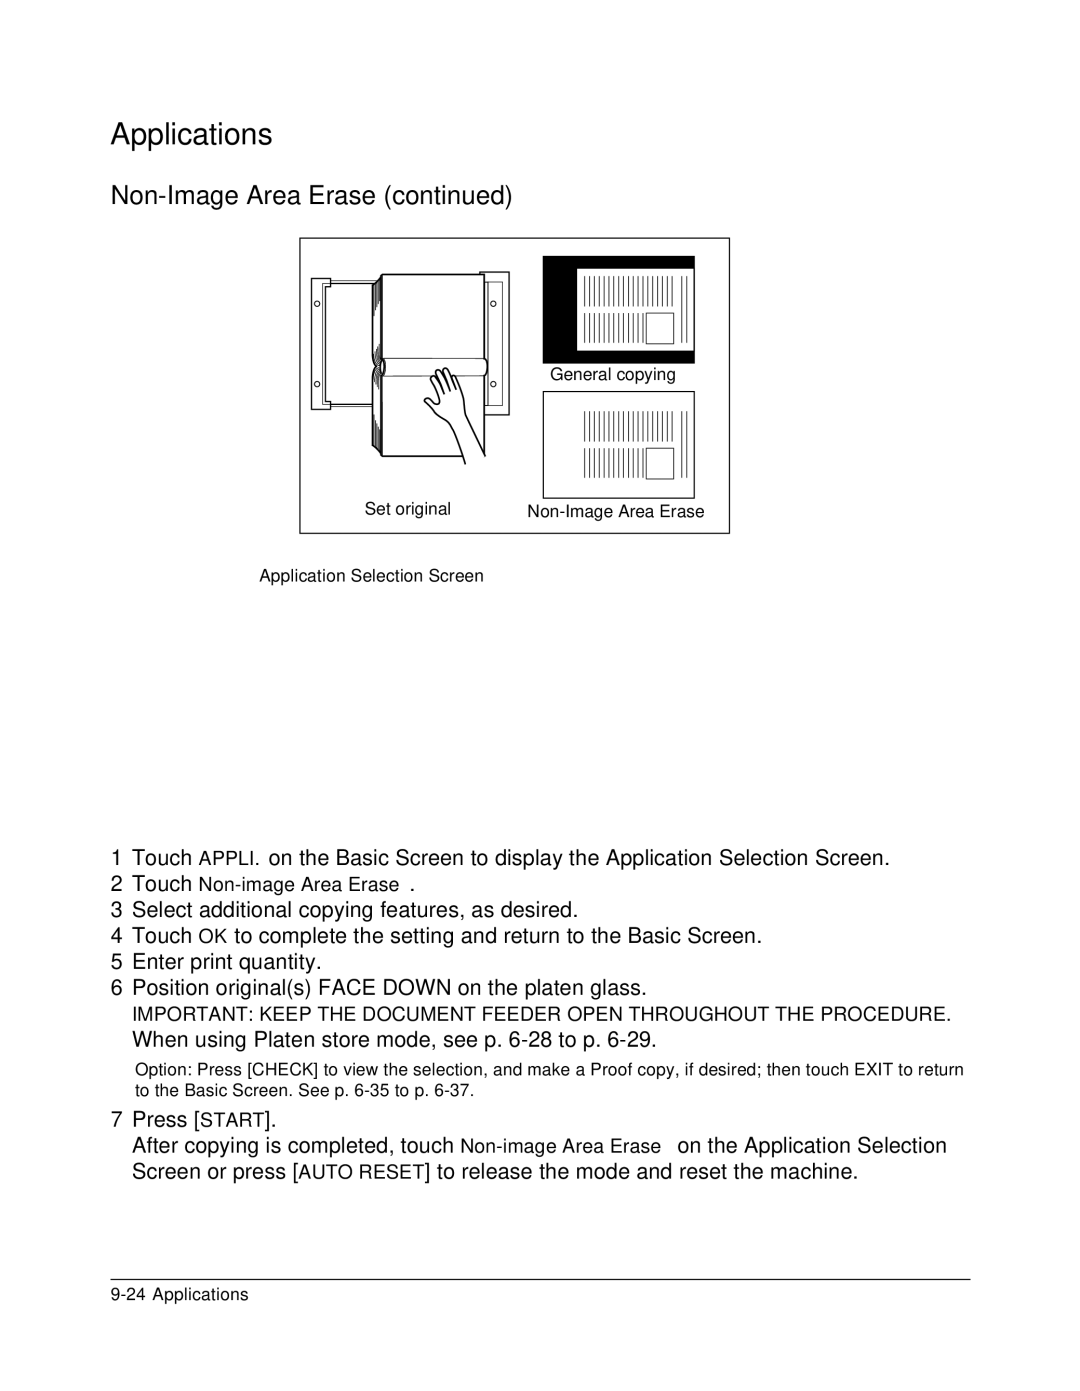
| General copying |
Set original |
Application Selection Screen
1Touch APPLI. on the Basic Screen to display the Application Selection Screen.
2Touch
3Select additional copying features, as desired.
4Touch OK to complete the setting and return to the Basic Screen.
5Enter print quantity.
6Position original(s) FACE DOWN on the platen glass.
IMPORTANT: KEEP THE DOCUMENT FEEDER OPEN THROUGHOUT THE PROCEDURE.
When using Platen store mode, see p. 6-28 to p. 6-29.
Option: Press [CHECK] to view the selection, and make a Proof copy, if desired; then touch EXIT to return to the Basic Screen. See p.
7Press [START].
After copying is completed, touch Screen or press [AUTO RESET] to
