Server Function
Image Store/Delete Mode (continued)
To Store Image Data in HDD (continued)
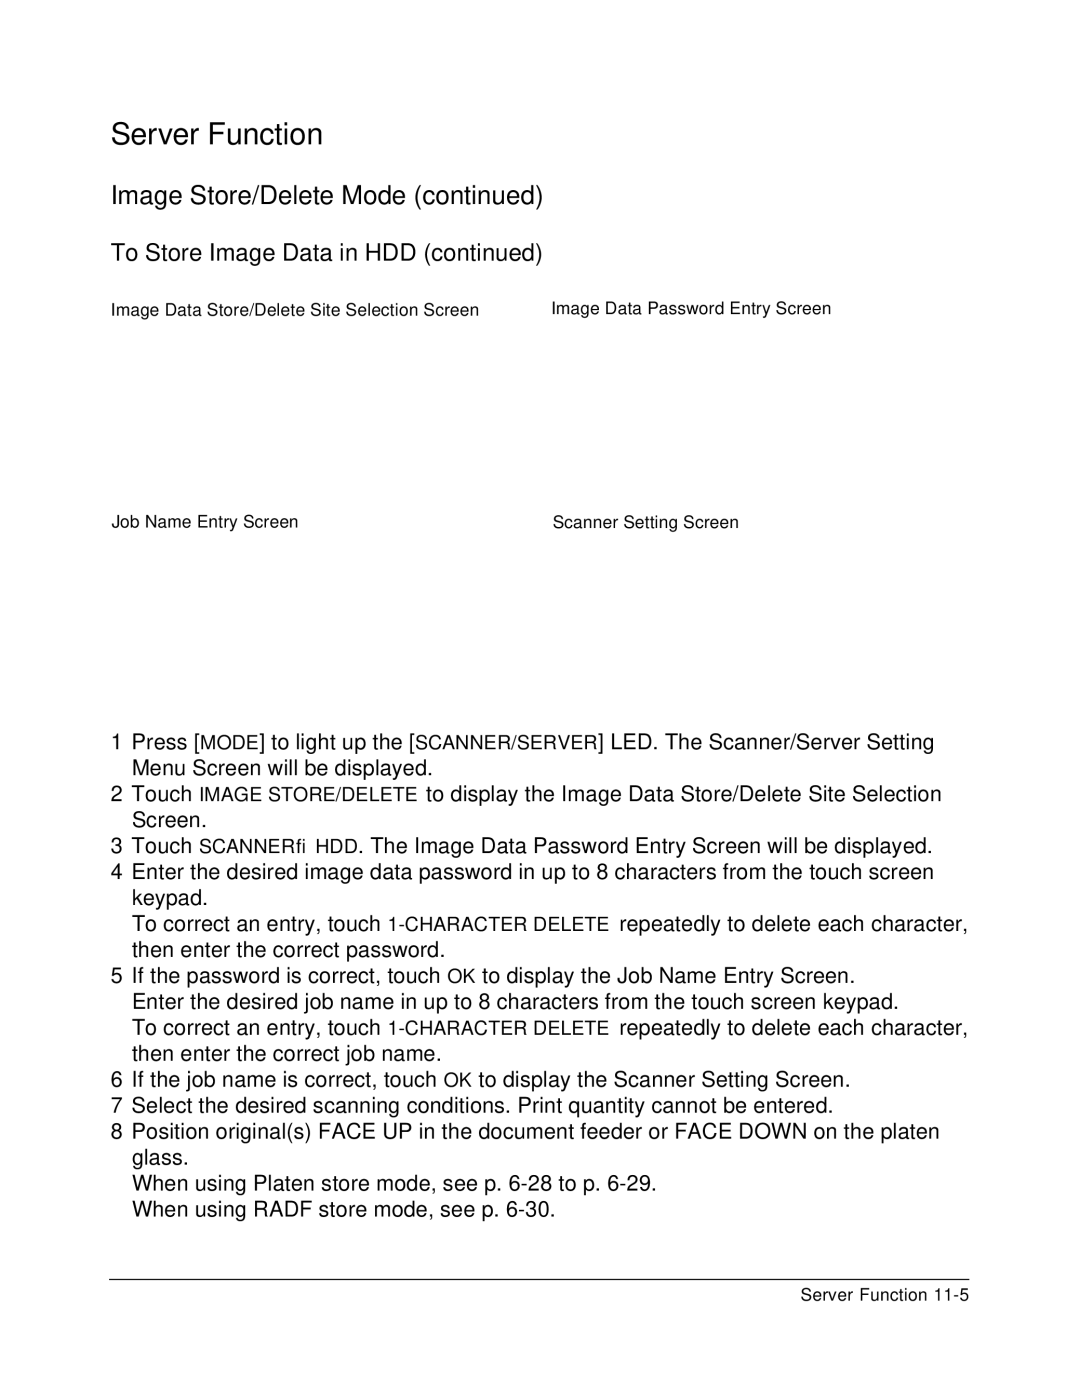
Image Data Store/Delete Site Selection Screen | Image Data Password Entry Screen |
Job Name Entry Screen | Scanner Setting Screen |
1Press [MODE] to light up the [SCANNER/SERVER] LED. The Scanner/Server Setting Menu Screen will be displayed.
2Touch IMAGE STORE/DELETE to display the Image Data Store/Delete Site Selection Screen.
3Touch SCANNER→HDD. The Image Data Password Entry Screen will be displayed.
4Enter the desired image data password in up to 8 characters from the touch screen keypad.
To correct an entry, touch
5If the password is correct, touch OK to display the Job Name Entry Screen. Enter the desired job name in up to 8 characters from the touch screen keypad.
To correct an entry, touch
6If the job name is correct, touch OK to display the Scanner Setting Screen.
7Select the desired scanning conditions. Print quantity cannot be entered.
8Position original(s) FACE UP in the document feeder or FACE DOWN on the platen glass.
When using Platen store mode, see p.
Server Function