Stainless steel breadmaker
BM48268SMEE-SSBreadmaker 27/3/07 0943
Recipes
Contents Operating instructions
Location
Important Safety Instructions
Your safety
Other safety considerations
About the recipes
Introduction Electrical requirements
About this breadmaker
Before first use
Blade has two positions
Components
Control panel buttons, display & functions
Using your breadmaker
Slicing and storing bread
Using the timer
Power interruption
Beeper
Other ingredients
Know your ingredients
Understanding baking
Important note on flours
Other tips
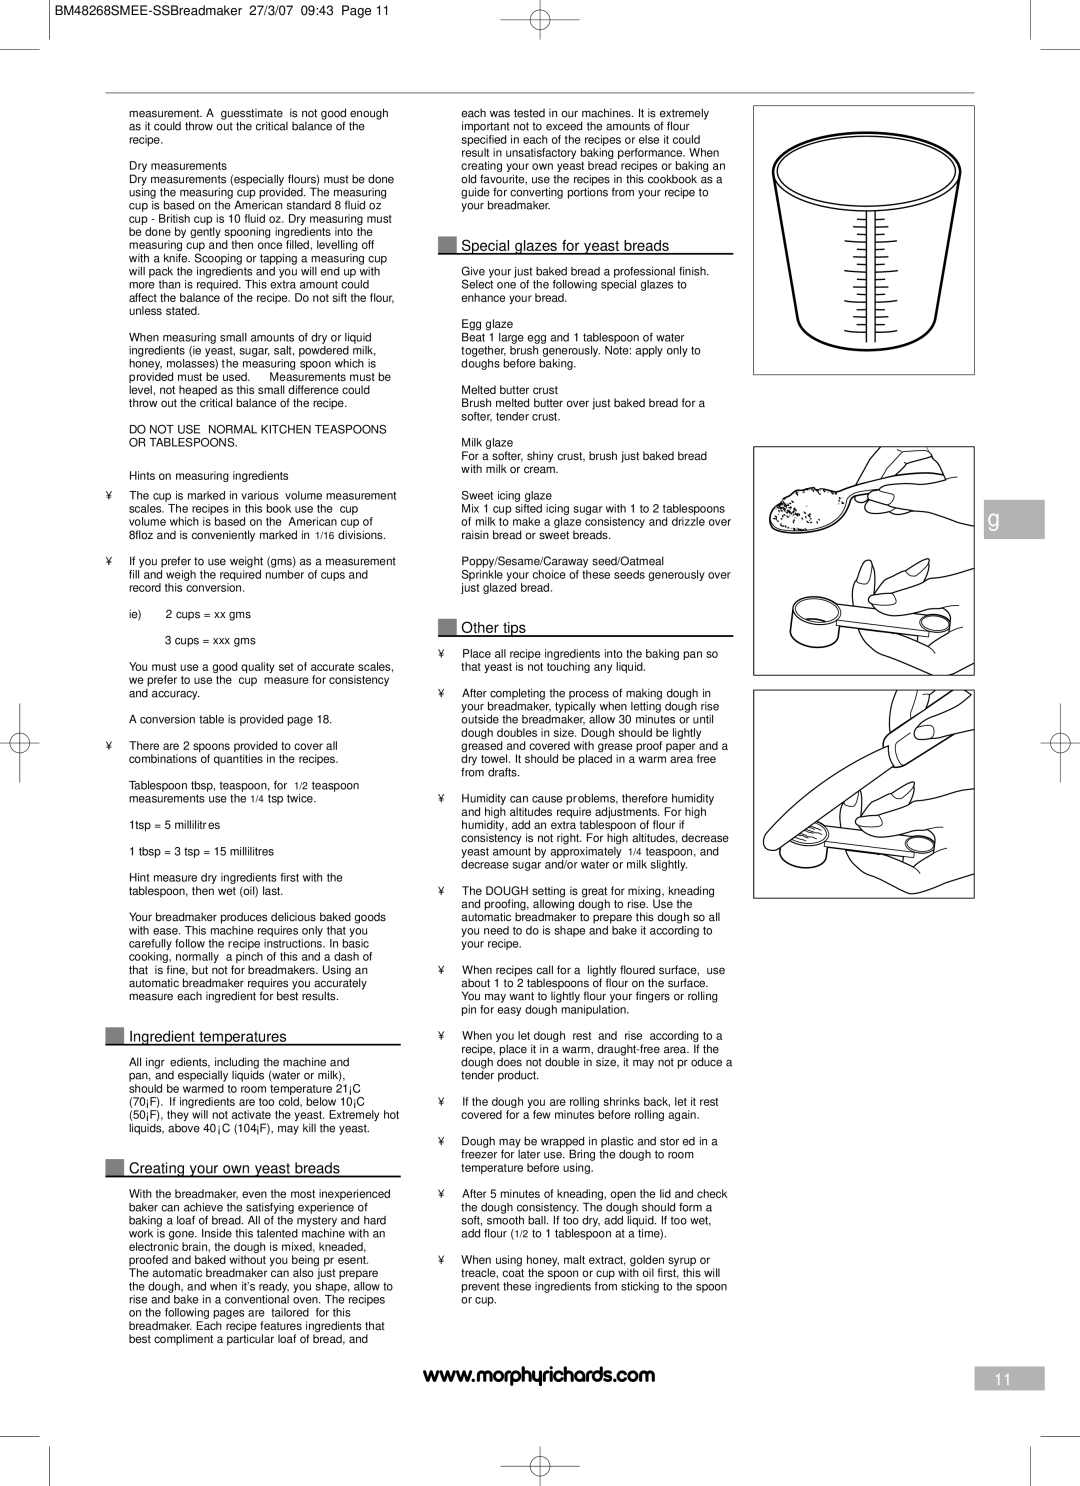
Ingredient temperatures
Creating your own yeast breads
Special glazes for yeast breads
Recipes for basic breads
Recipes for cake and quick bread
Recipes for french bread
Recipes for wholewheat breads
Banana and nut bread
Maderia cake mix
Method
Mixed fruit cake
Recipes for dough
Sweet
Recipes for Fastbake
Speciality
Recipes for jams
Gluten free recipes
Recipes for sandwich breads
Bread mixes Conversion chart
Time Warm
Baking cycle times Operation sequence and times
Program no Knead Rise Bake Total Keep
Why didnt the bread rise?
Why isnt the dough mixing? I can hear the motor running
Why cant I use the timer when baking with fresh milk?
Why do I have to add the ingredients in a certain order?
Questions about ingredients and recipes
Troubleshooting Possible cause Solution
HHH message on display
Bread over browned
Bread has large holes in texture
Bread surface is sticky
Helpline
TWO-YEAR Guarantee
Recettes
Pour utiliser au mieux votre nouvelle Machine à pain
Sommaire Manuel
Complément d’informations
Cordon d’alimentation secteur
Consignes de sécurité importantes
Position
Autres consignes de sécurité
Précision. N’utilisez pas de quantités plus
Propos des recettes
Alimentation électrique
Il est crucial de mesurer les ingrédients avec
La lame a deux positions
Pièces
Bouton Menu
Boutons, affichage et fonctions du panneau de commande
Fenêtre d’affichage
Bouton Colour
Utilisation de votre machine à pain
Description des programmes
Couper et stocker le pain
Utilisation du programmateur
Bip sonore
Coupure de courant
Autres ingrédients
Stockage de l’appareil
Remarque importante concernant les farines
Mesurer les ingrédients
Autres astuces
Température des ingrédients
Créér vos propres pains à la levure
Finitions spéciales pour pains à la levure
BM48268SMEE-SSBreadmaker 27/3/07 0943
Recettes de pains de base
Recettes de gâteaux et pains rapides
Recettes de baguette
Recettes de pains complets
Banana and nut bread pain banane et graines
Mélange pour Madeira cake cake léger
Méthode
Mixed fruit loaf cake
Recettes de pâte à pain
Recettes pour Fastbake
Recettes de confiture
Recettes sans gluten
Recettes de pains pour sandwiches
Mélanges pour pain Tableau de conversion
Temps Warm
De programme Knead Rise Bake Total Keep
Pourquoi le pain n’a-t-il pas levé ?
Combien de temps faut-il pour faire du pain ?
Le moule passe-t-il au lave-vaisselle ?
Que se passe-t-il si je laisse le pain cuit dans le moule ?
Pourquoi y a-t-il un gros trou à la base du pain ?
Questions concernant les ingrédients et les recettes
Pourquoi mon pain est-il trop humide ? Que puis-je faire ?
Dépannage Origine possible Solution
Message HHH affiché
Croûte trop cuite
Il y a de gros trous dans le pain
La surface du pain est collante
Pour la clientèle en France
Service D’ASSISTANCE
Pour la clientèle en Belgique
Recetas
Índice
Instrucciones de funcionamiento
Niños
Introducción
Instrucciones importantes de seguridad
Ubicación
Acerca de las recetas
Requisitos eléctricos
Acerca de esta máquina de hacer pan
La pala tiene dos posiciones
Componentes
Botones, pantalla y funciones del panel de control
Cómo utilizar su máquina de hacer pan
Descripción de los programas
Cómo utilizar el temporizador
Alarma
Interrupción de corriente
Cómo partir y guardar el pan
Conozca SUS Ingredientes
Cómo medir los ingredientes
Otros consejos
Temperaturas de los ingredientes
Cómo crear sus propios panes de levadura
Glaseados especiales para panes de levadura
Pan de grano blando
Recetas para panes básicos
Pan moreno
Pan blanco básico
Recetas de panes básicos
Recetas de pan francés
Recetas de pastel y pan rápido
Recetas para Fastbake II horneado rápido
Sweet pan dulce
Recetas para Fastbake I horneado rápido
Panecillos de cruz calientes
Recetas para masa
Rollos de pan blanco
Rollos de pan de trigo integral
Especialidades
Recetas de mermeladas
Pastel de Madeira sin gluten
Recetas sin gluten
Pan de sándwich de grano blando
Pan blanco sin gluten
Mezclas de panes Tabla de conversión
Tiempo Caliente
Tiempos DE LOS Ciclos DE Horneado
Secuencia y tiempos de funcionamiento
Programa nº Amasar Crecer Hornear Total Mantener
Preguntas sobre el funcionamiento general
¿NECESITA AYUDA?
¿Puedo mezclar la levadura con agua previamente?
Preguntas sobre ingredientes y recetas
¿Por qué ha salido mi pan tan húmedo? ¿Qué puedo hacer?
¿Por qué mi pan crece y luego se hunde o se agrieta?
Pan seco con una textura densa
El pan se hunde en el centro
El pan no ha crecido lo suficiente
El pan ha crecido demasiado
Posible causa Solución
Telefónica
SU Garantía DE DOS Años
Número DE Atención
Receitas
Obter o melhor da sua nova máquina De fazer pão
Conteúdos Instruções de funcionamento
Outras informações
Cabo de alimentação
Introdução
Instruções de segurança importantes
Localização
Vital. Não utilize quantidades superiores
Sobre as receitas
Precisão do doseamento dos ingredientes é
Lâmina possui duas posições
Botão Menu
Botões, visor e funções do painel de controlo
Janela do visor
Botão Colour
Utilizar a sua máquina de fazer pão
Descrições dos programas
Fatiar e guardar o pão
Utilizar o temporizador
Sinal sonoro
Interrupção da alimentação
Conheça OS Seus Ingredientes
Criar o seu próprio pão de fermento
Doseamento de ingredientes
Temperaturas dos ingredientes
Receitas para pão normal
Coberturas especiais para os seus Receitas Pães de fermento
Outras sugestões
Pão de Queijo e cebola
Pão de grão fino
Pão integral
Pão de ervas italiano
Trigo integral
Receitas para pão francês
Mistura do bolo da madeira
Receitas para bolo e pão rápido
Pão com cereais
Variações
Pão de chocolate
Pão de banana e noz
Pão de aveia
Pão de frutas mistas
Receitas para massa
Receitas para o Fastbake
Receitas para geleias
Pão de grão fino para sandes
Receitas para pão de sandes
Receitas sem glúten
Pão de sandes
Chávena de Água Líquidos
Misturas de pão Tabela de conversão
Líquidos, farinhas e outros
Tempo quente
Ciclo DE Tempo DE Cozedura
Sequência de funcionamento e tempos de ciclos
Do programa Knead Rise Bake Total Manter
Porque é que a pão não cresce?
Quanto tempo demora a fazer o pão?
Posso lavar a forma na máquina de lavar loiça?
Que sucede se deixar o pão pronto na forma?
Porque razão o pão sai com um grande buraco na sua base?
Questões relacionadas com ingredientes e receitas
Porque razão o pão fica com bolhas de ar no topo?
Posso misturar previamente o fermento com água?
Pão cresce excessivamente
Diagnóstico de avarias Causa possível Solução
Pão abate no centro
Pão não cresce o suficiente
Superfície do pão encontra-se pegajosa
Pão mal cozido com interior empapado
Pão demasiado cozido
Pão apresenta grandes buracos na textura
SUA Garantia DE Dois Anos Excepções
Ricette
Ulteriori informazioni
Sommario
Istruzioni di funzionamento
Informazioni per la sicurezza personale
Importanti misure di sicurezza
Luogo di utilizzo
Cavo di rete
Informazioni sulle ricette
Prima di utilizzare l’elettrodomestico
Requisiti elettrici
Informazioni sulla macchina per il pane
La lama ha due posizioni
100
Componenti
Pulsanti del pannello di controllo, display e funzioni
101
Utilizzo della macchina per il pane
102
Descrizione dei programmi
103
Ingredienti
104
Informazioni Utili Sugli
Preparazione dei lieviti
105
Dosaggio degli ingredienti
Temperatura degli ingredienti
Ricette per pane bianco
106
Speciali coperture per il pane
Altri suggerimenti
107
Ricette per dolci e pane a cottura rapida
108
Ricette per pane francese
Ricette per pane integrale
Dolci
109
Ricette per l’impasto
110
Ricette per il programma Fastbake
Ricette per pane per sandwich
111
Ricette per marmellate
Ricette speciali
Torta tipo margherita
112
Ricette senza glutine
Pane bianco senza glutine
Liquidi, farine e altri ingredienti
113
Composti per pane
Tabella DI Conversione
Programma Impasto Lievitazione Cottura Tempo Tenuta
114
Tempi E Cicli DI Cottura
Sequenza di funzionamento e tempi
115
Domande sul funzionamento generale della macchina
116
Domande E Risposte
Domande su ingredienti e ricette
117
118
Risoluzione dei problemi Possibile causa Soluzione
119
Linea telefonica di assistenza
120
Garanzia DI DUE Anni
121
122
Электротехнические требования
123
Перед первым использованием Об этой хлебопекарной машине
Рецептах
Предусмотрены два положения лопасти
124
Составные части
Кнопки панели управления, дисплей и функции
125
Использование хлебопекарной машины
126
Описания программы
127
Знание ингредиентов Выпекании хлеба
128
Внимательность и чистка
Хранение машины
Отмеривание ингредиентов
129
Другие ингредиенты
130
Хлеб с мягкими кристаллами
131
Рецепты для основных сортов хлеба
Основной сорт белого хлеба
Хлеб с сыром и луком
132
Ржаной хлеб
Итальянский хлеб с травами
Рецепты пшеничного хлеба из цельномолотого зерна
133
Рецепты французского батона
Кекс со смесью фруктов
134
Кекс, отдушенный лимоном и пропитанный мадерой
Способ приготовления
Приготовления Fastbake
135
Сладкая выпечка
Рецепты хлеба быстрого
Большая пшеничная булка быстрого приготовления
136
Рецепты хлеба быстрого приготовления Fastbake
Рецепты теста
Рецепты варенья
137
10 Деликатесные изделия
Хлебопекарные смеси
138
11 Рецепты хлеба для сэндвичей
Рецепты хлеба, не содержащего белков клейковины
Таблица пересчета
139
Время Теплатеплый
140
141
Можно ли мыть хлебопекарную форму в посудомоечной машине?
142
Почему на боковой корочке хлеба иногда остается мука?
Как долго выпекается хлеб?
Можно ли предварительно смешивать дрожжи с водой?
143
Вопросы об ингредиентах и рецептах
Почему хлеб получается слишком влажным? Что делать?
Хлеб поднимается слишком высоко
144
Хлеб проваливается в центре
Хлеб недостаточно поднялся
145
Предоставляемая Двухлетняя Гарантия
146
Продавца
147
148
149
150
151
152