HP Classroom Manager 10.61
To create a Group
1.Choose {Group}{New} from the Control window drop down menu. Or,
Click the new Group icon on the Group bar. Or,
2.A Group Wizard dialog box appears that asks you to provide a name and brief description of the group. It will then assist you in creating your group.
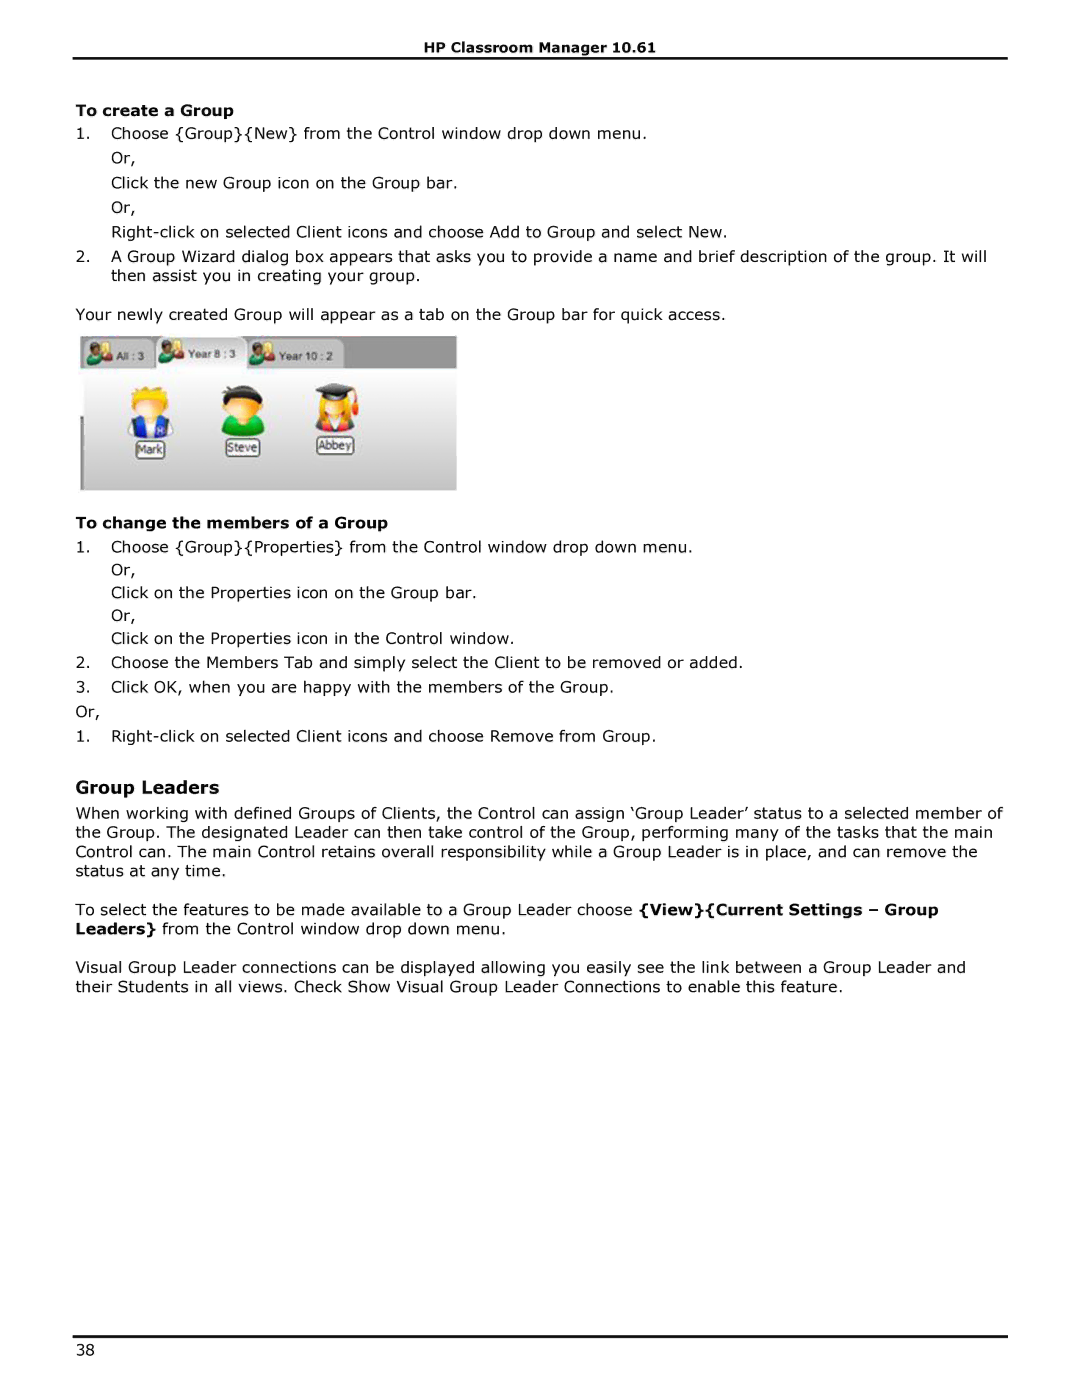
Your newly created Group will appear as a tab on the Group bar for quick access.
To change the members of a Group
1.Choose {Group}{Properties} from the Control window drop down menu. Or,
Click on the Properties icon on the Group bar. Or,
Click on the Properties icon in the Control window.
2.Choose the Members Tab and simply select the Client to be removed or added.
3.Click OK, when you are happy with the members of the Group.
Or,
1.
Group Leaders
When working with defined Groups of Clients, the Control can assign „Group Leader‟ status to a selected member of the Group. The designated Leader can then take control of the Group, performing many of the tasks that the main Control can. The main Control retains overall responsibility while a Group Leader is in place, and can remove the status at any time.
To select the features to be made available to a Group Leader choose {View}{Current Settings – Group Leaders} from the Control window drop down menu.
Visual Group Leader connections can be displayed allowing you easily see the link between a Group Leader and their Students in all views. Check Show Visual Group Leader Connections to enable this feature.
38