HP Classroom Manager 10.61
Note: There is also a Student Toolbar that can be activated at the Student, providing feedback on the current lesson.
Student Automatic Login
If a generic naming convention is used for your classroom PCs, you can automatically log the Students in to save time at the start of a lesson.
To automatically login Student machines
1.Select the Student machine(s) you wish to login.
2.Choose {Client}{Login} from the Control window drop down menu. Or
Click the Manage icon on the Control toolbar and choose Login.
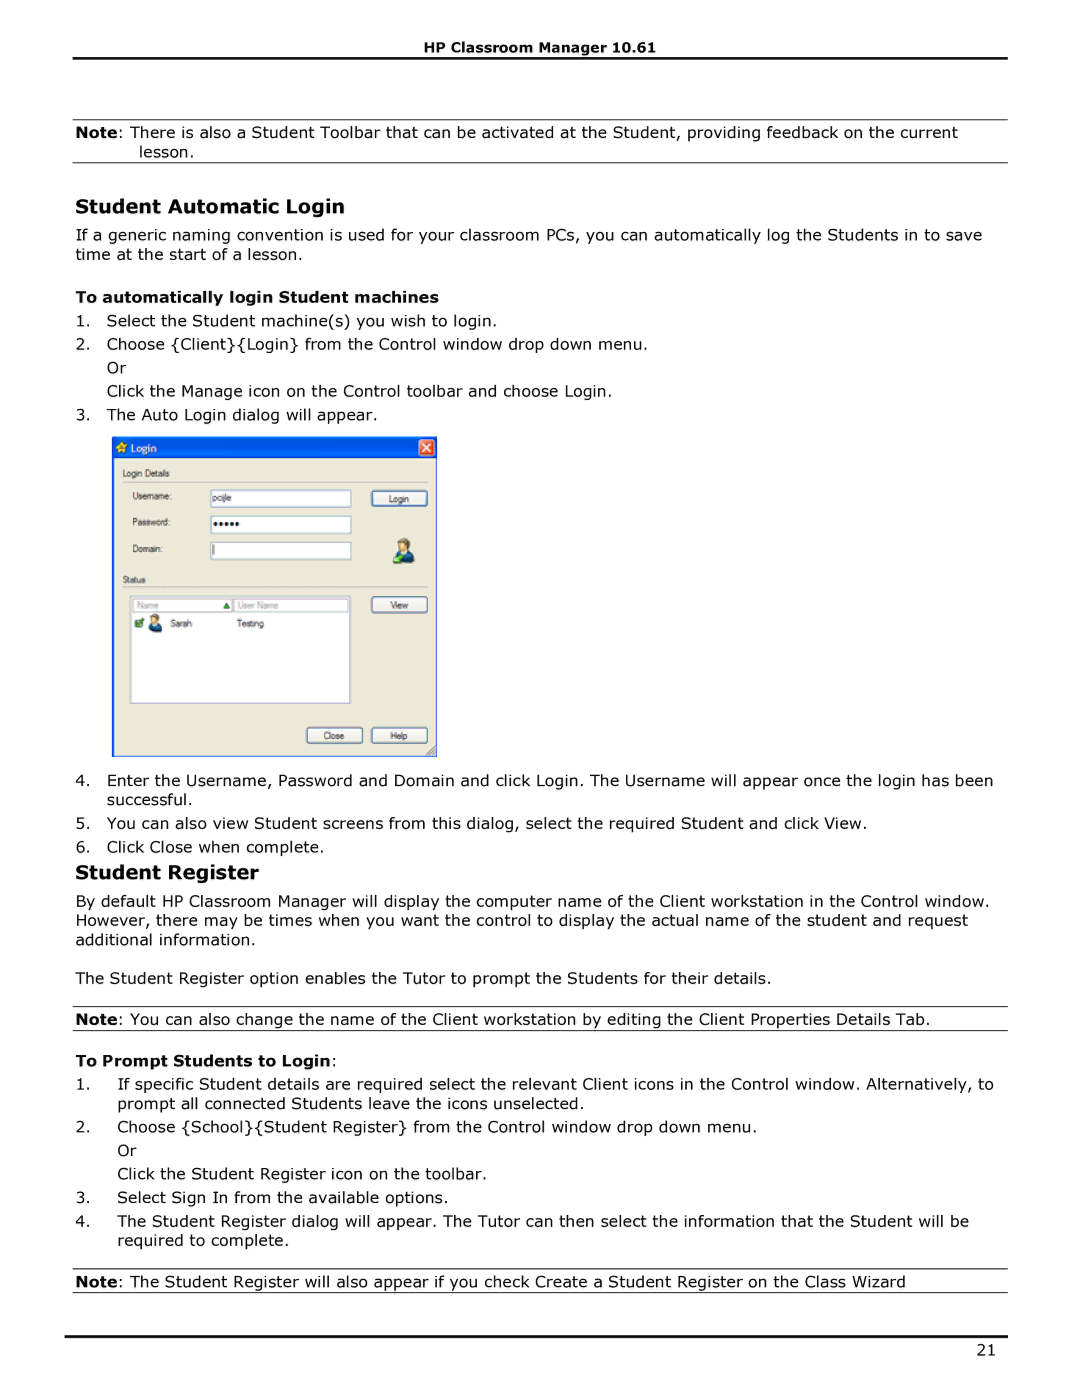
3.The Auto Login dialog will appear.
4.Enter the Username, Password and Domain and click Login. The Username will appear once the login has been successful.
5.You can also view Student screens from this dialog, select the required Student and click View.
6.Click Close when complete.
Student Register
By default HP Classroom Manager will display the computer name of the Client workstation in the Control window. However, there may be times when you want the control to display the actual name of the student and request additional information.
The Student Register option enables the Tutor to prompt the Students for their details.
Note: You can also change the name of the Client workstation by editing the Client Properties Details Tab.
To Prompt Students to Login:
1.If specific Student details are required select the relevant Client icons in the Control window. Alternatively, to prompt all connected Students leave the icons unselected.
2.Choose {School}{Student Register} from the Control window drop down menu. Or
Click the Student Register icon on the toolbar.
3.Select Sign In from the available options.
4.The Student Register dialog will appear. The Tutor can then select the information that the Student will be required to complete.
Note: The Student Register will also appear if you check Create a Student Register on the Class Wizard
21
