HP Classroom Manager 10.61

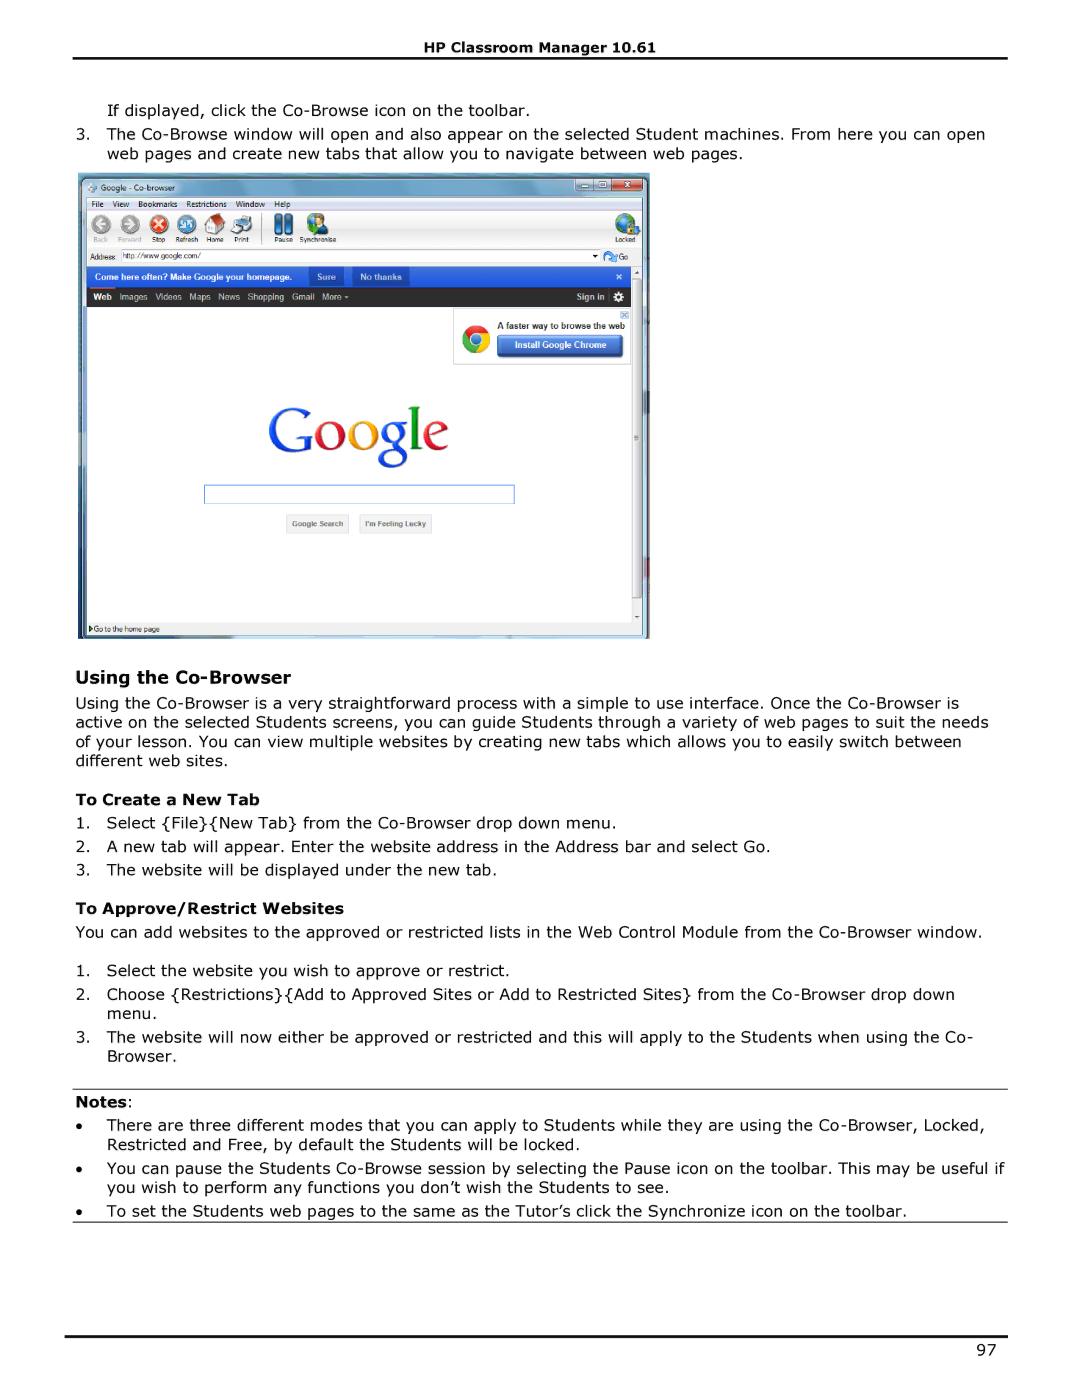
If displayed, click the Co-Browse icon on the toolbar.

3.The Co-Browse window will open and also appear on the selected Student machines. From here you can open web pages and create new tabs that allow you to navigate between web pages.

Using the Co-Browser

Using the Co-Browser is a very straightforward process with a simple to use interface. Once the Co-Browser is active on the selected Students screens, you can guide Students through a variety of web pages to suit the needs of your lesson. You can view multiple websites by creating new tabs which allows you to easily switch between different web sites.

To Create a New Tab

1.Select {File}{New Tab} from the Co-Browser drop down menu.

2.A new tab will appear. Enter the website address in the Address bar and select Go.

3.The website will be displayed under the new tab.

To Approve/Restrict Websites

You can add websites to the approved or restricted lists in the Web Control Module from the Co-Browser window.

1.Select the website you wish to approve or restrict.

2.Choose {Restrictions}{Add to Approved Sites or Add to Restricted Sites} from the Co-Browser drop down menu.

3.The website will now either be approved or restricted and this will apply to the Students when using the Co- Browser.

Notes:

There are three different modes that you can apply to Students while they are using the Co-Browser, Locked, Restricted and Free, by default the Students will be locked.

You can pause the Students Co-Browse session by selecting the Pause icon on the toolbar. This may be useful if you wish to perform any functions you don‟t wish the Students to see.

To set the Students web pages to the same as the Tutor‟s click the Synchronize icon on the toolbar.

97

Page 103
Image 103
HP Classroom Manager manual Using the Co-Browser, To Create a New Tab, To Approve/Restrict Websites