XS712T Smart Switch
IP 10.10.10.10 is configured with priority 1 to permit, and Source IP 10.10.10.10 is configured with priority 2 to Deny, then access is permitted if the profile is active, and the second rule is ignored.
4.Click Apply.
Access Rule Configuration
Use the Access Rule Configuration screen to add security access rules.
To configure access rules:
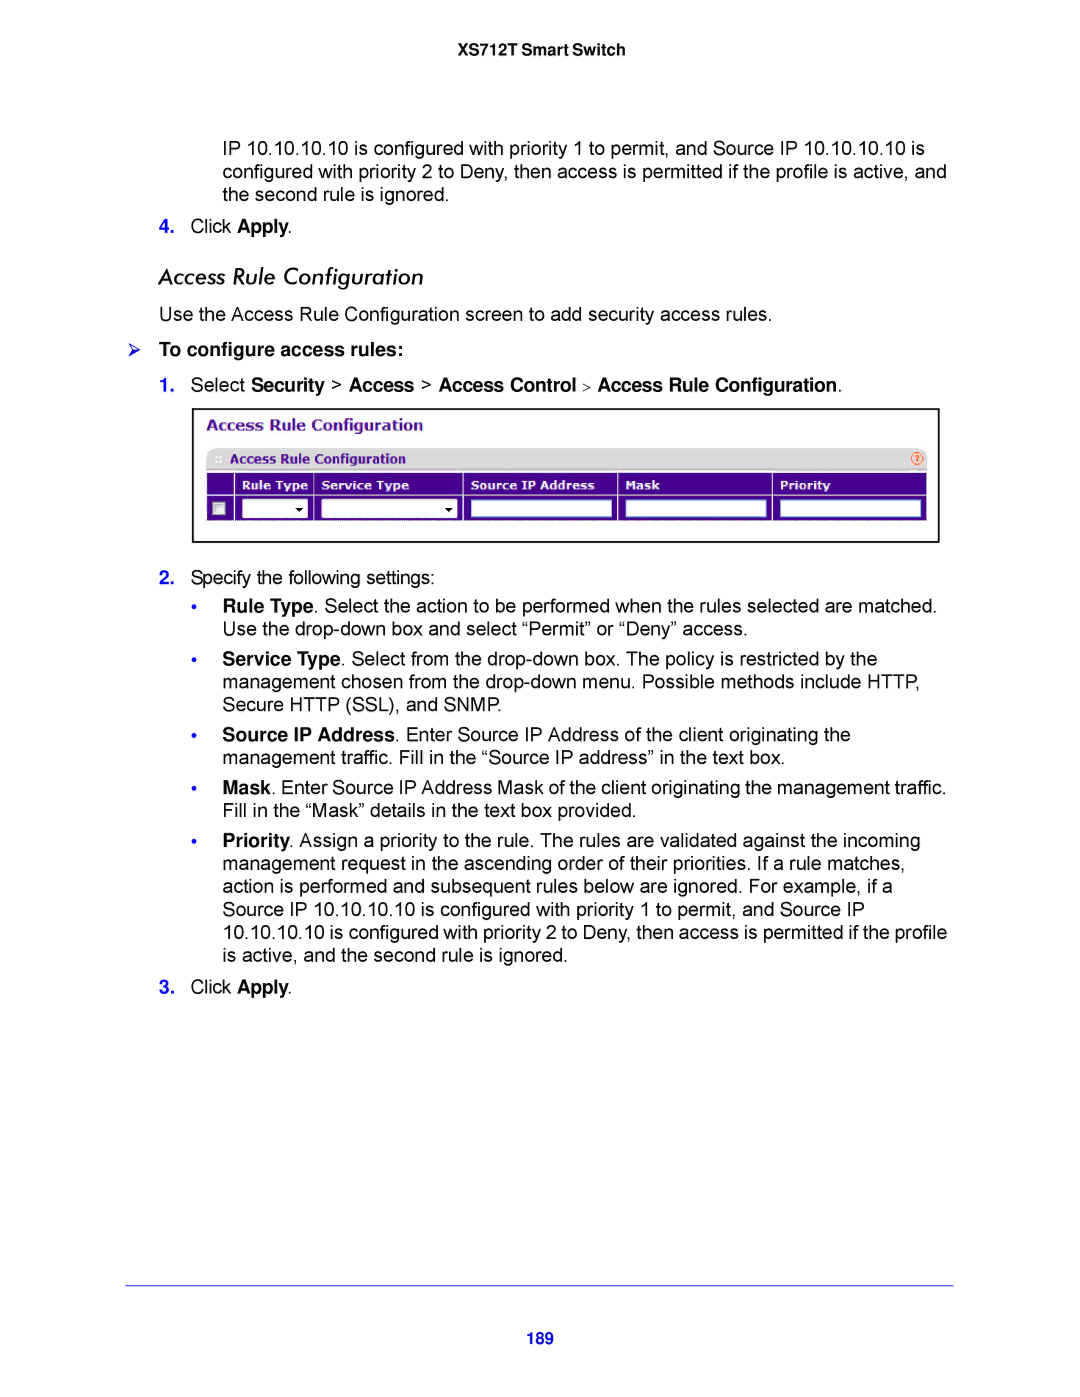
1.Select Security > Access > Access Control > Access Rule Configuration.
2.Specify the following settings:
•Rule Type. Select the action to be performed when the rules selected are matched. Use the
•Service Type. Select from the
•Source IP Address. Enter Source IP Address of the client originating the management traffic. Fill in the “Source IP address” in the text box.
•Mask. Enter Source IP Address Mask of the client originating the management traffic. Fill in the “Mask” details in the text box provided.
•Priority. Assign a priority to the rule. The rules are validated against the incoming management request in the ascending order of their priorities. If a rule matches, action is performed and subsequent rules below are ignored. For example, if a Source IP 10.10.10.10 is configured with priority 1 to permit, and Source IP 10.10.10.10 is configured with priority 2 to Deny, then access is permitted if the profile is active, and the second rule is ignored.