XS712T Smart Switch
SNMP
This section describes how to configure the Simple Network Management Protocol (SNMP) version 1 and SNMP version 2 information on the switch. For information about configuring the SNMPv3 administrative profile, see Use SNMPv3 on page 21.
SNMPV1/V2
The screens under the SNMPV1/V2 link allow you to configure SNMPv1/v2 community information, traps, and trap flags.
Configure the SNMP Community
By default, two SNMP Communities exist:
•Private, with Read/Write privileges and status set to Enable.
•Public, with Read Only privileges and status set to Enable.
These are
Use this screen when you are using the SNMPv1 and SNMPv2c protocol.
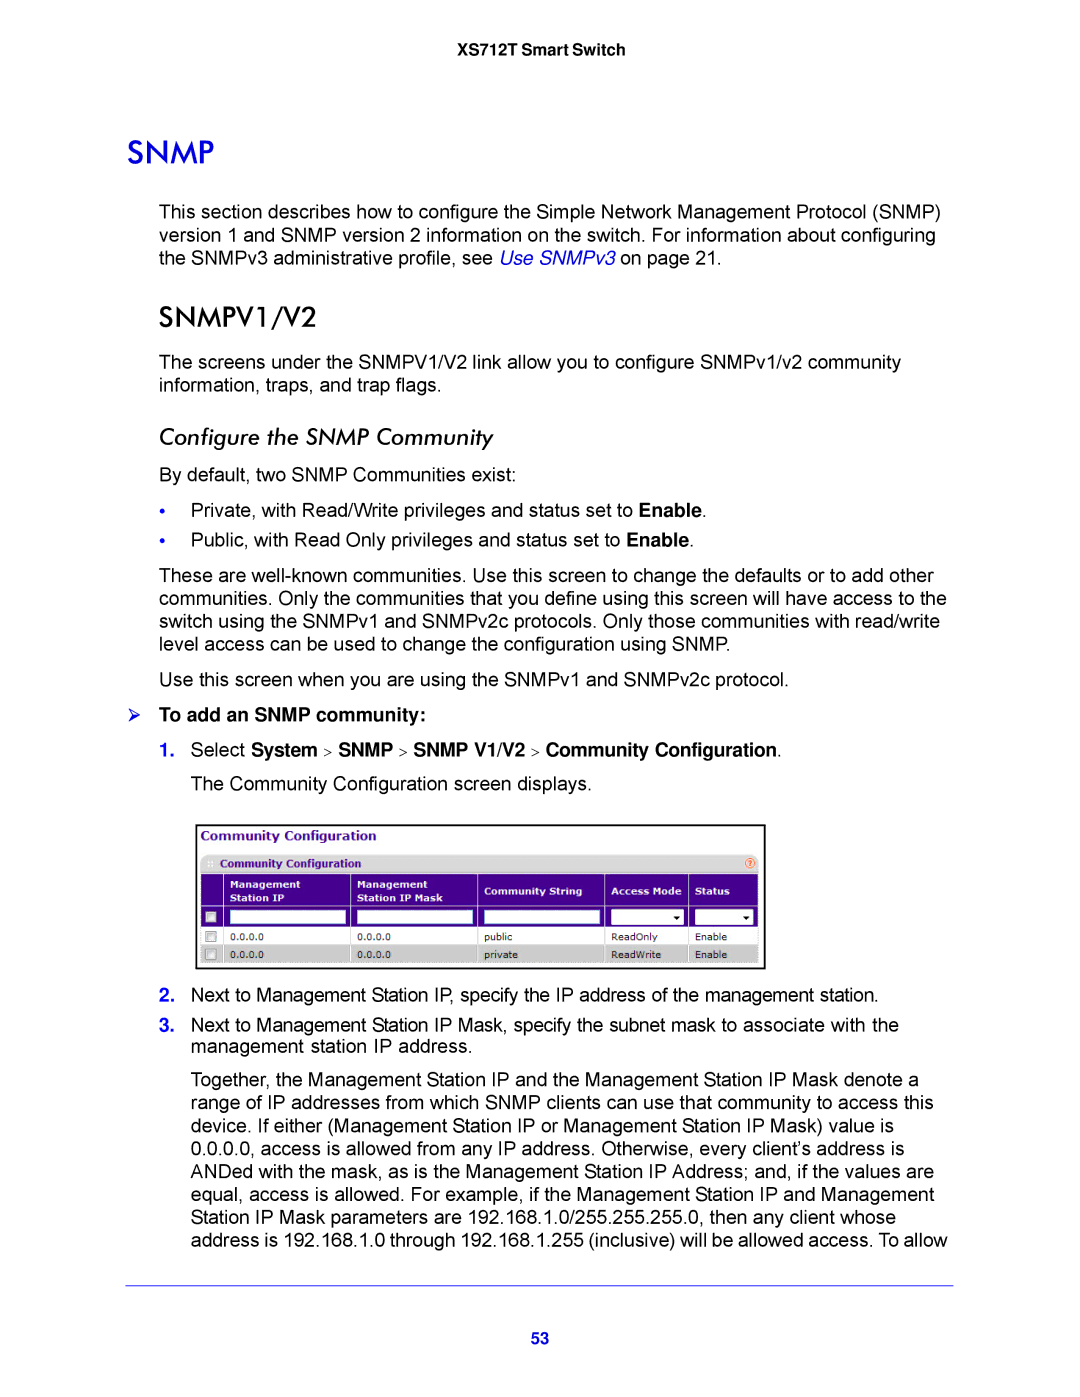
To add an SNMP community:
1.Select System > SNMP > SNMP V1/V2 > Community Configuration. The Community Configuration screen displays.
2.Next to Management Station IP, specify the IP address of the management station.
3.Next to Management Station IP Mask, specify the subnet mask to associate with the management station IP address.
Together, the Management Station IP and the Management Station IP Mask denote a range of IP addresses from which SNMP clients can use that community to access this device. If either (Management Station IP or Management Station IP Mask) value is 0.0.0.0, access is allowed from any IP address. Otherwise, every client’s address is ANDed with the mask, as is the Management Station IP Address; and, if the values are equal, access is allowed. For example, if the Management Station IP and Management Station IP Mask parameters are 192.168.1.0/255.255.255.0, then any client whose address is 192.168.1.0 through 192.168.1.255 (inclusive) will be allowed access. To allow
53