ENGLISH
FRANÇAIS
Start | Mise en marche |
Quick Start
✤This device is a Camcorder and a Digital Still Camera in one system and provides a variety of functions. Please read this manual in its entirety.
✤Before using the device, install the accessories in the following order:
Prise en main rapide
✤Cet appareil combine un caméscope et un appareil photo numérique et est doté d’une multitude de fonctions. Veuillez lire ce manuel dans son intégralité.
✤Avant d’utiliser cet appareil, installez les accessoires dans l’ordre suivant.
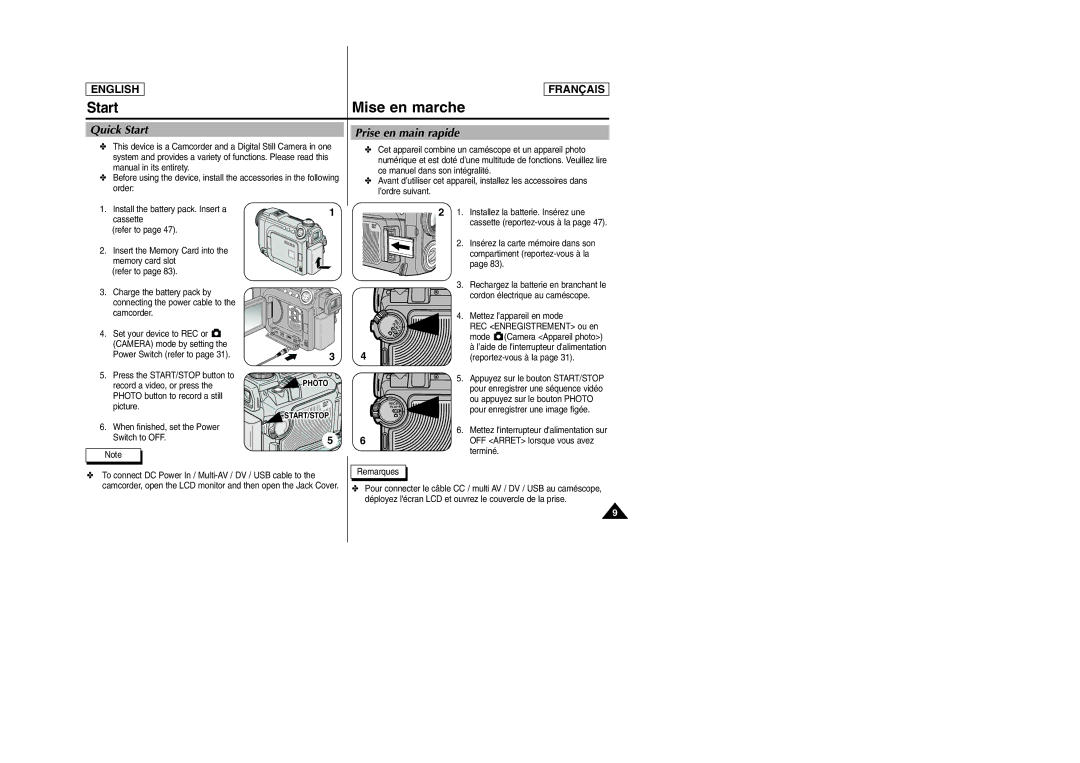
1.Install the battery pack. Insert a cassette
(refer to page 47).
2.Insert the Memory Card into the memory card slot
(refer to page 83).
3.Charge the battery pack by connecting the power cable to the camcorder.
4.Set your device to REC or ![]() (CAMERA) mode by setting the Power Switch (refer to page 31).
(CAMERA) mode by setting the Power Switch (refer to page 31).
5.Press the START/STOP button to record a video, or press the PHOTO button to record a still picture.
6.When finished, set the Power Switch to OFF.
Note
1
3
![]()
![]()
![]() PHOTOPHOTO
PHOTOPHOTO
![]()
![]()
![]() START/STOPSTART/STOP
START/STOPSTART/STOP
![]() 5
5 ![]()
2 1. | Installez la batterie. Insérez une |
| cassette |
2. | Insérez la carte mémoire dans son |
| compartiment |
| page 83). |
3. | Rechargez la batterie en branchant le |
| cordon électrique au caméscope. |
4. | Mettez l’appareil en mode |
| REC <ENREGISTREMENT> ou en |
| mode (Camera <Appareil photo>) |
4 | à l’aide de l'interrupteur d'alimentation |
5. | Appuyez sur le bouton START/STOP |
| pour enregistrer une séquence vidéo |
| ou appuyez sur le bouton PHOTO |
| pour enregistrer une image figée. |
6. | Mettez l'interrupteur d'alimentation sur |
6 | OFF <ARRET> lorsque vous avez |
| terminé. |
✤To connect DC Power In /
Remarques
✤Pour connecter le câble CC / multi AV / DV / USB au caméscope, déployez l'écran LCD et ouvrez le couvercle de la prise.
9
