ENGLISH
FRANÇAIS
The Camera: Basic Picture Taking | L’appareil photo Prise de photos simple |
Taking and Viewing Your First Photo
Taking Still Images:  (PROGRAM) Mode
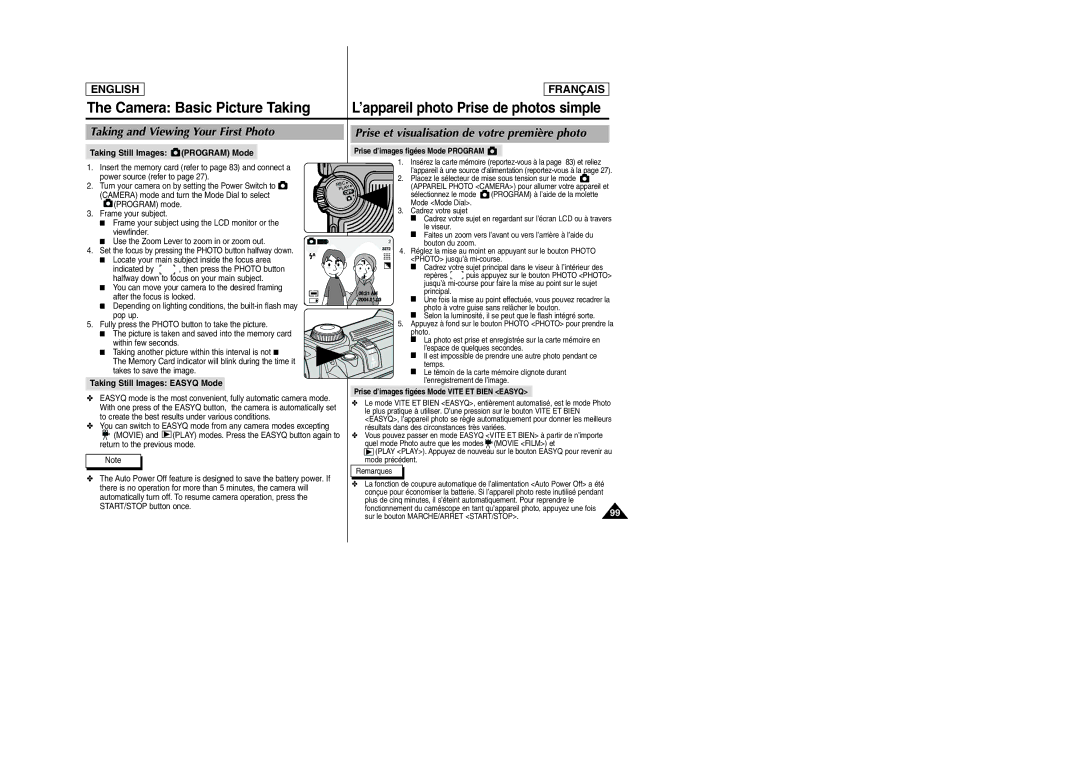
1. Insert the memory card (refer to page 83) and connect a power source (refer to page 27).
2. Turn your camera on by setting the Power Switch to ![]() (CAMERA) mode and turn the Mode Dial to select
(CAMERA) mode and turn the Mode Dial to select
![]() (PROGRAM) mode.
(PROGRAM) mode.
3.Frame your subject.
■ Frame your subject using the LCD monitor or the
viewfinder.
■ Use the Zoom Lever to zoom in or zoom out.
4. Set the focus by pressing the PHOTO button halfway down. ■ Locate your main subject inside the focus area
indicated by ![]()
![]() , then press the PHOTO button halfway down to focus on your main subject.
, then press the PHOTO button halfway down to focus on your main subject.
■You can move your camera to the desired framing
after the focus is locked.
■Depending on lighting conditions, the
5.Fully press the PHOTO button to take the picture.
■The picture is taken and saved into the memory card
within few seconds.
■ Taking another picture within this interval is not ■ The Memory Card indicator will blink during the time it takes to save the image.
Taking Still Images: EASYQ Mode
✤EASYQ mode is the most convenient, fully automatic camera mode. With one press of the EASYQ button, the camera is automatically set to create the best results under various conditions.
✤You can switch to EASYQ mode from any camera modes excepting
![]() (MOVIE) and
(MOVIE) and ![]()
![]()
![]() (PLAY) modes. Press the EASYQ button again to return to the previous mode.
(PLAY) modes. Press the EASYQ button again to return to the previous mode.
Note
✤The Auto Power Off feature is designed to save the battery power. If there is no operation for more than 5 minutes, the camera will automatically turn off. To resume camera operation, press the START/STOP button once.
Prise et visualisation de votre première photo
Prise d’images figées Mode PROGRAM
1.Insérez la carte mémoire
l’appareil à une source d’alimentation
2.Placez le sélecteur de mise sous tension sur le mode ![]()
(APPAREIL PHOTO <CAMERA>) pour allumer votre appareil et
sélectionnez le mode ![]() (PROGRAM) à l’aide de la molette Mode <Mode Dial>.
(PROGRAM) à l’aide de la molette Mode <Mode Dial>.
3.Cadrez votre sujet
■Cadrez votre sujet en regardant sur l’écran LCD ou à travers le viseur.
■Faites un zoom vers l’avant ou vers l’arrière à l’aide du
2bouton du zoom.
4. Réglez la mise au moint en appuyant sur le bouton PHOTO <PHOTO> jusqu’à
■ Cadrez votre sujet principal dans le viseur à l’intérieur des
repères ![]()
![]() puis appuyez sur le bouton PHOTO <PHOTO> jusqu’à
puis appuyez sur le bouton PHOTO <PHOTO> jusqu’à
■ Une fois la mise au point effectuée, vous pouvez recadrer la photo à votre guise sans relâcher le bouton.
■ Selon la luminosité, il se peut que le flash intégré sorte.
5.Appuyez à fond sur le bouton PHOTO <PHOTO> pour prendre la
photo.
■La photo est prise et enregistrée sur la carte mémoire en
l’espace de quelques secondes.
■ Il est impossible de prendre une autre photo pendant ce temps.
■Le témoin de la carte mémoire clignote durant l’enregistrement de l’image.
Prise d’images figées Mode VITE ET BIEN <EASYQ>
✤Le mode VITE ET BIEN <EASYQ>, entièrement automatisé, est le mode Photo le plus pratique à utiliser. D’une pression sur le bouton VITE ET BIEN <EASYQ>, l’appareil photo se règle automatiquement pour donner les meilleurs résultats dans des circonstances très variées.
✤Vous pouvez passer en mode EASYQ <VITE ET BIEN> à partir de n’importe
quel mode Photo autre que les modes ![]() (MOVIE <FILM>) et
(MOVIE <FILM>) et
![]() (PLAY <PLAY>). Appuyez de nouveau sur le bouton EASYQ pour revenir au mode précédent.
(PLAY <PLAY>). Appuyez de nouveau sur le bouton EASYQ pour revenir au mode précédent.
Remarques
✤La fonction de coupure automatique de l’alimentation <Auto Power Off> a été conçue pour économiser la batterie. Si l’appareil photo reste inutilisé pendant
plus de cinq minutes, il s’éteint automatiquement. Pour reprendre le |
| |
fonctionnement du caméscope en tant qu’appareil photo, appuyez une fois | 99 | |
sur le bouton MARCHE/ARRET <START/STOP>. | ||
|
