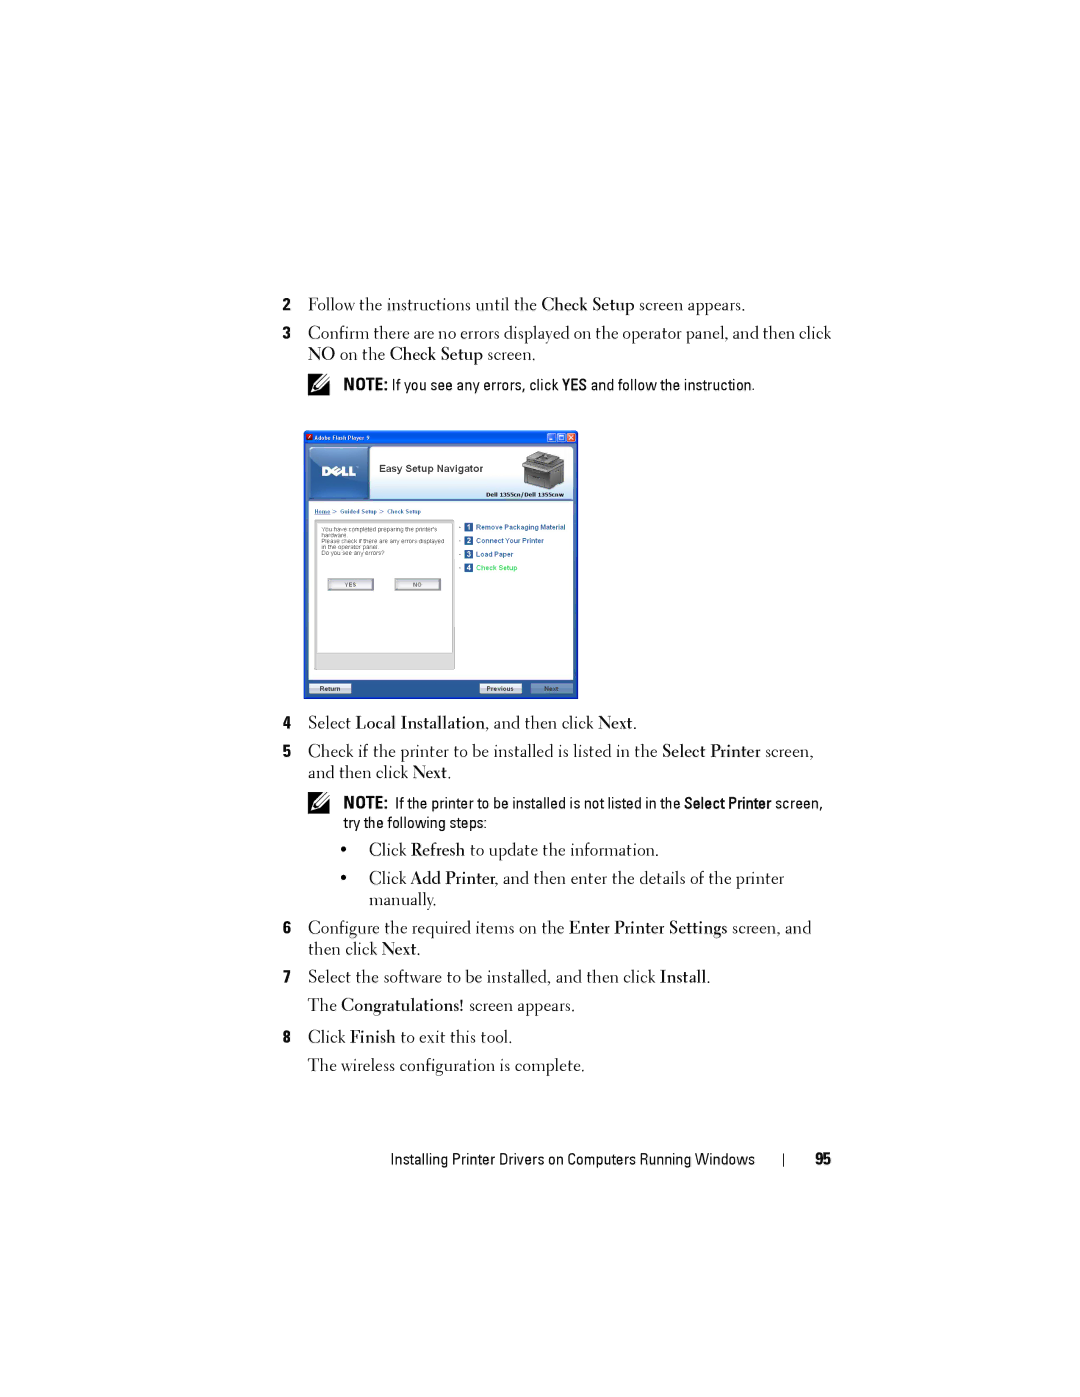
2Follow the instructions until the Check Setup screen appears.
3Confirm there are no errors displayed on the operator panel, and then click NO on the Check Setup screen.
NOTE: If you see any errors, click YES and follow the instruction.
4Select Local Installation, and then click Next.
5Check if the printer to be installed is listed in the Select Printer screen, and then click Next.
NOTE: If the printer to be installed is not listed in the Select Printer screen, try the following steps:
•Click Refresh to update the information.
•Click Add Printer, and then enter the details of the printer manually.
6Configure the required items on the Enter Printer Settings screen, and then click Next.
7Select the software to be installed, and then click Install. The Congratulations! screen appears.
8Click Finish to exit this tool.
The wireless configuration is complete.
Installing Printer Drivers on Computers Running Windows
95
