5 | Server Path | For SMB | ||||
|
| To store the scanned document in the share folder directly | ||||
|
| without creating any subfolder, leave the space blank. | ||||
|
| To store the scanned document in the folder you created | ||||
|
| under the share folder, enter the path as following. | ||||
|
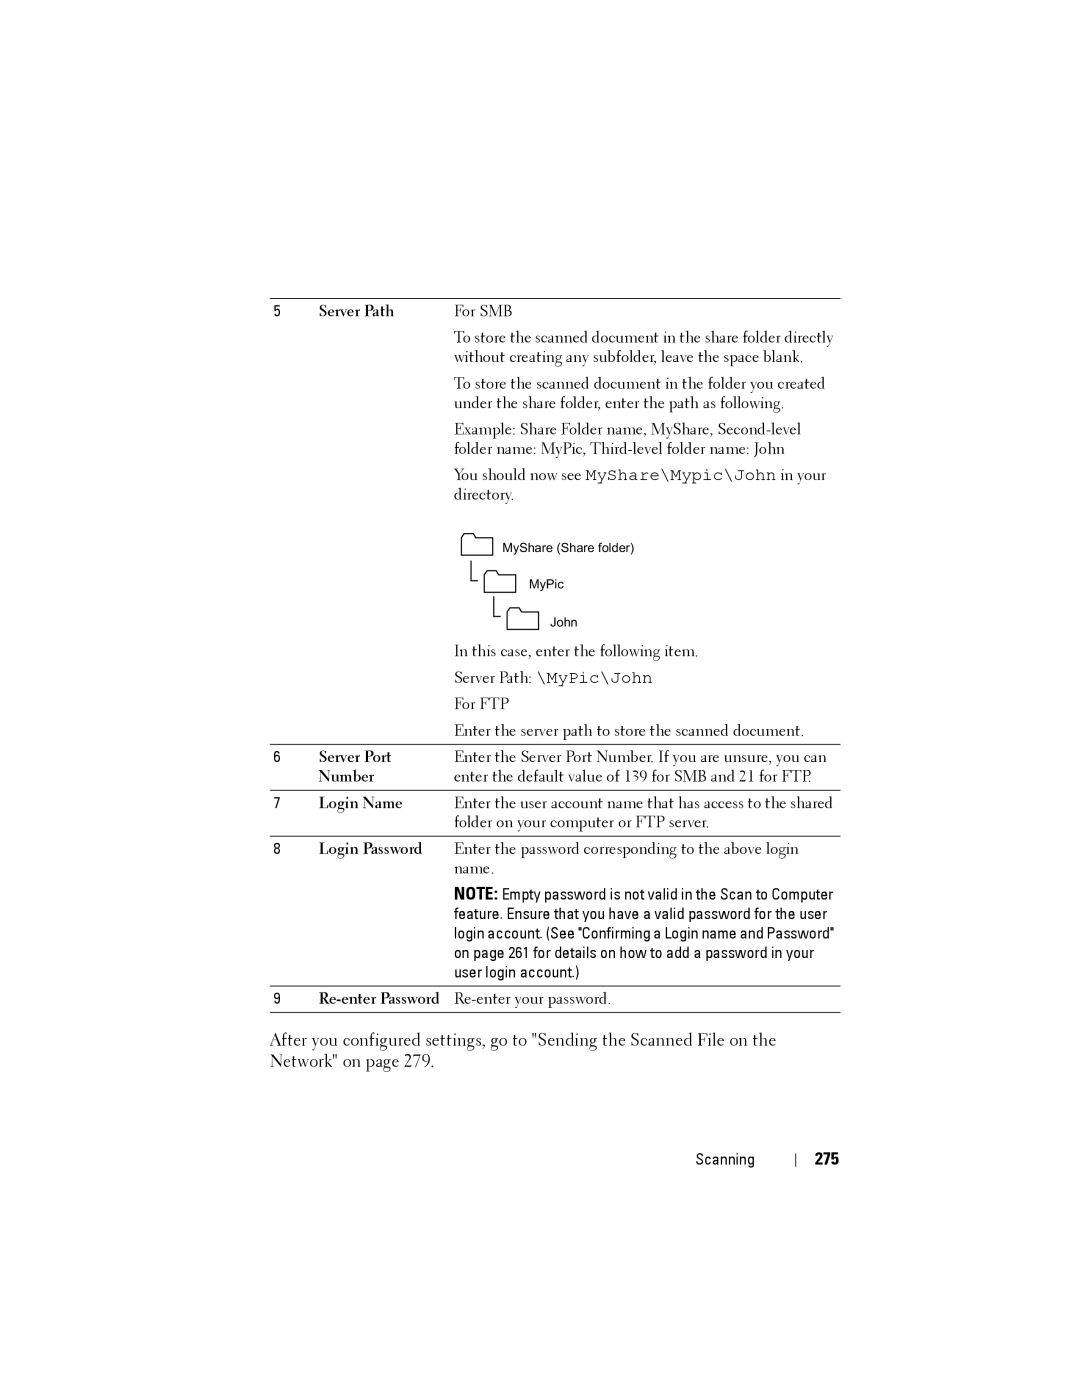
| Example: Share Folder name, MyShare, | ||||
|
| folder name: MyPic, | ||||
|
| You should now see MyShare\Mypic\John in your | ||||
|
| directory. | ||||
|
|
|
|
|
| MyShare (Share folder) |
|
|
|
|
|
| MyPic |
|
|
|
|
|
| |
|
|
|
| |||
|
|
|
|
|
| John |
|
|
|
|
|
| |
|
|
|
|
|
| |
|
| In this case, enter the following item. | ||||
|
| Server Path: \MyPic\John | ||||
|
| For FTP | ||||
|
| Enter the server path to store the scanned document. | ||||
|
|
|
|
|
|
|
6 | Server Port | Enter the Server Port Number. If you are unsure, you can | ||||
| Number | enter the default value of 139 for SMB and 21 for FTP. | ||||
|
|
|
|
|
|
|
7 | Login Name | Enter the user account name that has access to the shared | ||||
|
| folder on your computer or FTP server. | ||||
8Login Password Enter the password corresponding to the above login name.
NOTE: Empty password is not valid in the Scan to Computer feature. Ensure that you have a valid password for the user login account. (See "Confirming a Login name and Password" on page 261 for details on how to add a password in your user login account.)
9
After you configured settings, go to "Sending the Scanned File on the Network" on page 279.
Scanning