Document Centre 490/480/470/460 ST
Xerox Document Centre System Administration Guide
Xerox Document Centre System Administration Guide
March 9
European Union Declaration of Conformity
Approvals and Certifications
January 1
Xerox Document Centre System Administration Guide
Electricity at Work Regulations
Electricity at Work Regulation in England and Wales UK only
Vii
Viii
Xerox Document Centre System Administration Guide
Xerox Document Centre System Administration Guide
Table of Contents
Windows 2000 LPR and IPP Printing
Internet Services
Microsoft NetBEUI Networks
Microsoft TCP/IP Networks
Network Fax
Network Troubleshooting
Scan Setup without CentreWare
Network Accounting
Port 9100 Printing
Mail
Glossary Index
Requirements
Introduction
For detailed safety information about this product refer to
How to Use this Document
Document Centre Reference Guide
Document Centre Options
Services Guide
Conventions used in this document
Other Sources of Information
Setup and Copy / Scan / Fax features information
CentreWare information
Xerox on the Web
What is the ST?
ST Model Features
User Interface
Network Connections
Before You Connect to a 100BaseT Ethernet Network
How to Connect to Ethernet or Token Ring Networks
Speed
Network Setup button
How to set the Ethernet Speed
Speed 10Mbps, 100Mbps, or Auto
Before You Connect to a Token Ring Network
Press the Token Ring Settings button
How to set the Ring Speed and Source Routing
How to set the Hardware MAC Address
Xerox Document Centre System Administration Guide
Before you start
Dynamic/Static IP Addresses
Dynamic Addressing DHCP, BOOTP, or Rarp
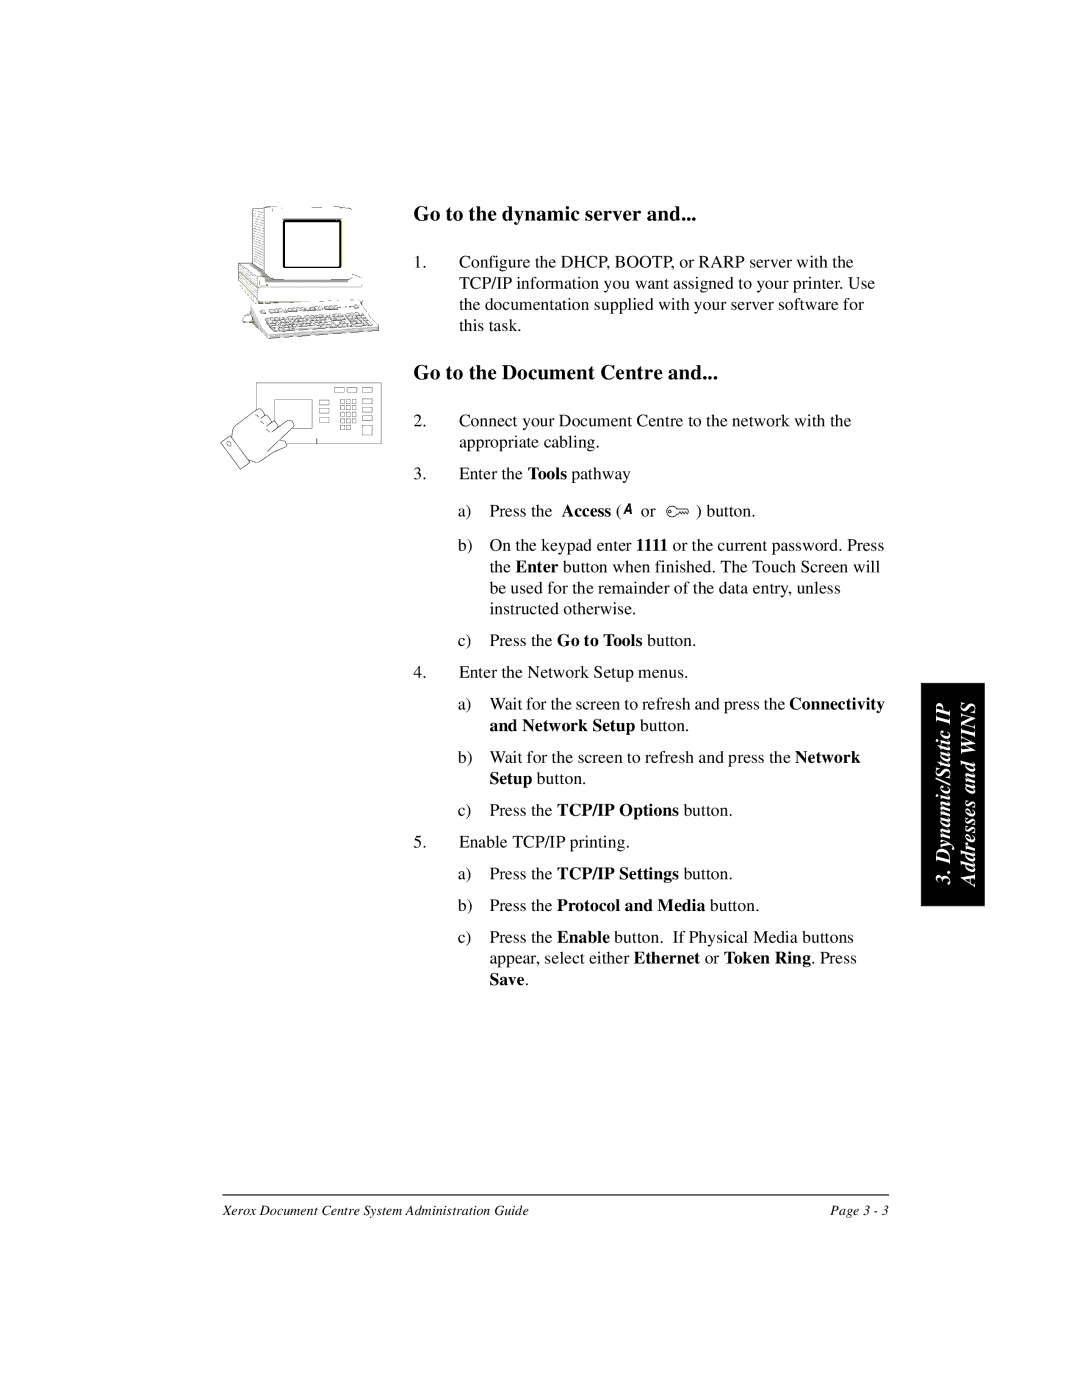
Go to the Document Centre
Go to the dynamic server
Press the Protocol and Media button
Press the Subnet and Gateway button
Select System Setting
Select Configuration Report
Select Print Configuration Report Now
Press the TCP/IP Line Printer button
TCP/IP Settings screen
Addressing DHCP, BOOTP, or Rarp
How to Connect to Ethernet or Token Ring Networks to
Static Addressing
Save
Subnet and Gateway
Press the Cancel button Press the Exit Tools button
100BaseT Ethernet or Token Ring Quick Install Card supplied
Windows Internet Name Service Wins Installation
Before You Start
Press the Transport and Media button
Press the Microsoft Networks button
Press the Workgroup and Host button
Go to the workstation
OS/2 TCP/IP Networks Chapter
Where to go from here
Xerox Document Centre System Administration Guide
CentreWare Device Admin Wizard
Go to the Document Centre
Go to the workstation
Go to a workstation
Frame type, Print Server Name, and the Print Server
How to Connect to Ethernet or Token Ring
Novell NetWare 4.X and 5.X NDS Networks
Guide
ALL Print Servers you create must have a password. When your
Novell NetWare 4.X and 5.X NDS Networks
Xerox Document Centre System Administration Guide
Go to a workstation
Xerox Document Centre System Administration Guide
1x or Mode Novell NetWare 5.x in Bindery
Novell NetWare 3.1x or 4.x/5.x in Bindery Mode
Go to the Document Centre
Press the Primary File Server button
To change the desired your printer, press
1x or Mode Novell NetWare 5.x in Bindery
Go to a workstation
Unix Networks
If you have not already assigned TCP/IP information
Document entitled CentreWare Network Services Guide
Mount the CentreWare Network Services CD-ROM
Section of the Document Centre Reference Guide for
Xerox Document Centre System Administration Guide
Microsoft NetBEUI Networks
Go to the Document Centre
Press the Printer Description button
Xerox Document Centre System Administration Guide
Windows for Workgroups Users
Go to the workstations
Xerox Document Centre System Administration Guide
Microsoft TCP/IP Networks
If you have not already assigned TCP/IP information
Go to the Document Centre
Press the Printer Description button
Microsoft TCP/IP Networks
Vices Guide
Use the CentreWare Network Services CD-ROM to install
Entitled Go to the Server/Workstation
Windows 2000 LPR and IPP Printing
If you have not already assigned TCP/IP information
To create a LPR Printer
Go to the Server/Workstation
To Create an IPP printer
Address Assignment & Wins section but do not change any
Microsoft Windows NT 4.X Server Network TCP/IP
If you have not already assigned TCP/IP information
Port. Click New Port
Go to the server
This will open up the Add LPR compatible printer
Xerox Document Centre System Administration Guide
Section of the Document Centre 490/480/470/460 Refer
Xerox Document Centre System Administration Guide
12. OS/2 TCP/IP Networks
If you have not already assigned TCP/IP information
ROM
Xerox Document Centre System Administration Guide
13. OS/2 NetBEUI Networks
Go to the Document Centre
Press the Printer Description button
Xerox Document Centre System Administration Guide
Double Click on Shared Resources and Network Connections
Double-click on Start File and Print Client
Xerox Document Centre System Administration Guide
OS/2 NetBEUI Networks
Xerox Document Centre System Administration Guide
Macintosh Networks AppleTalk
Go to the Document Centre
Macintosh Networks AppleTalk
Go to the workstation
Banyan Vines Network
Banyan Vines Network
Select Cancel
Banyan Vines Network
Configure Paper Formats Screen will be displayed
Select Banyan Print Service
Change the Printing jobs and the Accepting jobs fields
Xerox Document Centre System Administration Guide
Easy Setup
Internet Services
Overview
Printer and Consumable Status
Remote Configuration and Management
Remote Diagnostics and Troubleshooting
Simplified Navigation
Who should read this chapter
How to Get Help
Connectivity and Network Setup button
Configure your printer
Internet Services
SunOS With patch Available From
Browser Configuration
Web Site
Enable Refresh in the Browser
Enable Java Script in your Web Browser
Document Centre Home
Internet Services Interface Features
Pages and Frames
Buttons
1111
Administration Logon
How to change the Administrator Password
Admin
Internet Services Use
Print Documents with Job Submission on the Services
To submit a document to print
How To Print from your Web Browser
Proof
Delayed
Types of Printing
Immediate
Releasing a Proof Print Job at the Document Centre
Releasing a Secure Print Job at the Document Centre
Scanning Functionality
Scanning Documents
Distribution Templates
To access Distribution Templates
Select Distribution Templates
If you want to Do this
Template Management
Access the Services Page and access Distribution Templates
To create a new template
Distribution Templates
General Settings
Template Settings
To modify the General settings
To edit scan settings
Scan Settings
Category Setting Description
Internet Services
Click the Apply New Settings button
Distribution Settings Filing Destination
To edit a filing destination
To delete a filing destination
To define a new destination
Filing
Distribute to File
Destination
Recipients
Distribute to Fax
To edit fax information
Fax
Document Management
Deleting Distribution Templates
Default template cannot be deleted
To Delete a template
Updating the Template List at the Document Centre
To update the template list
Press All Services then press Network Scanning
Copying Distribution Templates
Manage Jobs with Internet Services
Viewing the Active Jobs List
Active Jobs
To delete jobs from the jobs list
Deleting Jobs
Viewing General Status
View Document Centre Status with Internet Services
To view printer status
To view alert messages
Viewing Active Alert Messages
To view paper supply and output tray status
Viewing Tray Status
Accessing the Document Centre Properties
View Document Centre Properties with Internet Services
To set identification for the Document Centre
Description
To view Document Centre configuration information
Configuration
To view usage counters
Billing Counters
To set job deletion permission
Job Management
To set an Ethernet speed
Connectivity
Physical Connections
Ethernet
Rated Speed drop-down
Parallel Port
To specify parallel port settings
Token Ring
To specify token ring settings
Appletalk
Network Protocols
Printer Name
Banyan Vines
Name
Word
NetWare
To specify NetWare settings
NDS Context
Type the Print Server Name
TCP/IP
To specify TCP/IP settings
Address, Subnet Mask, and Gateway Address
IP Address Resolution drop-down list
Click to select for Dynamic DNS Registration enabled
Type a Host Name
Simple Network Management Protocol Snmp
To configure Snmp community names
Internet Services
Click Add IP Address
To Add IP Addresses to the Trap Destination Addresses list
To Add IPX Addresses to the Trap Destination Addresses List
Click Add IPX Address
To delete IP or IPX Trap Destinations
To edit IP or IPX Trap Destinations
Microsoft Networking
Physical Connection is read only if Transport is NetBIOS/IP
Comment in SMB Host Name Comment
To specify LPR/LPD settings
Line Printer Daemon LPR/LPD
Mum Connections
Xerox Document Centre System Administration Guide
Raw TCP/IP Printing
To specify Raw TCP/IP printing settings
Xerox Document Centre System Administration Guide
To modify the Http configuration settings
Http Settings
Mum Connections
MaxConnectCount controls the maximum number of clients that
Defining IP Restrictions
Setting Security
To grant permissions
Xerox Document Centre System Administration Guide
To remove an IP address from the list
To restrict permissions
To move IP Address Permissions within the list
Printing
Services
General
Xerox Document Centre System Administration Guide
PostScript
Printer Languages
Select Treat LF as CR+LF
PCL
Tagged Image File Format Tiff
To view Tiff settings
To specify general settings
Displays the Default Document Filing Policy
Select to enable a Confirmation Sheet
To specify repository setup settings for TCP/IP
Repository Setup
Xerox Document Centre System Administration Guide
To specify repository setup settings for NetWare
To specify template pool setup settings for TCP/IP
Template Pool Setup
To specify template pool setup settings for NetWare
To create a default template for use with Internet Services
Default Template
Select Services, then select Distribution Templates
Internet Services
Options
Adjust Ment
Basic
Document
Append to Existing File adds the new file to
Distribute to File Settings
Distribute to Fax Settings
Document Management Fields
Machine Software Auto Upgrade Scheduling
Internet Services
Internet Messaging
Authentication Server
Kerberos Solaris
Kerberos Windows
To specify the Default Domain Controller and Alternates
NDS Novell 4,5
To specify the NDS Default Tree/Context and Alternates
SMB Windows NT 4 and Windows
To specify the SMB Default Domain and Alternates
To display the font list
Testing the Document Centre
Maintenance
Display a Font List
Internet Services
To install/upgrade machine software
Install Machine Software
Internet Services
To test device printing
Printing a Test
Getting Support
To view support information
Viewing Support Information
Problem Solving
Xerox Document Centre System Administration Guide
Network Troubleshooting
This TCP/IP Troubleshooting section
TCP/IP Troubleshooting
Basic TCP/IP Communication Problems
Obtain a Configuration Report from your printer
Example of logical or method
Any one of these important TCP/IP parameters if set
NetWare troubleshooting steps
NetWare Troubleshooting
Xerox Document Centre System Administration Guide
Microsoft NetBIOS/NetBEUI Troubleshooting
Xerox Document Centre System Administration Guide
OS/2 Troubleshooting TCP/IP
Xerox Document Centre System Administration Guide
AppleTalk Troubleshooting Steps
AppleTalk Troubleshooting
Xerox Document Centre System Administration Guide
Banyan Vines Troubleshooting
Print
Cancelled
Printer busy Job reached
Top of the queue and cannot
Copying Printing Faxing Scanning
Network Accounting
Xerox Document Centre System Administration Guide
Section entitled Go to the Document Centre
Internet Services Quick Install Card to configure your
Enter the Tools pathway
Go to the network accounting server
Verify Accounting is enabled
Activate the Document Centre
Enable Accounting in the print driver
Test the accounting function of the driver
Network Accounting Troubleshooting
Overview
Network Fax
FAX Installation for FTP
Select Repository Setup in the directory tree
Go to the FAX server
FAX Installation for IPX/SPX
Select Repository Setup in the directory tree
Go to the Fax server
TCP/IP FTP Troubleshooting
Network FAX Troubleshooting
NetWare IPX/SPX Troubleshooting
Xerox Document Centre System Administration Guide
Introduction
Scan Setup without CentreWare
Terminology used in this Chapter
Who Should Use This Guide
Network Scanning Services Guide guide now
What to Do Next
Traditional Scanning
Scanning Overview
Scanning with the Document Centre
Refer to the Network Scanning Services Guide for more
Scan Templates
Network Scanning Services Guide to use the CentreWare
Scanning Process
Scanning Process
Scan a hard copy document at the Document Centre
After pages have been scanned and converted to Tiff 6.0 or
User retrieves the files
Public Repositories
Overview of Repositories
Repository Filing Policy
Centre entitled Internet Services Guide
Repository Locking
Output Image Quality
Existing Accounts
Multiple Logins
Logging in to Multiple File Servers
Set Up Scanning NetWare Before You Start
Set up scanning
Set Up Options
Entitled Set up Scanning
Purpose Provided
General Installation Requirements
Set Up Scanning NetWare
Context
Test scanning
Document Centre supports Tiff File Formats
Installation process is now complete
Set Up Scanning FTP File Transfer Protocol Before you start
Scan Setup without CentreWare
Entitled Configure your printer
General Installation Requirements
Set up scanning TCP/IP
PaperPort allows you to annotate, organise, file and locate
Test scanning
To simplify integration with third-party software
Hints and Tips
Scan Setup without CentreWare
Filing Policy
Installation Considerations
Optical Character Recognition OCR
Scan Templates
Scan Troubleshooting
Problem Corrective Action
Error Messages
Remote directory lock failed
Protocol not running
Mail
Before You Start
Internet Messaging
Http
Select Exit Tools
Enable E-mail
Select Configuration Setup
Select Optional Services Select Scan to E-mail
Configuring Smtp
Click the Apply New Settings button to implement any
Configuring E-mail
Mail
Services and Internet Messaging
Ldap Directory Setup Internal Address Book
Select Ldap Directory
Port
Enter the Server IP Address or Host Name and optional
Enter any Optional Information required
Important Information about E-mail Access
Select Public Address Book
Public Address Book
Select Map Existing Address Book
Authentication Server
Authentication
For Setup Procedures for the Authentication Server see
Internet Services, in the Section called
Mail Authentication
Problem Corrective Action
Mail Troubleshooting
Problem Corrective Action
Port 9100 Printing
Port 9100 Printing
Before You Start
Go to the Document Center
Press the Protocol and Media button
Broadcast Address will be calculated automatically
Press the RAW TCP/IP Printing button Press Enable
Go to a workstation
Glossary
ARP Address
Resolution Protocol
Access With
AppleTalk
To its origin
Access/Collision
CSMA/CD Carrier
Form of noise on data transmission mediums that can reduce
Xerox Document Centre System Administration Guide
Transmission Agency Control Protocol/Internet
TCP/IP
Token
Telnet
Thicknet
Thinnet
Index
FAX
Printing
XSMDESC.DAT