(a)Insert a specimen, set WD at 30 mm, tilt at 0° and R at 0°. Set the accelerating voltage to 5 kV or less, Probe current mode to Normal and Focus mode to UHR. Then search for a structure of interest near the specimen center.
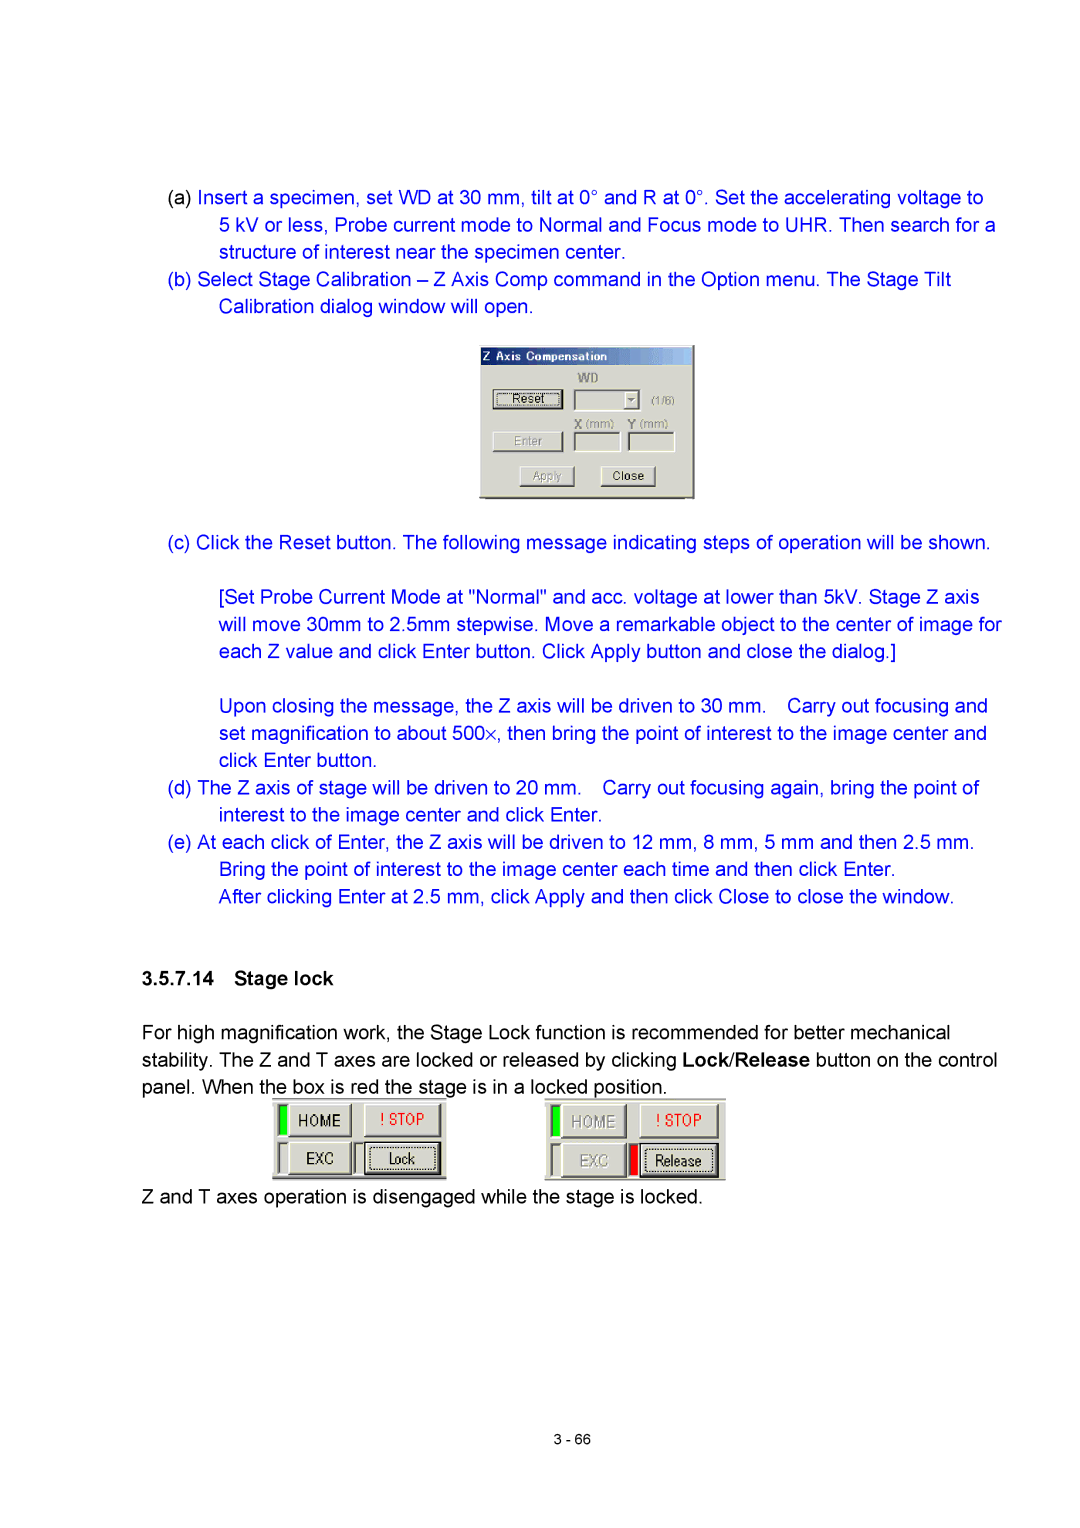
(b)Select Stage Calibration – Z Axis Comp command in the Option menu. The Stage Tilt Calibration dialog window will open.
(c) Click the Reset button. The following message indicating steps of operation will be shown.
[Set Probe Current Mode at "Normal" and acc. voltage at lower than 5kV. Stage Z axis will move 30mm to 2.5mm stepwise. Move a remarkable object to the center of image for each Z value and click Enter button. Click Apply button and close the dialog.]
Upon closing the message, the Z axis will be driven to 30 mm. Carry out focusing and set magnification to about 500× , then bring the point of interest to the image center and click Enter button.
(d)The Z axis of stage will be driven to 20 mm. Carry out focusing again, bring the point of interest to the image center and click Enter.
(e)At each click of Enter, the Z axis will be driven to 12 mm, 8 mm, 5 mm and then 2.5 mm. Bring the point of interest to the image center each time and then click Enter.
After clicking Enter at 2.5 mm, click Apply and then click Close to close the window.
3.5.7.14 Stage lock
For high magnification work, the Stage Lock function is recommended for better mechanical stability. The Z and T axes are locked or released by clicking Lock/Release button on the control panel. When the box is red the stage is in a locked position.
Z and T axes operation is disengaged while the stage is locked.
3 - 66
