(b) Data Entry
When recording scanning images, graphics and texts written using Data Entry function are recorded as they are shown on the scanning image.
When recording captured images using command buttons placed on the captured image window, graphics and texts written before capturing are embedded into captured images and recorded.
Note that they may be different from present displayed data.
If data embedding is not necessary, uncheck the Embed into Image on the Captured Image window.
Refer to <3.9.8 Data Entry function>
(c) CD Measurement data (option)
The measured data and cursors, together with Data Entry are saved, recorded, printed or copied with images.
3.6.3Setting Conditions for Image Capturing
Image Capturing records an image using a specified scanning mode and a specified resolution. Two methods, multi frame integration using FAST scanning speed and single frame slow scanning are available.
When capturing is started with TV or FAST scanning speed, the frame integration is performed. Single frame slow scanning is performed when capturing is started with slow scanning or reduced area scanning.
Fast scan integration is effective for specimens that may charge. Slow scan is advantageous in order to obtain
To select conditions for image capturing, use the following steps.
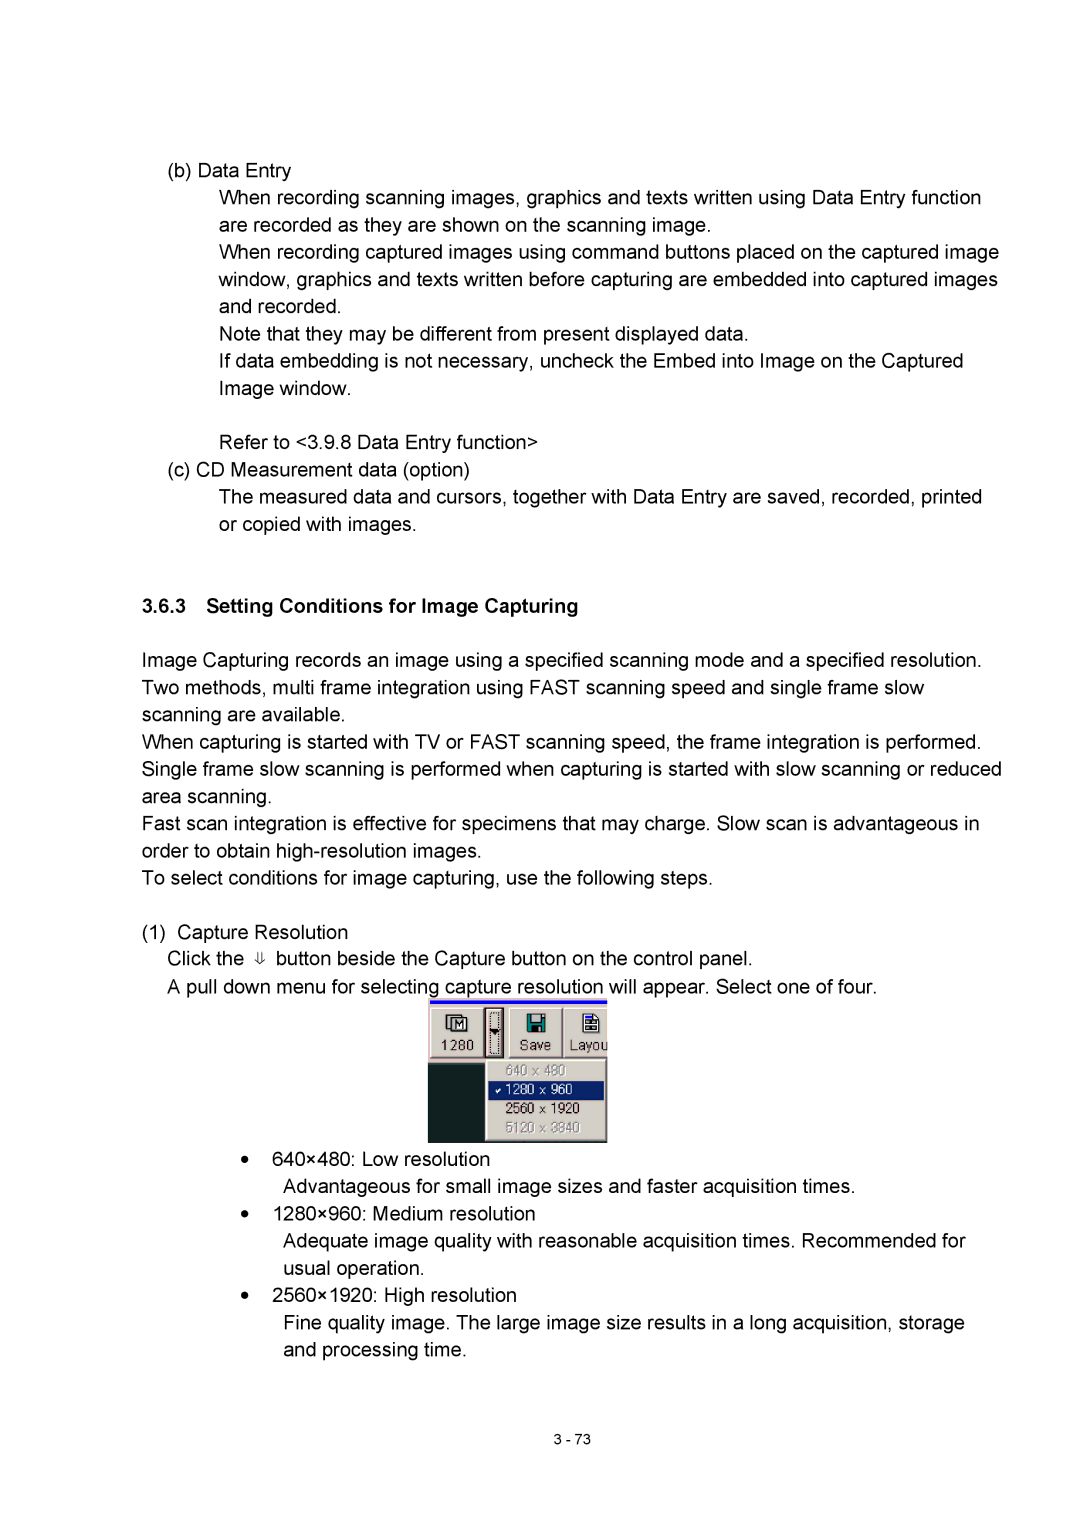
(1) Capture Resolution
Click the ⇓ button beside the Capture button on the control panel.
A pull down menu for selecting capture resolution will appear. Select one of four.
•640×480: Low resolution
Advantageous for small image sizes and faster acquisition times.
•1280×960: Medium resolution
Adequate image quality with reasonable acquisition times. Recommended for usual operation.
•2560×1920: High resolution
Fine quality image. The large image size results in a long acquisition, storage and processing time.
3 - 73