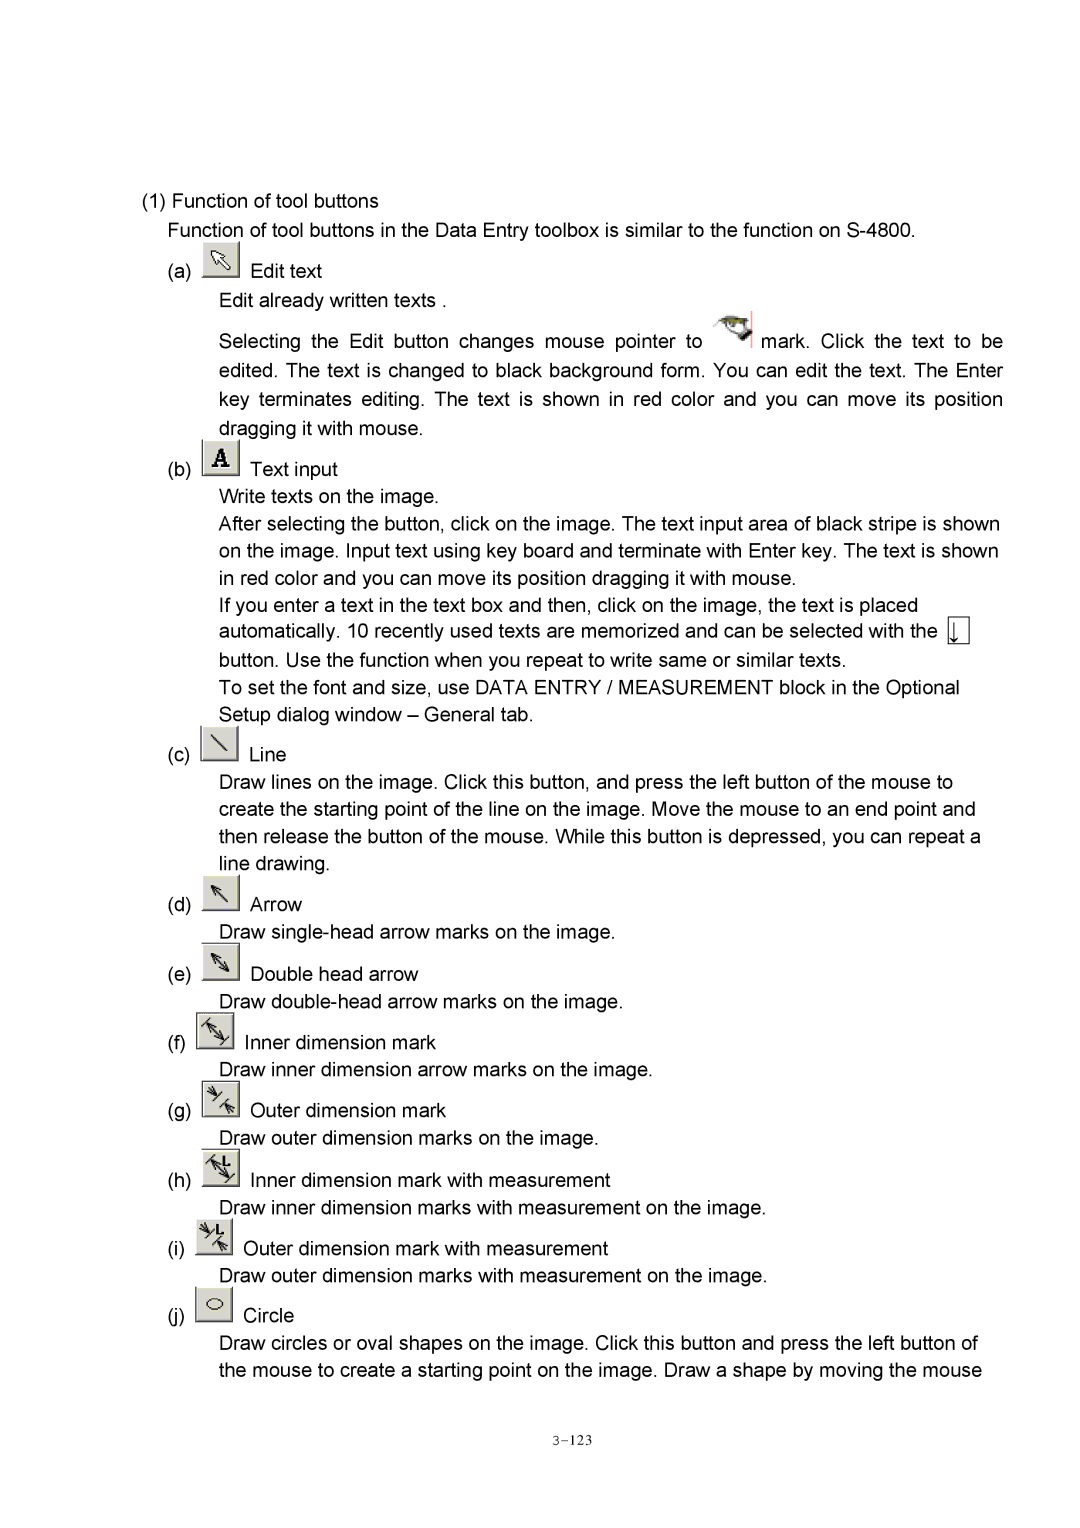
(1) Function of tool buttons
Function of tool buttons in the Data Entry toolbox is similar to the function on
(a) | Edit text |
| Edit already written texts . |
Selecting the Edit button changes mouse pointer to ![]() mark. Click the text to be edited. The text is changed to black background form. You can edit the text. The Enter key terminates editing. The text is shown in red color and you can move its position dragging it with mouse.
mark. Click the text to be edited. The text is changed to black background form. You can edit the text. The Enter key terminates editing. The text is shown in red color and you can move its position dragging it with mouse.
(b) ![]() Text input
Text input
Write texts on the image.
After selecting the button, click on the image. The text input area of black stripe is shown on the image. Input text using key board and terminate with Enter key. The text is shown in red color and you can move its position dragging it with mouse.
If you enter a text in the text box and then, click on the image, the text is placed automatically. 10 recently used texts are memorized and can be selected with the ↓
button. Use the function when you repeat to write same or similar texts.
To set the font and size, use DATA ENTRY / MEASUREMENT block in the Optional Setup dialog window – General tab.
(c) ![]() Line
Line
Draw lines on the image. Click this button, and press the left button of the mouse to create the starting point of the line on the image. Move the mouse to an end point and then release the button of the mouse. While this button is depressed, you can repeat a line drawing.
(d) ![]() Arrow
Arrow
Draw
(e) ![]() Double head arrow
Double head arrow
Draw
(f) ![]() Inner dimension mark
Inner dimension mark
Draw inner dimension arrow marks on the image.
(g) ![]() Outer dimension mark
Outer dimension mark
Draw outer dimension marks on the image.
(h) ![]() Inner dimension mark with measurement
Inner dimension mark with measurement
Draw inner dimension marks with measurement on the image.
(i) ![]() Outer dimension mark with measurement
Outer dimension mark with measurement
Draw outer dimension marks with measurement on the image.
(j) ![]() Circle
Circle
Draw circles or oval shapes on the image. Click this button and press the left button of the mouse to create a starting point on the image. Draw a shape by moving the mouse
