(13)Clean the aperture support and aperture holder by means of polishing paste, absorbent cotton (wound on a bamboo stick) and acetone. Cleaning should be done meticulously.
(14)Mount an aperture plate, new or cleaned up, on the aperture holder.
(15)Place the aperture support on the aperture holder and slightly tighten the aperture support fixing screw.
(16)Confirm that the aperture plate is appropriately mounted.
Tighten the aperture support fixing screw. Also make sure the aperture plate is retained fully by the aperture support.
(17)Insert the objective lens aperture unit straight into the column body. Be careful not to insert it upside down.
(18)Fix the flange to column body with four screws.
Connect two BNC connectors removed in above (4).
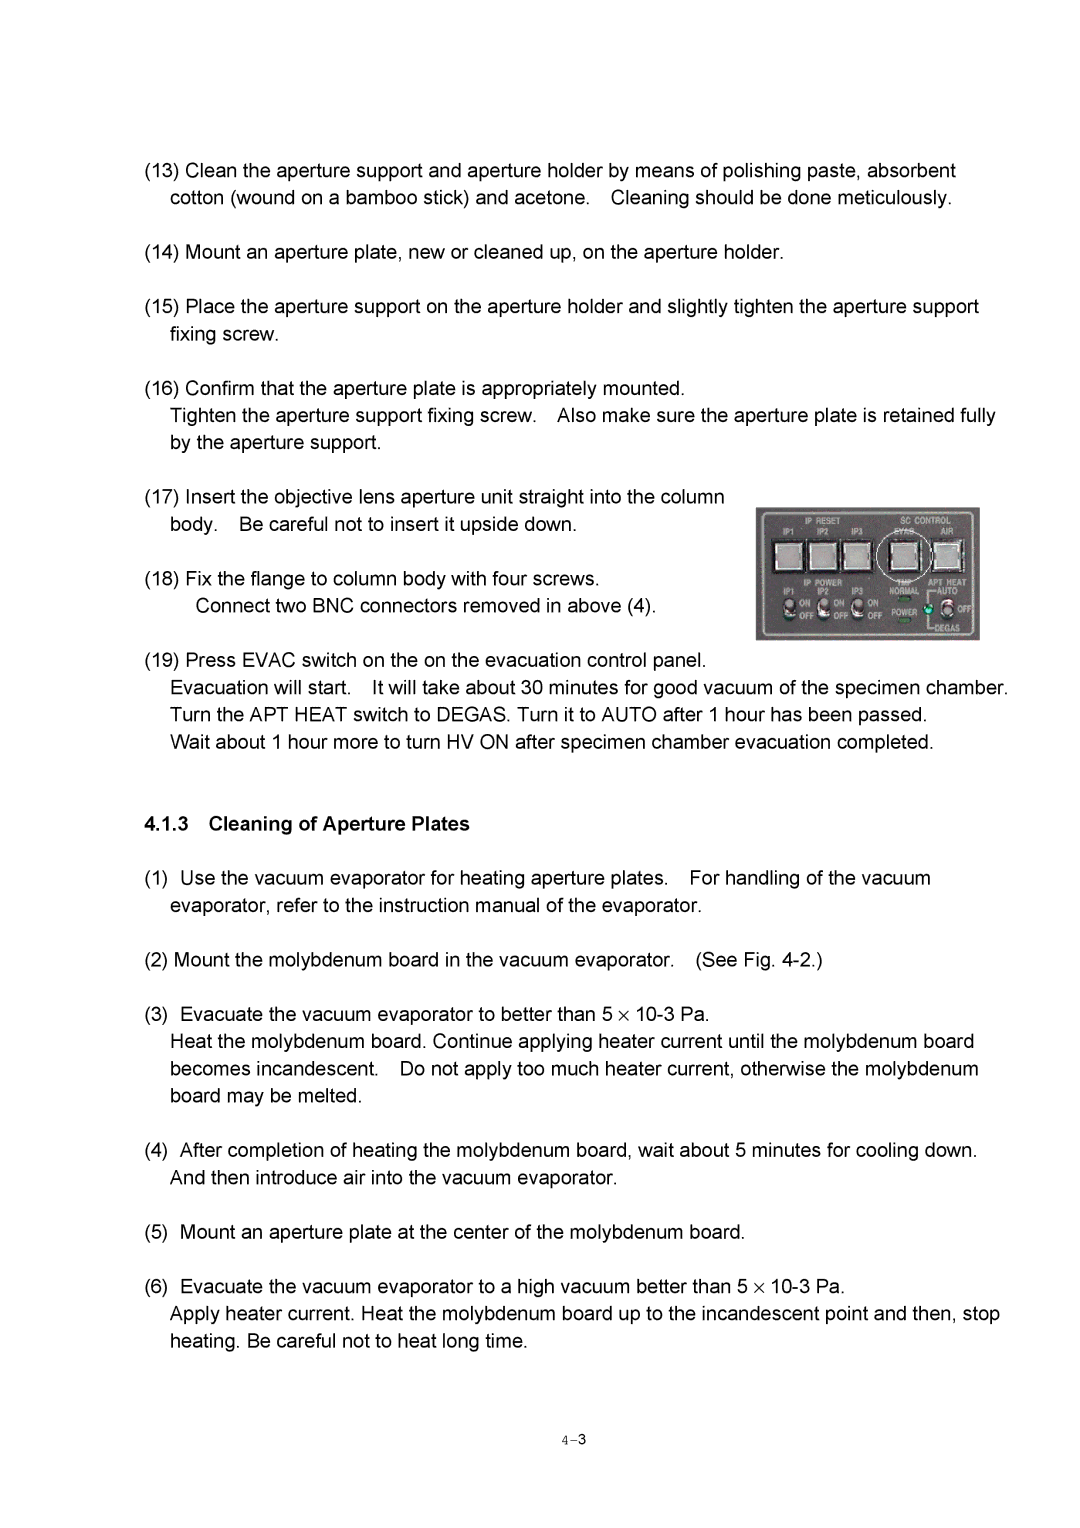
(19) Press EVAC switch on the on the evacuation control panel.
Evacuation will start. It will take about 30 minutes for good vacuum of the specimen chamber. Turn the APT HEAT switch to DEGAS. Turn it to AUTO after 1 hour has been passed.
Wait about 1 hour more to turn HV ON after specimen chamber evacuation completed.
4.1.3Cleaning of Aperture Plates
(1)Use the vacuum evaporator for heating aperture plates. For handling of the vacuum evaporator, refer to the instruction manual of the evaporator.
(2)Mount the molybdenum board in the vacuum evaporator. (See Fig.
(3)Evacuate the vacuum evaporator to better than 5 ×
Heat the molybdenum board. Continue applying heater current until the molybdenum board becomes incandescent. Do not apply too much heater current, otherwise the molybdenum board may be melted.
(4)After completion of heating the molybdenum board, wait about 5 minutes for cooling down. And then introduce air into the vacuum evaporator.
(5)Mount an aperture plate at the center of the molybdenum board.
(6)Evacuate the vacuum evaporator to a high vacuum better than 5 ×
Apply heater current. Heat the molybdenum board up to the incandescent point and then, stop heating. Be careful not to heat long time.
