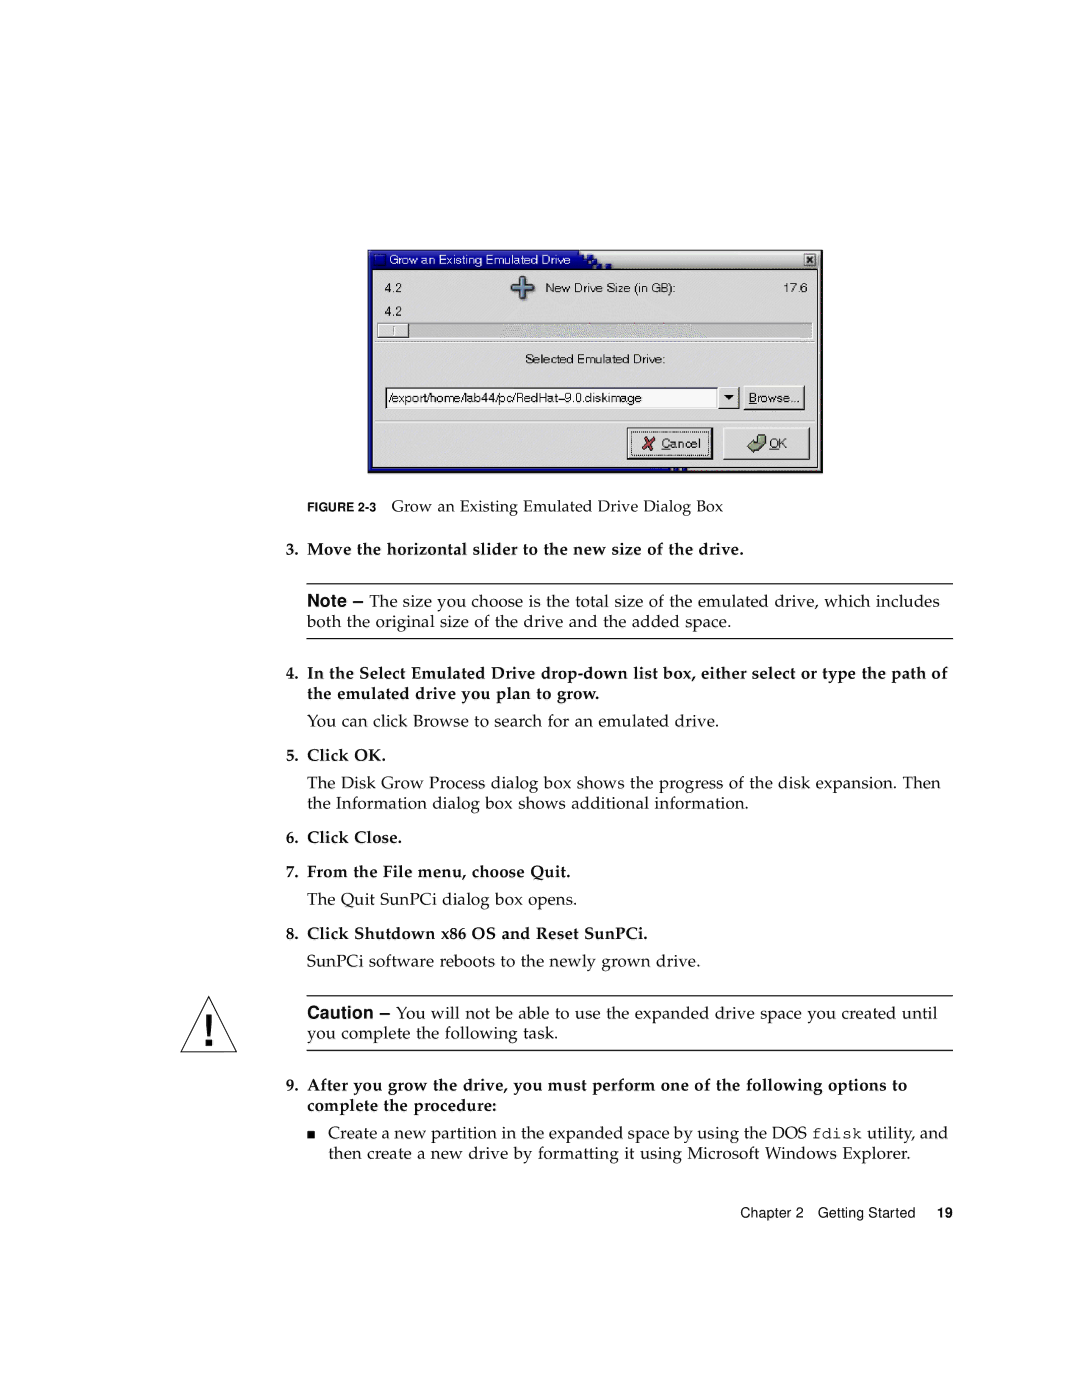
FIGURE 2-3 Grow an Existing Emulated Drive Dialog Box
3.Move the horizontal slider to the new size of the drive.
Note – The size you choose is the total size of the emulated drive, which includes both the original size of the drive and the added space.
4.In the Select Emulated Drive
You can click Browse to search for an emulated drive.
5.Click OK.
The Disk Grow Process dialog box shows the progress of the disk expansion. Then the Information dialog box shows additional information.
6.Click Close.
7.From the File menu, choose Quit. The Quit SunPCi dialog box opens.
8.Click Shutdown x86 OS and Reset SunPCi. SunPCi software reboots to the newly grown drive.
Caution – You will not be able to use the expanded drive space you created until you complete the following task.
9.After you grow the drive, you must perform one of the following options to complete the procedure:
■Create a new partition in the expanded space by using the DOS fdisk utility, and then create a new drive by formatting it using Microsoft Windows Explorer.
Chapter 2 Getting Started 19