|
|
| Chapter 13 Creating ring groups 97 |
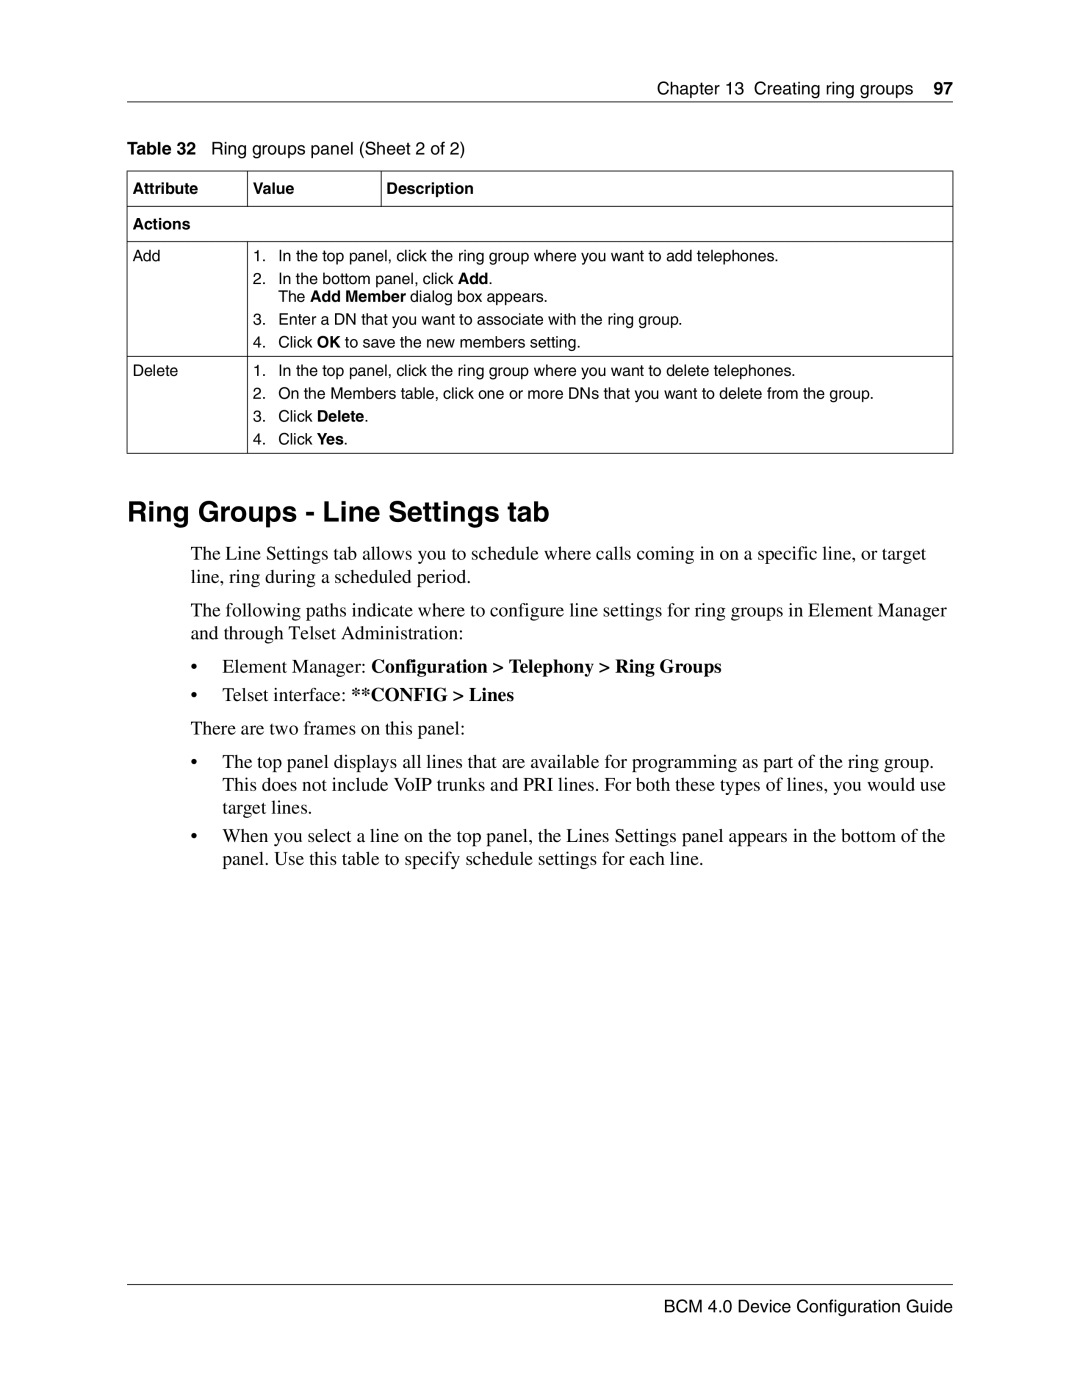
Table 32 Ring groups panel (Sheet 2 of 2) | |||
|
|
| |
Attribute | Value | Description | |
|
|
|
|
Actions |
|
|
|
|
|
|
|
Add | 1. | In the top panel, click the ring group where you want to add telephones. | |
| 2. | In the bottom panel, click Add. | |
|
| The Add Member dialog box appears. | |
| 3. | Enter a DN that you want to associate with the ring group. | |
| 4. | Click OK to save the new members setting. | |
|
|
| |
Delete | 1. | In the top panel, click the ring group where you want to delete telephones. | |
| 2. | On the Members table, click one or more DNs that you want to delete from the group. | |
| 3. | Click Delete. |
|
| 4. | Click Yes. |
|
|
|
|
|
Ring Groups - Line Settings tab
The Line Settings tab allows you to schedule where calls coming in on a specific line, or target line, ring during a scheduled period.
The following paths indicate where to configure line settings for ring groups in Element Manager and through Telset Administration:
•Element Manager: Configuration > Telephony > Ring Groups
•Telset interface: **CONFIG > Lines
There are two frames on this panel:
•The top panel displays all lines that are available for programming as part of the ring group. This does not include VoIP trunks and PRI lines. For both these types of lines, you would use target lines.
•When you select a line on the top panel, the Lines Settings panel appears in the bottom of the panel. Use this table to specify schedule settings for each line.
