SNMP Trap Configuration
The following window is used to enable and disable trap settings for the SNMP function on the Switch.
To view this window, click Configuration > SNMP Settings > SNMP Trap Configuration as shown below:
Figure 2 - 53 SNMP Trap Configuration window
To enable or disable the Traps State and/or the Authenticate Traps State, use the corresponding
Time Range Settings
The Time Range window is used in conjunction with the Access Profile feature to determine a starting point and an ending point, based on days of the week, when an Access Profile configuration will be enabled on the Switch. Once configured here, the time range settings are to be applied to an access profile rule using the Access Profile table. The user may enter up to 64 time range entries on the Switch.
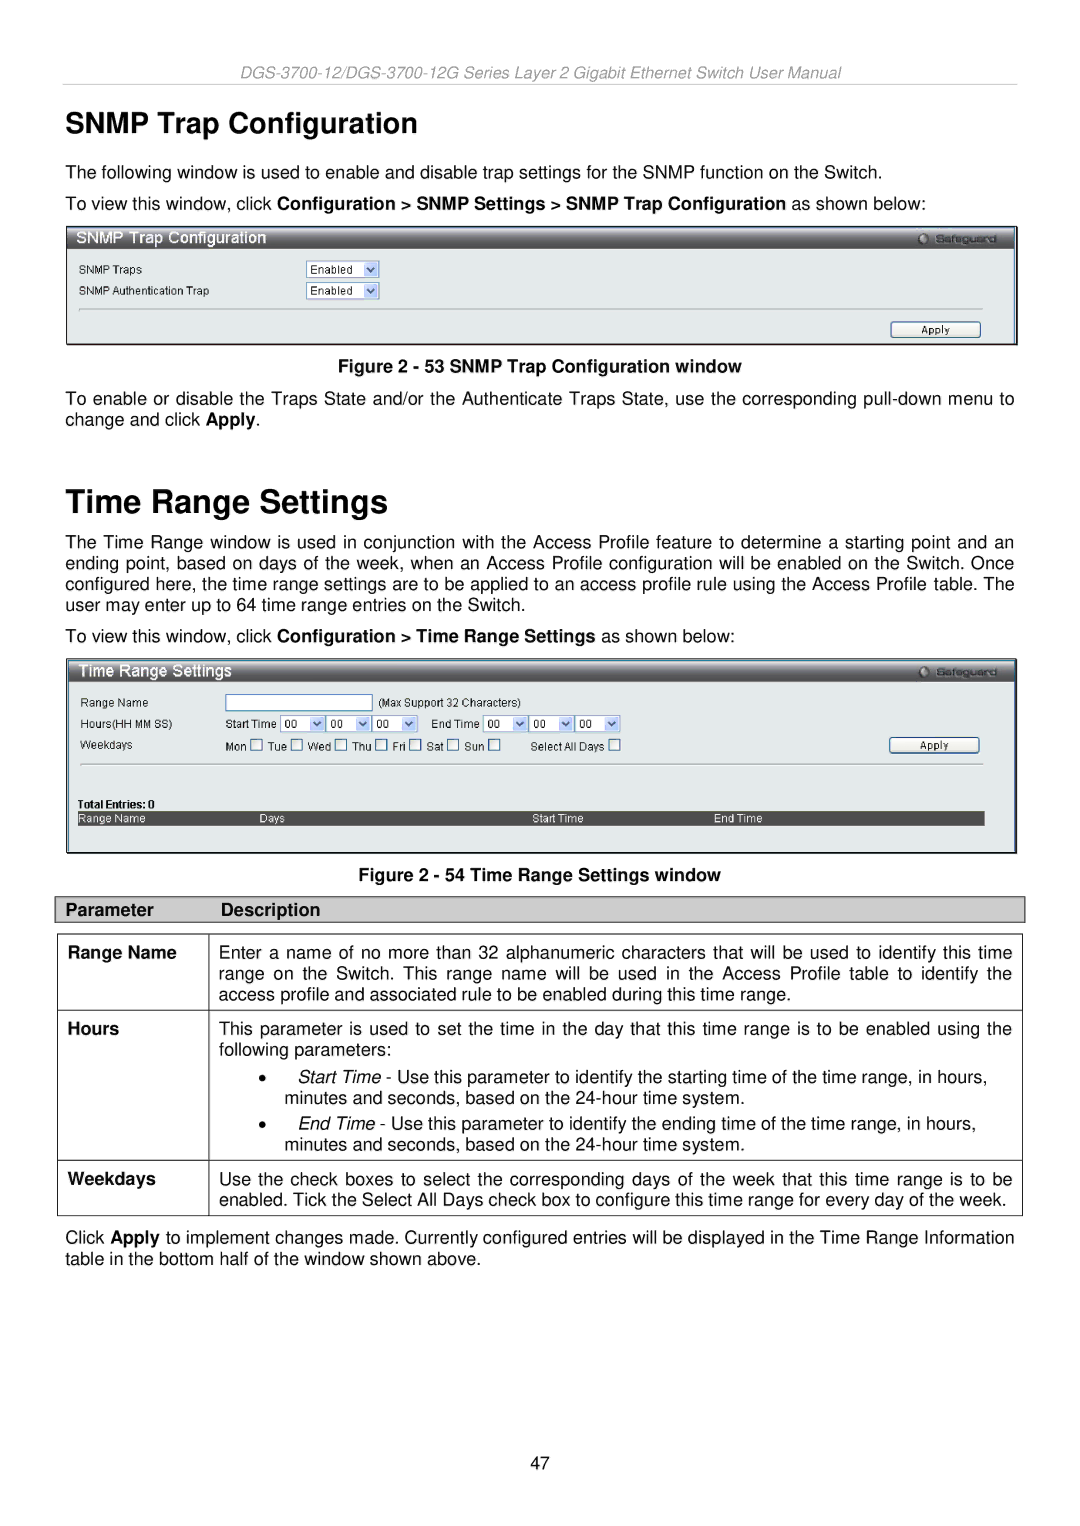
To view this window, click Configuration > Time Range Settings as shown below:
|
|
| Figure 2 - 54 Time Range Settings window |
|
|
| |
| Parameter | Description | |
|
|
| |
| Range Name | Enter a name of no more than 32 alphanumeric characters that will be used to identify this time | |
|
| range on the Switch. This range name will be used in the Access Profile table to identify the | |
|
| access profile and associated rule to be enabled during this time range. | |
| Hours | This parameter is used to set the time in the day that this time range is to be enabled using the | |
|
| following parameters: | |
|
| • | Start Time - Use this parameter to identify the starting time of the time range, in hours, |
|
|
| minutes and seconds, based on the |
|
| • | End Time - Use this parameter to identify the ending time of the time range, in hours, |
|
|
| minutes and seconds, based on the |
|
|
| |
| Weekdays | Use the check boxes to select the corresponding days of the week that this time range is to be | |
|
| enabled. Tick the Select All Days check box to configure this time range for every day of the week. | |
Click Apply to implement changes made. Currently configured entries will be displayed in the Time Range Information table in the bottom half of the window shown above.
47