ATTENDANT CONSOLE
Attendant Listed Directory Number
Operating Procedure
To set the SN610 ATTCON into the Lamp Check Mode
1.Press the NIGHT key to set the Attendant Console in Night Mode.
2.Disconnect the line cord modular plug from jack in the bottom of the Attendant Console.
3.Reconnect the modular plug while pressing “0” on the dial of the Attendant Console.
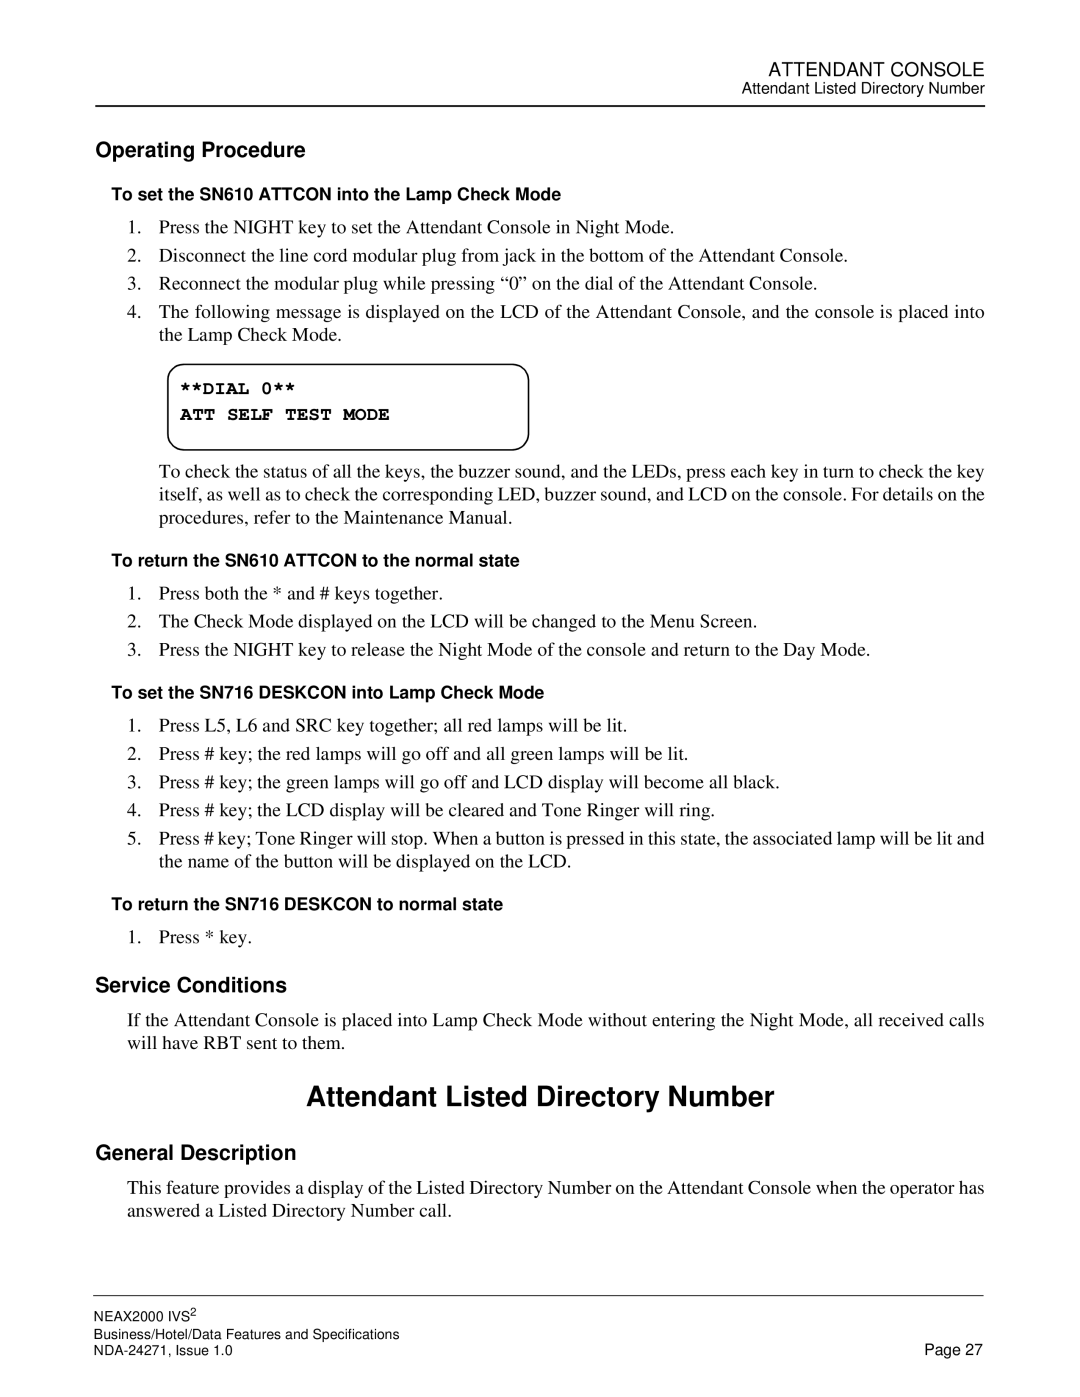
4.The following message is displayed on the LCD of the Attendant Console, and the console is placed into the Lamp Check Mode.
**DIAL 0**
ATT SELF TEST MODE
To check the status of all the keys, the buzzer sound, and the LEDs, press each key in turn to check the key itself, as well as to check the corresponding LED, buzzer sound, and LCD on the console. For details on the procedures, refer to the Maintenance Manual.
To return the SN610 ATTCON to the normal state
1.Press both the * and # keys together.
2.The Check Mode displayed on the LCD will be changed to the Menu Screen.
3.Press the NIGHT key to release the Night Mode of the console and return to the Day Mode.
To set the SN716 DESKCON into Lamp Check Mode
1.Press L5, L6 and SRC key together; all red lamps will be lit.
2.Press # key; the red lamps will go off and all green lamps will be lit.
3.Press # key; the green lamps will go off and LCD display will become all black.
4.Press # key; the LCD display will be cleared and Tone Ringer will ring.
5.Press # key; Tone Ringer will stop. When a button is pressed in this state, the associated lamp will be lit and the name of the button will be displayed on the LCD.
To return the SN716 DESKCON to normal state
1. Press * key.
Service Conditions
If the Attendant Console is placed into Lamp Check Mode without entering the Night Mode, all received calls will have RBT sent to them.
Attendant Listed Directory Number
General Description
This feature provides a display of the Listed Directory Number on the Attendant Console when the operator has answered a Listed Directory Number call.
NEAX2000 IVS2 |
|
Business/Hotel/Data Features and Specifications | Page 27 |
