9-48 Upgrading Your Server
Installation
Install a DIMM in the following procedure.
IMPORTANT: Install four additional DIMMs for each group because the server uses interleaved memory. If DIMMs of different specifications* are installed in a group, the server does not operate normally.
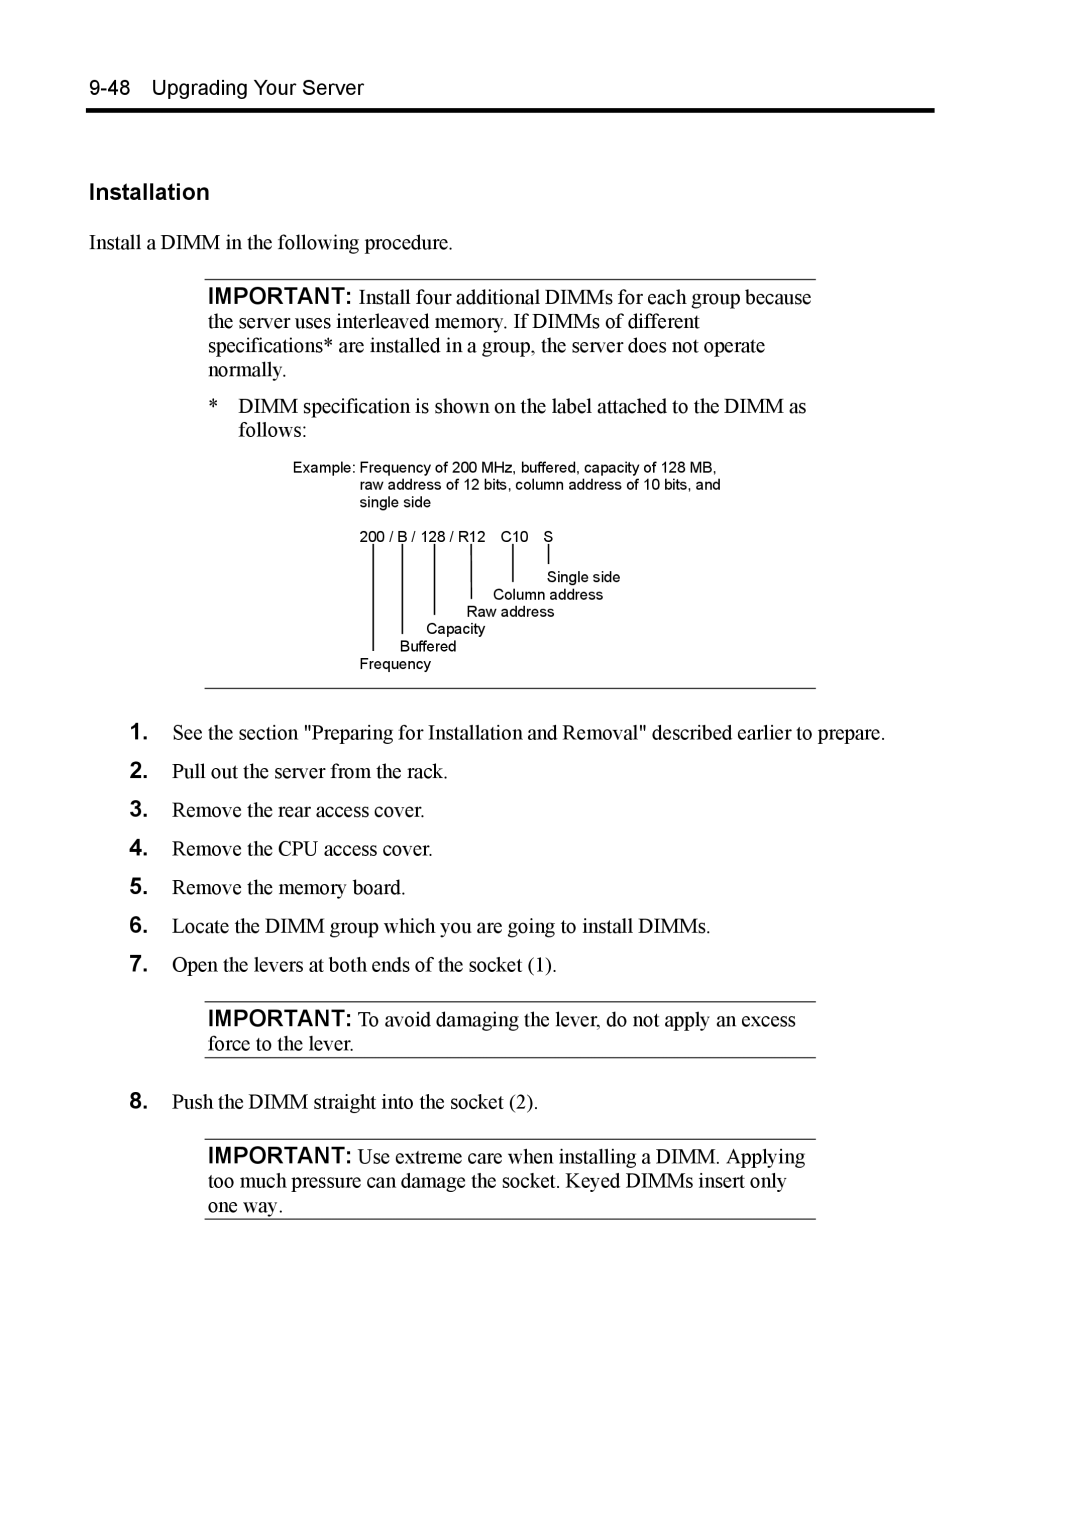
*DIMM specification is shown on the label attached to the DIMM as follows:
Example: Frequency of 200 MHz, buffered, capacity of 128 MB, raw address of 12 bits, column address of 10 bits, and single side
200 / B / 128 / R12 C10 S
Single side
Column address
Raw address
Capacity
Buffered
Frequency
1.See the section "Preparing for Installation and Removal" described earlier to prepare.
2.Pull out the server from the rack.
3.Remove the rear access cover.
4.Remove the CPU access cover.
5.Remove the memory board.
6.Locate the DIMM group which you are going to install DIMMs.
7.Open the levers at both ends of the socket (1).
IMPORTANT: To avoid damaging the lever, do not apply an excess force to the lever.
8.Push the DIMM straight into the socket (2).
IMPORTANT: Use extreme care when installing a DIMM. Applying too much pressure can damage the socket. Keyed DIMMs insert only one way.