9-50 Upgrading Your Server
Removal
Remove the DIMM depending on the following procedure.
NOTES:
To remove the failed DIMM, check the error message appearing in POST or NEC ESMPRO to identify the DIMM socket (group) in which the failed DIMM is installed.
1.See the section "Preparing for Installation and Removal" described earlier to prepare.
2.Pull out the server from the rack.
3.Remove the rear access cover.
4.Remove the CPU access cover.
5.Remove the memory board.
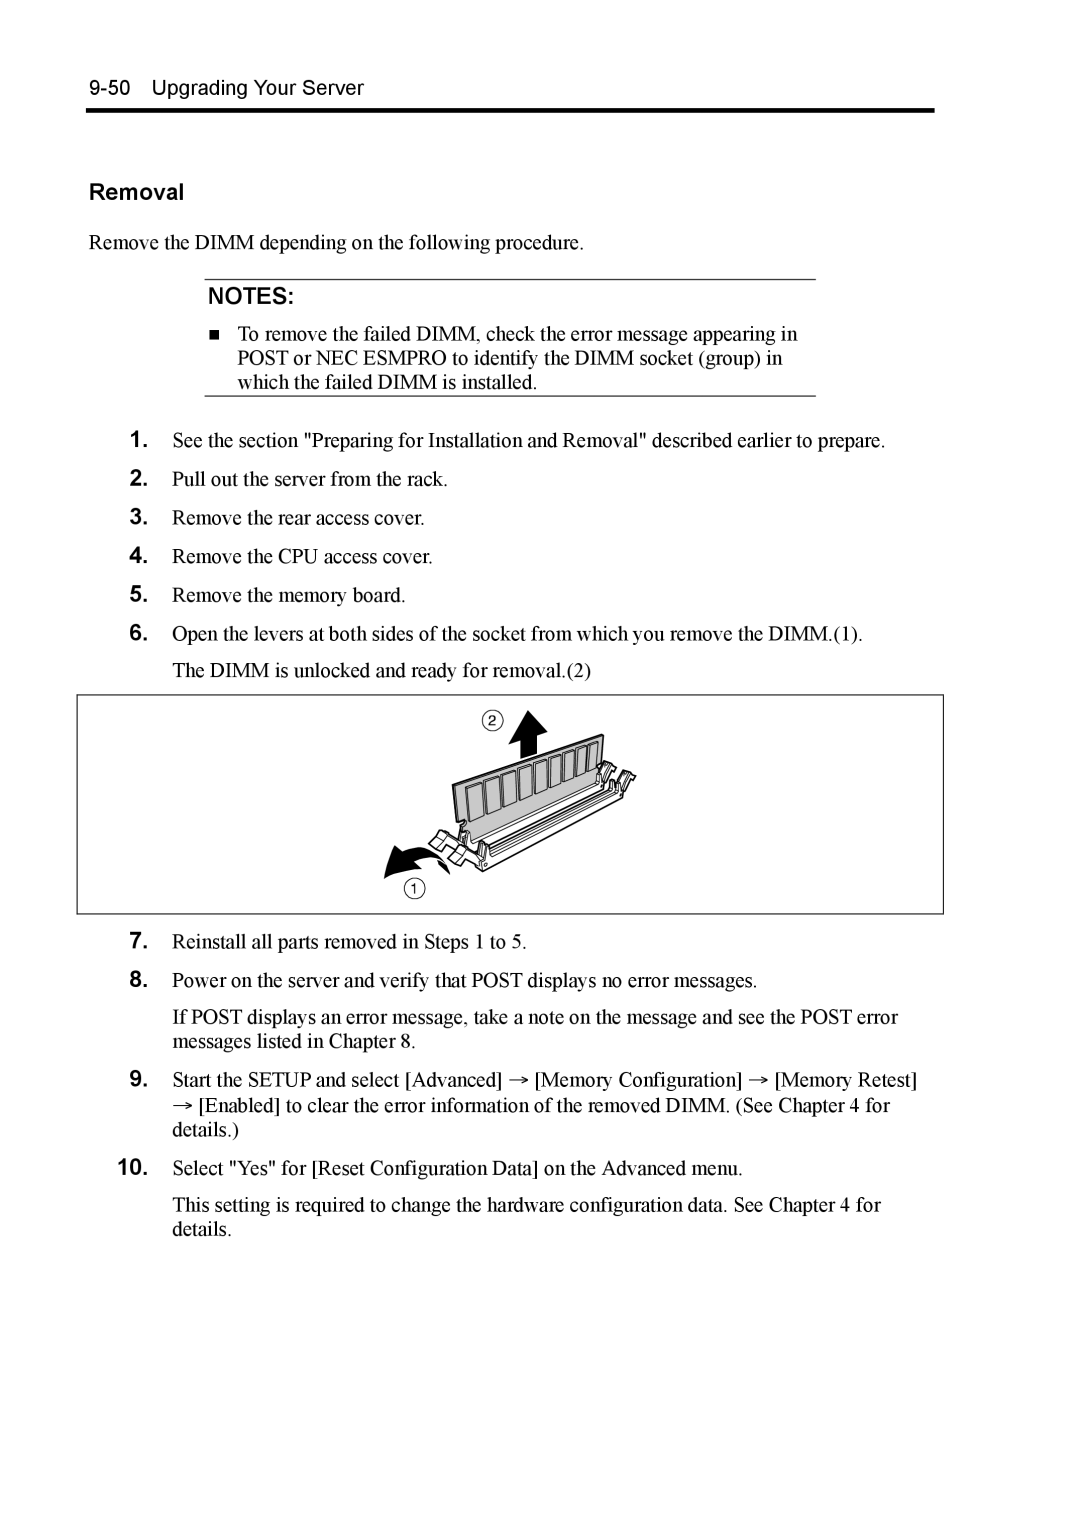
6.Open the levers at both sides of the socket from which you remove the DIMM.(1). The DIMM is unlocked and ready for removal.(2)
7.Reinstall all parts removed in Steps 1 to 5.
8.Power on the server and verify that POST displays no error messages.
If POST displays an error message, take a note on the message and see the POST error messages listed in Chapter 8.
9.Start the SETUP and select [Advanced] → [Memory Configuration] → [Memory Retest] → [Enabled] to clear the error information of the removed DIMM. (See Chapter 4 for details.)
10.Select "Yes" for [Reset Configuration Data] on the Advanced menu.
This setting is required to change the hardware configuration data. See Chapter 4 for details.