3-16 Setting Up Your Server
NOTE: The slide rail assembly installed in the rack contains a slide rail called the bearing rail. The bearing rail can be moved freely in the slide rail assembly. To install the server in the rack securely, slide the bearing rail to the front of the rack to put the plastic components at the tip of the rail and the inner rail into the server.
At the first installation, you may feel strong friction in pushing because the mechanical components cannot be completely engaged with each other. Push the server intensely.
NOTE: While the server is pushed into the rack, the server may be locked and thus cannot be pushed any more. This is because the lock lever on the rail prohibits the server from being pushed into the rack any more. Set the lock lever to be on the level to release the lock and then push the server into the rack slowly.
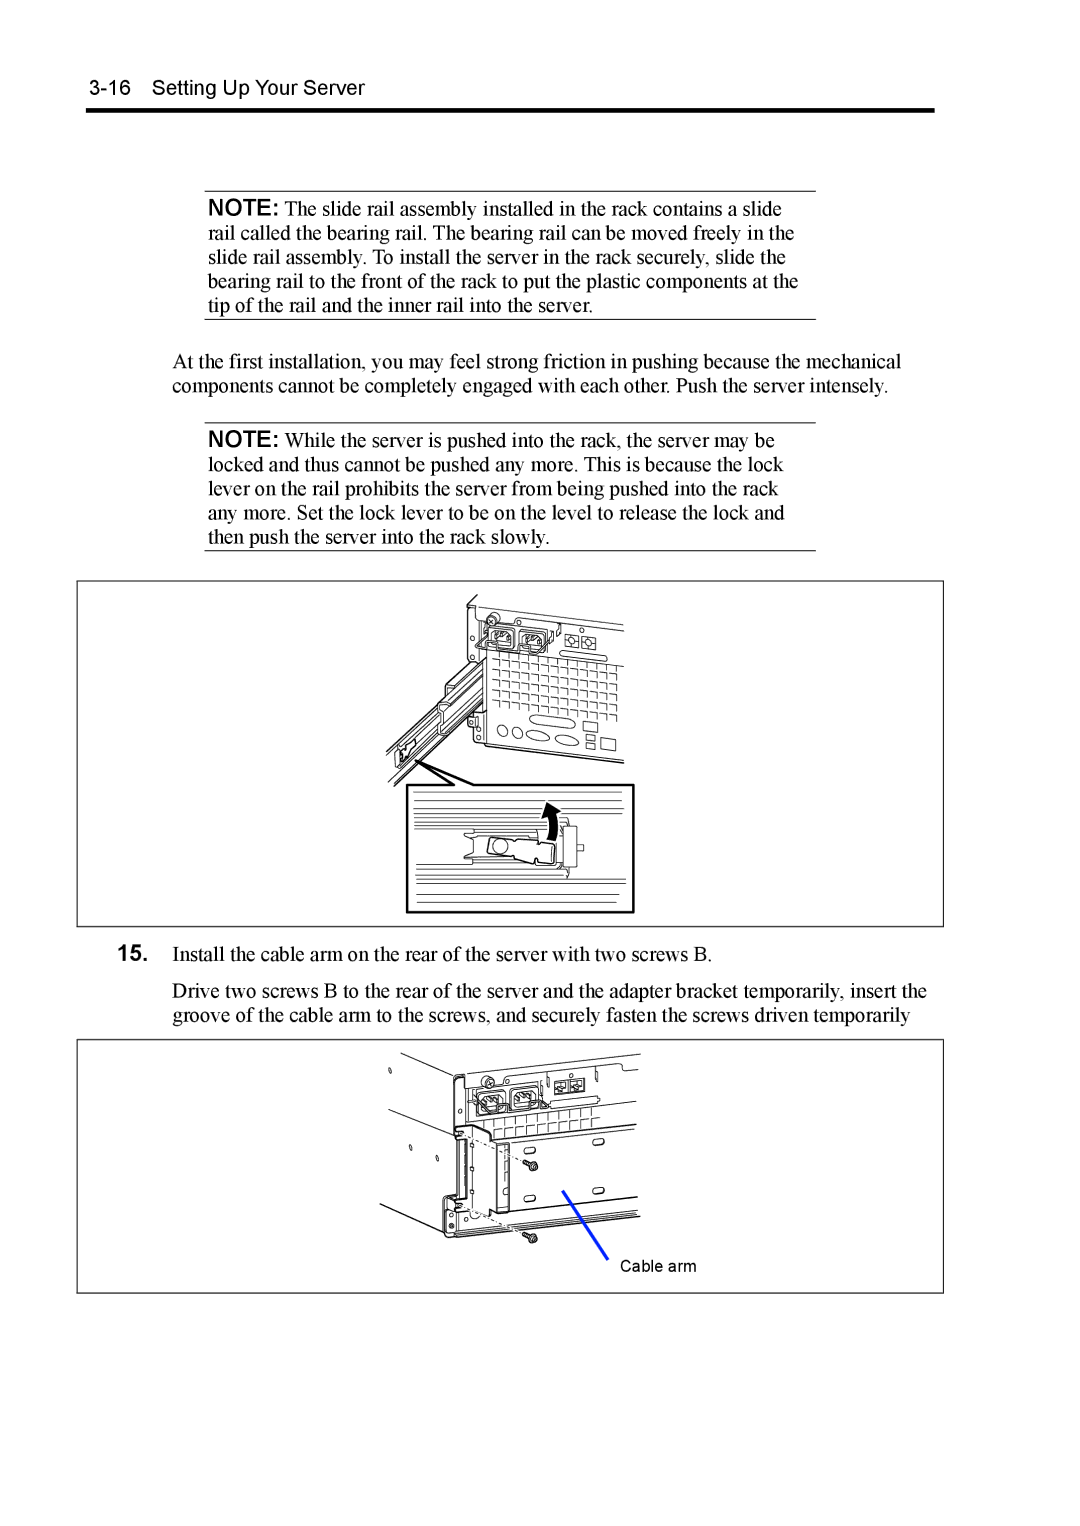
15. | Install the cable arm on the rear of the server with two screws B. |
Drive two screws B to the rear of the server and the adapter bracket temporarily, insert the groove of the cable arm to the screws, and securely fasten the screws driven temporarily
Cable arm |