Section 6 | ||
|
|
|
|
|
|
Pressing |
| accepts the displayed sonic velocity. This moves the highlight to [Empty Flow Tube |
Set]. |
|
|
|
| |
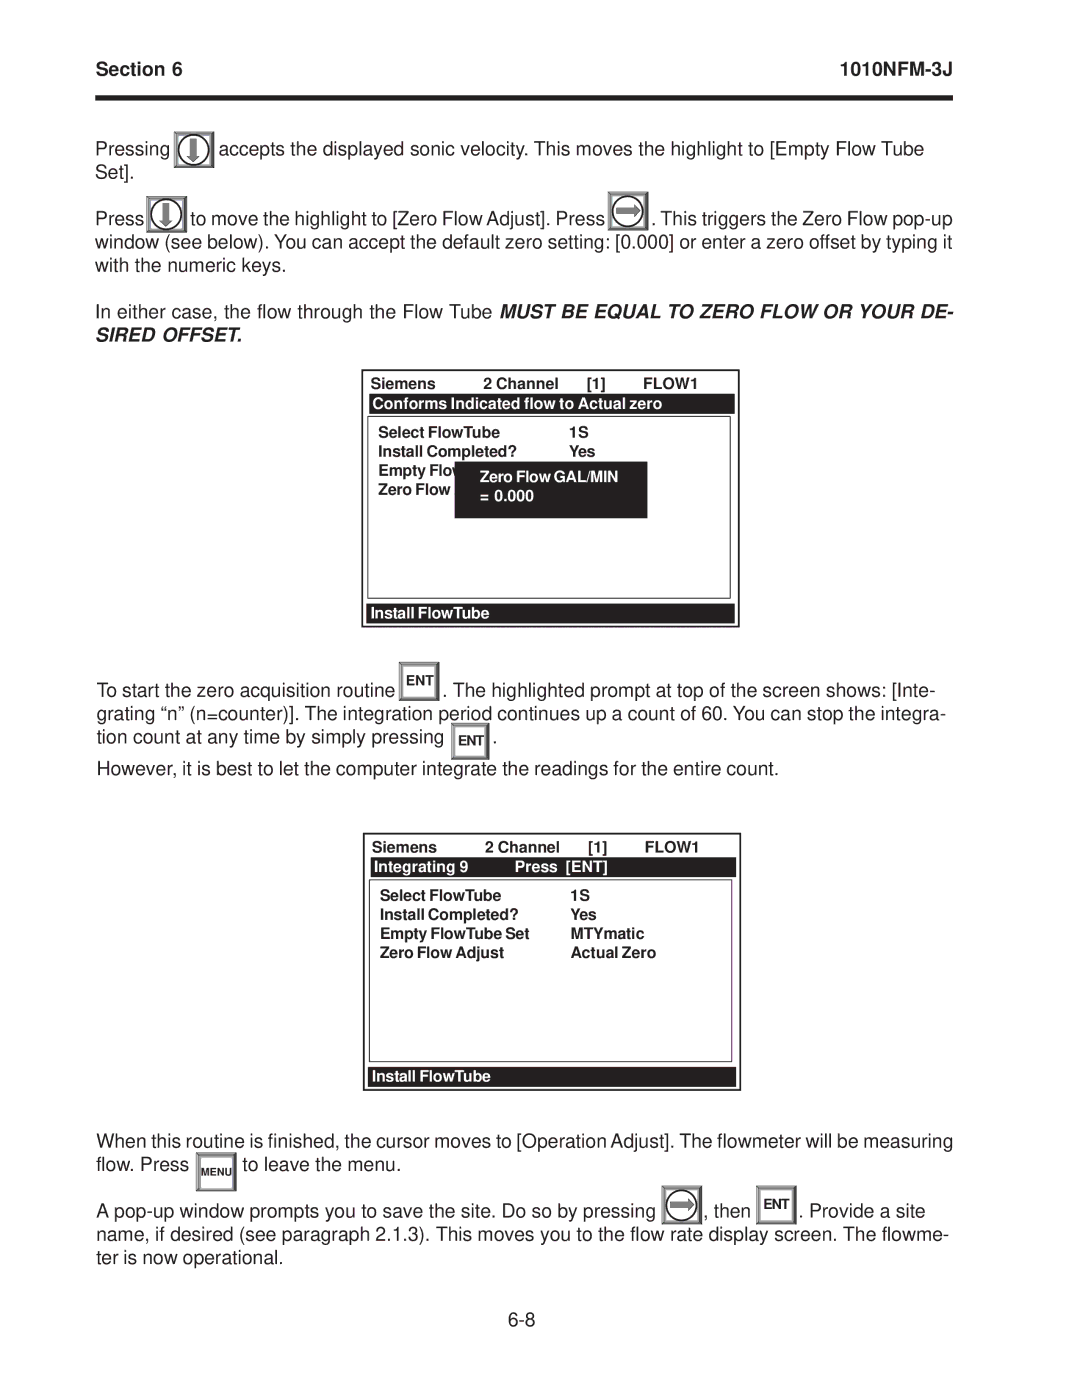
Press ![]() to move the highlight to [Zero Flow Adjust]. Press
to move the highlight to [Zero Flow Adjust]. Press![]()
![]()
![]() . This triggers the Zero Flow
. This triggers the Zero Flow
In either case, the flow through the Flow Tube MUST BE EQUAL TO ZERO FLOW OR YOUR DE-
SIRED OFFSET.
| Siemens | 2 Channel | [1] | FLOW1 | ||
| Conforms Indicated flow to Actual zero |
| ||||
|
|
|
|
|
|
|
| Select FlowTube | 1S |
|
|
| |
| Install Completed? | Yes |
|
|
| |
|
|
|
|
|
|
|
| Empty FlowTube Set | Chan No |
|
|
| |
|
| Zero Flow GAL/MIN |
|
|
| |
| Zero Flow Adjust | Chan Not |
|
|
| |
|
| = 0.000 |
|
|
|
|
|
|
|
|
|
|
|
|
|
|
|
|
|
|
| Install FlowTube |
|
|
|
| |
|
|
|
|
|
|
|
To start the zero acquisition routine![]() ENT
ENT![]() . The highlighted prompt at top of the screen shows: [Inte- grating “n” (n=counter)]. The integration period continues up a count of 60. You can stop the integra- tion count at any time by simply pressing ENT .
. The highlighted prompt at top of the screen shows: [Inte- grating “n” (n=counter)]. The integration period continues up a count of 60. You can stop the integra- tion count at any time by simply pressing ENT .
However, it is best to let the computer integrate the readings for the entire count.
| Siemens | 2 Channel | [1] | FLOW1 | |
| Integrating 9 | Press [ENT] |
|
| |
|
|
|
|
| |
| Select FlowTube | 1S |
|
| |
| Install Completed? | Yes |
|
| |
| Empty FlowTube Set | MTYmatic |
|
| |
| Zero Flow Adjust | Actual Zero |
| ||
|
|
|
|
|
|
Install FlowTube
When this routine is finished, the cursor moves to [Operation Adjust]. The flowmeter will be measuring flow. Press ![]() MENU
MENU![]() to leave the menu.
to leave the menu.
A | , then ENT . Provide a site |
name, if desired (see paragraph 2.1.3). This moves you to the flow rate display screen. The flowme- ter is now operational.
