Section 2

1010NFM-3J


3.To exit Force Transmit, press the <Left Arrow> and a Detection Fault prompt will appear (see above). Press the <Left Arrow> again and the meter will return to the Pick/Install Xdcr menu and highlight the [Empty Pipe Set] menu cell.

4.To force a frequency, repeat steps 1 and 2 above, but press <Ctrl> and <MENU>. The following

typical pop-up prompt will appear:

Drive


=0

Using the numeric keys enter the desired drive code and press <ENT>.

5.If the Force Transmit diagnostic procedure is not used, the normal [Install Completed?] function occurs as follows:

To complete the Install process after mounting the transducers press <ENT>.

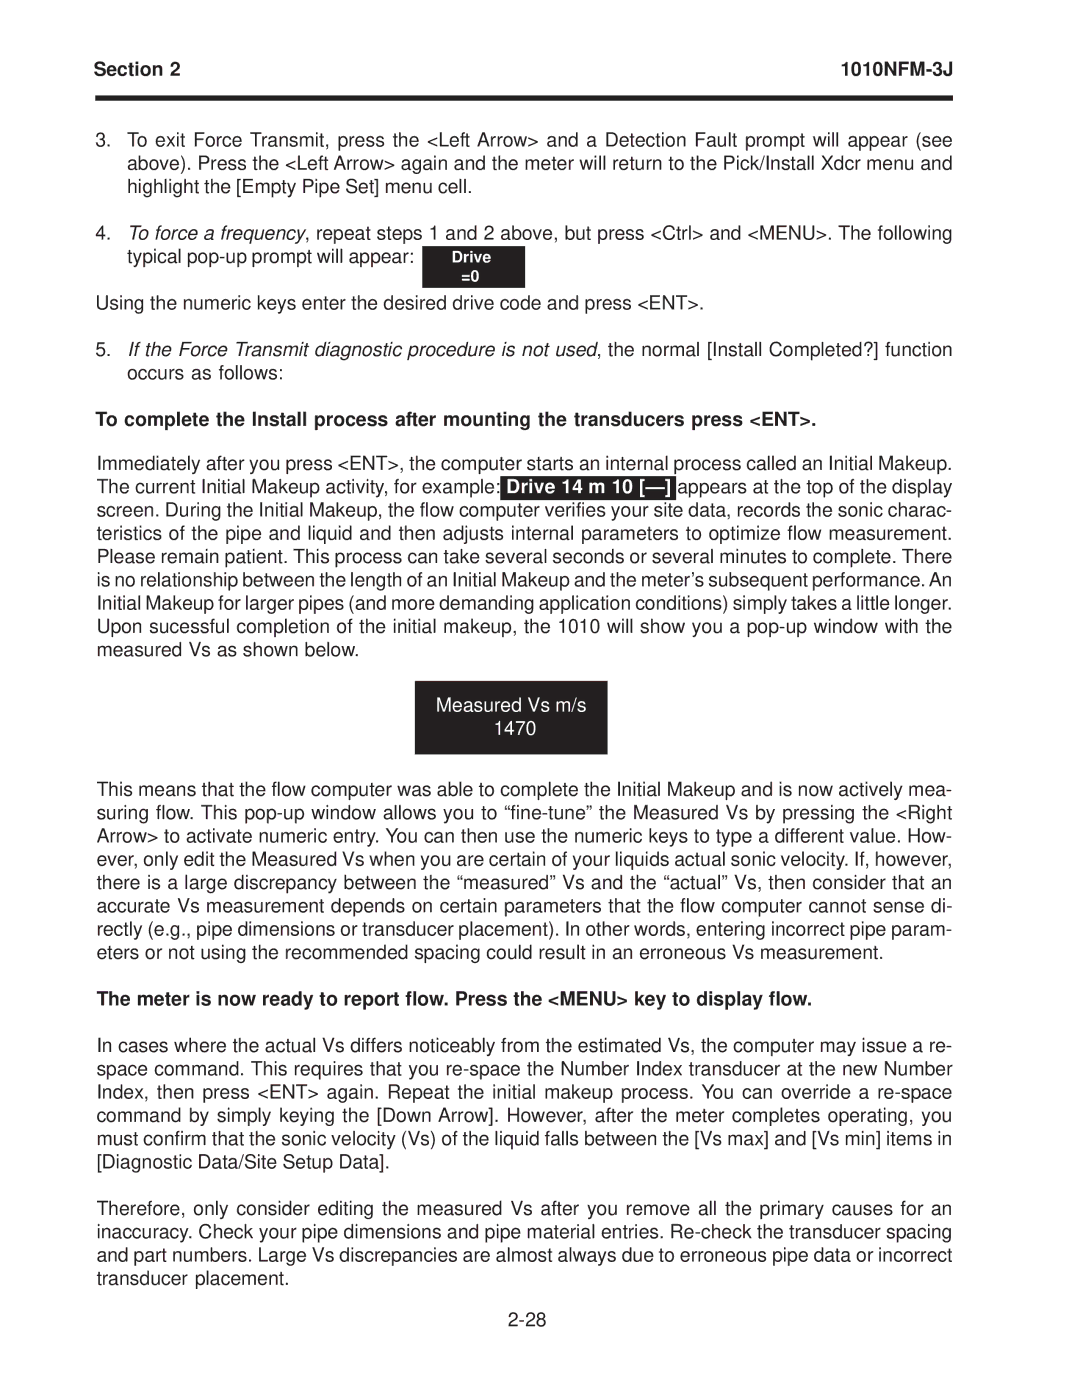
Immediately after you press <ENT>, the computer starts an internal process called an Initial Makeup. The current Initial Makeup activity, for example: Drive 14 m 10 [—] appears at the top of the display screen. During the Initial Makeup, the flow computer verifies your site data, records the sonic charac- teristics of the pipe and liquid and then adjusts internal parameters to optimize flow measurement. Please remain patient. This process can take several seconds or several minutes to complete. There is no relationship between the length of an Initial Makeup and the meter’s subsequent performance. An Initial Makeup for larger pipes (and more demanding application conditions) simply takes a little longer. Upon sucessful completion of the initial makeup, the 1010 will show you a pop-up window with the measured Vs as shown below.

Measured Vs m/s 1470

This means that the flow computer was able to complete the Initial Makeup and is now actively mea- suring flow. This pop-up window allows you to “fine-tune” the Measured Vs by pressing the <Right Arrow> to activate numeric entry. You can then use the numeric keys to type a different value. How- ever, only edit the Measured Vs when you are certain of your liquids actual sonic velocity. If, however, there is a large discrepancy between the “measured” Vs and the “actual” Vs, then consider that an accurate Vs measurement depends on certain parameters that the flow computer cannot sense di- rectly (e.g., pipe dimensions or transducer placement). In other words, entering incorrect pipe param- eters or not using the recommended spacing could result in an erroneous Vs measurement.

The meter is now ready to report flow. Press the <MENU> key to display flow.

In cases where the actual Vs differs noticeably from the estimated Vs, the computer may issue a re- space command. This requires that you re-space the Number Index transducer at the new Number Index, then press <ENT> again. Repeat the initial makeup process. You can override a re-space command by simply keying the [Down Arrow]. However, after the meter completes operating, you must confirm that the sonic velocity (Vs) of the liquid falls between the [Vs max] and [Vs min] items in [Diagnostic Data/Site Setup Data].

Therefore, only consider editing the measured Vs after you remove all the primary causes for an inaccuracy. Check your pipe dimensions and pipe material entries. Re-check the transducer spacing and part numbers. Large Vs discrepancies are almost always due to erroneous pipe data or incorrect transducer placement.
2-28

Page 68
Image 68
Siemens SITRANS FUS1010 NEMA-4X/ IP 65 manual Measured Vs m/s