CHAPTER 5 — MAINTENANCE & TROUBLESHOOTING Page 5-35
LOOP! Report
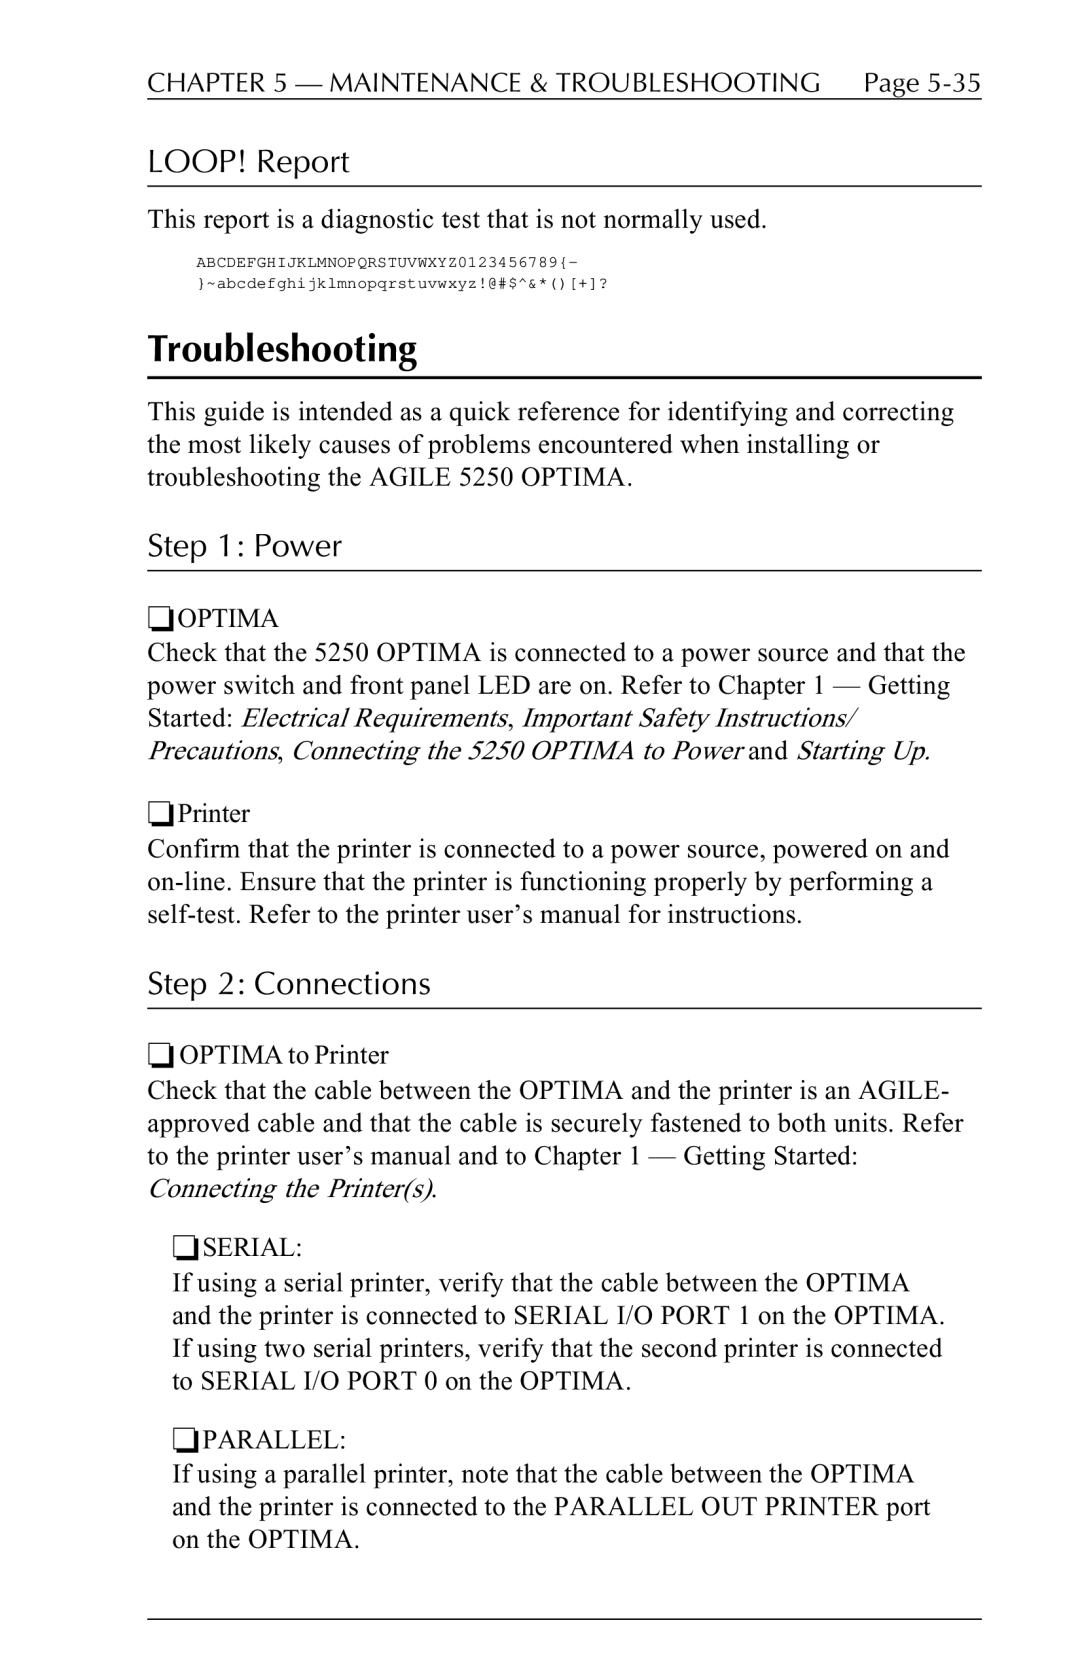
This report is a diagnostic test that is not normally used.
ABCDEFGHIJKLMNOPQRSTUVWXYZ0123456789{- }~abcdefghijklmnopqrstuvwxyz!@#$^&*()[+]?
Troubleshooting
This guide is intended as a quick reference for identifying and correcting the most likely causes of problems encountered when installing or troubleshooting the AGILE 5250 OPTIMA.
Step 1: Power
❏OPTIMA
Check that the 5250 OPTIMA is connected to a power source and that the power switch and front panel LED are on. Refer to Chapter 1 — Getting Started: Electrical Requirements, Important Safety Instructions/ Precautions, Connecting the 5250 OPTIMA to Power and Starting Up.
❏Printer
Confirm that the printer is connected to a power source, powered on and
Step 2: Connections
❏OPTIMA to Printer
Check that the cable between the OPTIMA and the printer is an AGILE- approved cable and that the cable is securely fastened to both units. Refer to the printer user’s manual and to Chapter 1 — Getting Started:
Connecting the Printer(s).
❏SERIAL:
If using a serial printer, verify that the cable between the OPTIMA and the printer is connected to SERIAL I/O PORT 1 on the OPTIMA. If using two serial printers, verify that the second printer is connected to SERIAL I/O PORT 0 on the OPTIMA.
❏PARALLEL:
If using a parallel printer, note that the cable between the OPTIMA and the printer is connected to the PARALLEL OUT PRINTER port on the OPTIMA.