CHAPTER 2 — ADVANCED CONFIGURATION | Page |
CHAPTER 2 ADVANCED CONFIGURATION
Configuration Menu
To efficiently navigate the menu, it is helpful to be familiar with its punctuation and structure. A complete chart of the menu tree is displayed on the quick reference card included with this manual. Refer to the menu diagram when making changes to the 5250 OPTIMA configuration.
Menu Hierarchy
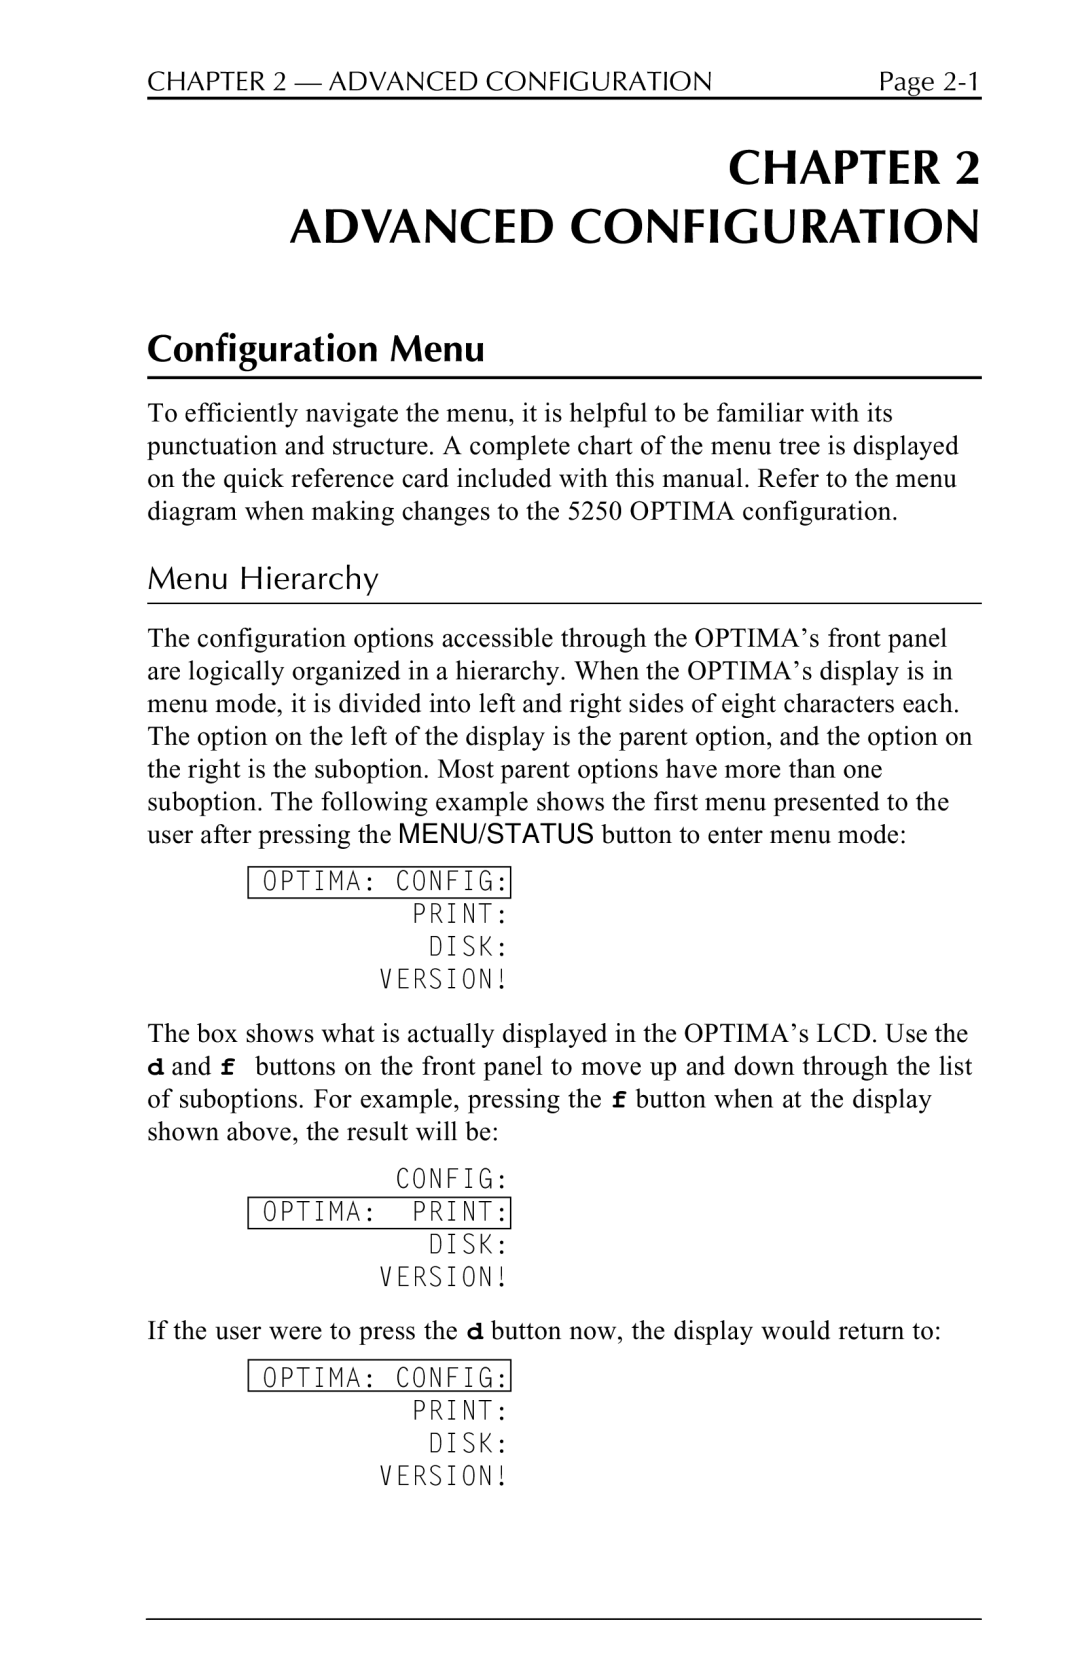
The configuration options accessible through the OPTIMA’s front panel are logically organized in a hierarchy. When the OPTIMA’s display is in menu mode, it is divided into left and right sides of eight characters each. The option on the left of the display is the parent option, and the option on the right is the suboption. Most parent options have more than one suboption. The following example shows the first menu presented to the user after pressing the MENU/STATUS button to enter menu mode:
OPTIMA: CONFIG:
PRINT:
DISK:
VERSION!
The box shows what is actually displayed in the OPTIMA’s LCD. Use the d and f buttons on the front panel to move up and down through the list of suboptions. For example, pressing the f button when at the display shown above, the result will be:
CONFIG:
OPTIMA: PRINT:
DISK:
VERSION!
If the user were to press the d button now, the display would return to:
OPTIMA: CONFIG:
PRINT:
DISK:
VERSION!