Configuring the Switch to Act as the SSH Server and Use RSA Authentication 283
Configuring the
Switch to Act as the
SSH Server and Use
RSA Authentication
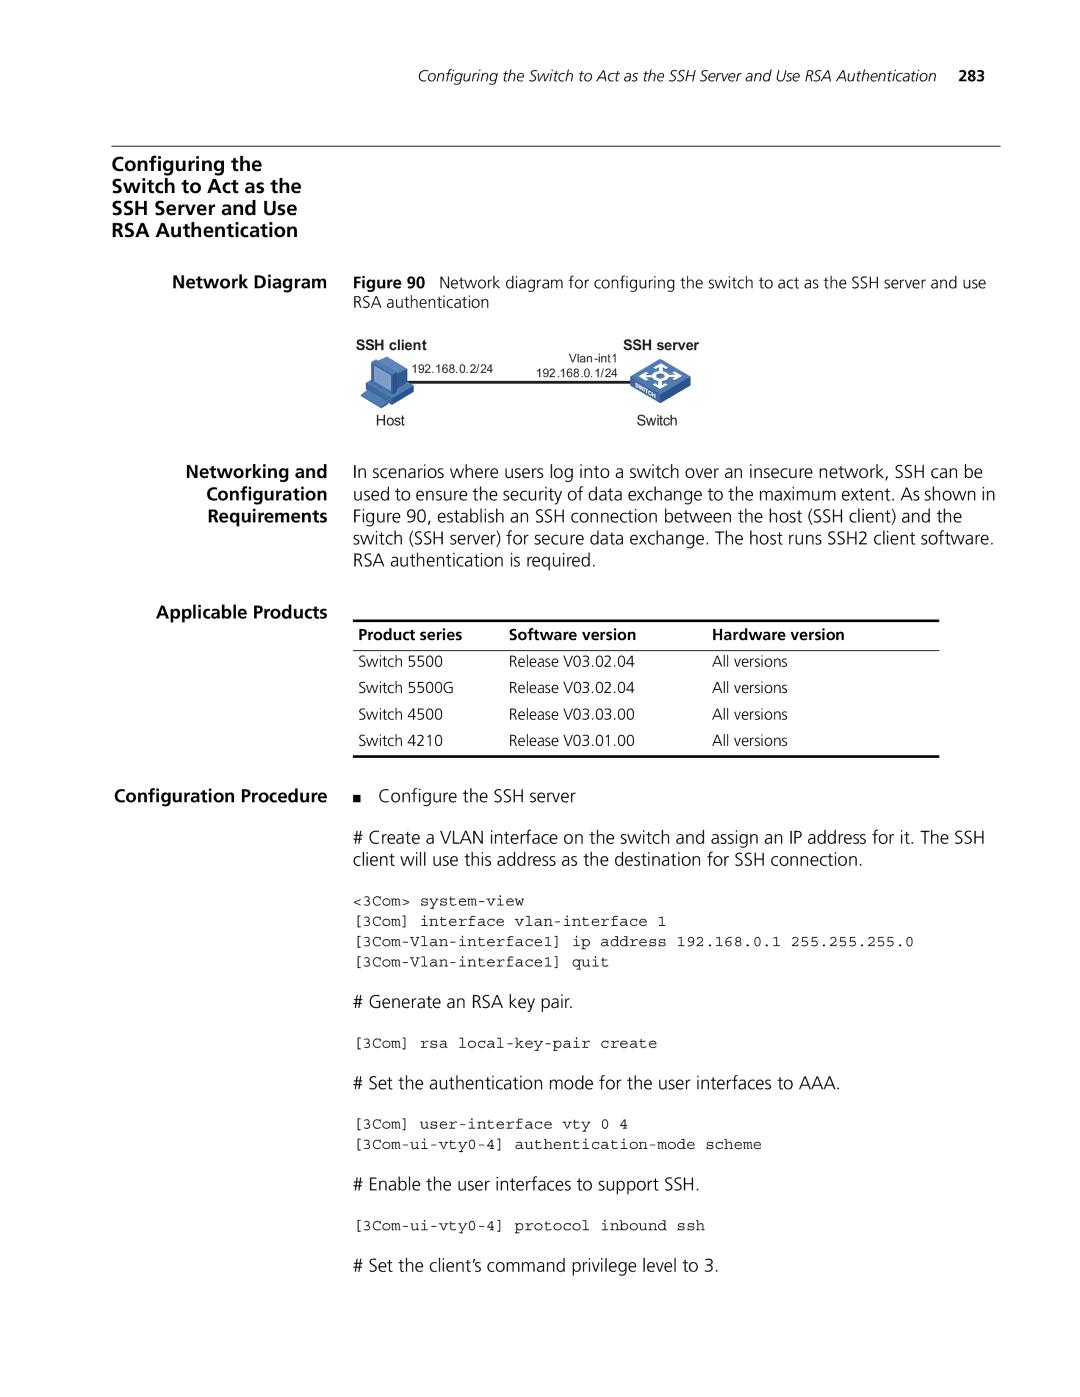
Network Diagram Figure 90 | Network diagram for configuring the switch to act as the SSH server and use | |||
RSA authentication |
|
| ||
SSH client |
| SSH server | ||
192.168.0.2/24 | ||||
192.168.0.1/24 |
| |||
|
|
|
| |
Host |
| Switch | ||
Networking and In scenarios where users log into a switch over an insecure network, SSH can be Configuration used to ensure the security of data exchange to the maximum extent. As shown in Requirements Figure 90, establish an SSH connection between the host (SSH client) and the
switch (SSH server) for secure data exchange. The host runs SSH2 client software. RSA authentication is required.
Applicable Products
Product series | Software version | Hardware version |
|
|
|
Switch 5500 | Release V03.02.04 | All versions |
Switch 5500G | Release V03.02.04 | All versions |
Switch 4500 | Release V03.03.00 | All versions |
Switch 4210 | Release V03.01.00 | All versions |
|
|
|
Configuration Procedure ■ Configure the SSH server
#Create a VLAN interface on the switch and assign an IP address for it. The SSH client will use this address as the destination for SSH connection.
<3Com>
[3Com] interface
# Generate an RSA key pair.
[3Com] rsa
# Set the authentication mode for the user interfaces to AAA.
[3Com]