6 Setups
If you predefine frequently used magnifications, the original can be expanded or reduced, quickly and easily.
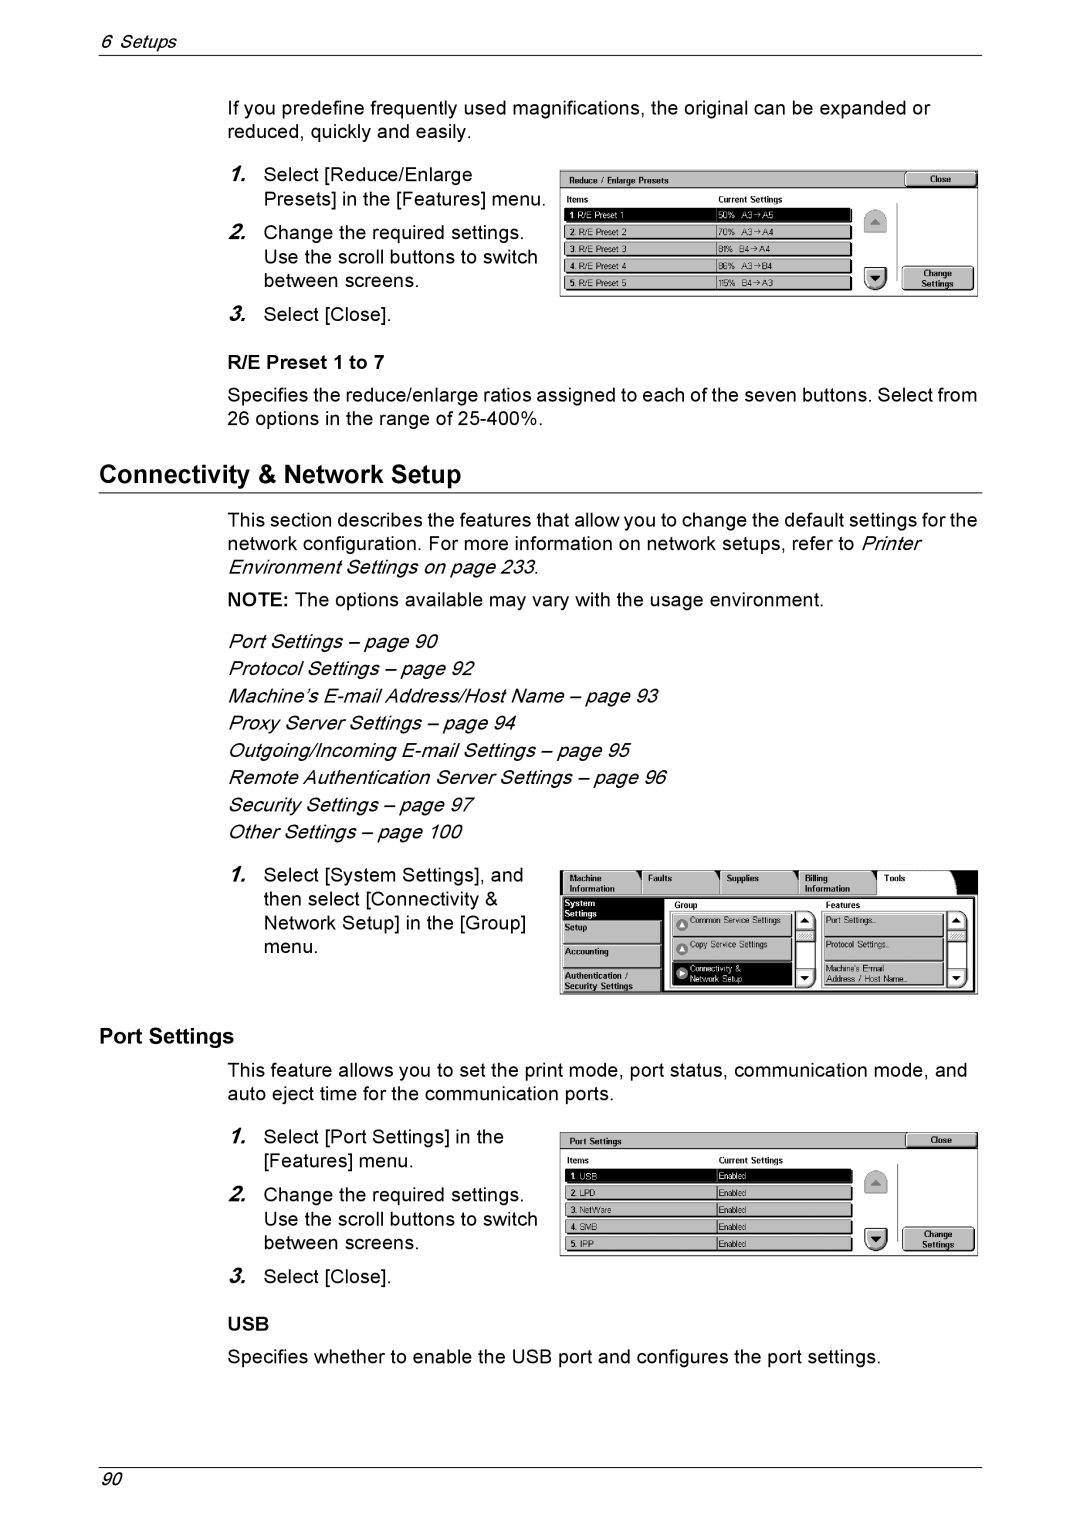
1.Select [Reduce/Enlarge Presets] in the [Features] menu.
2.Change the required settings. Use the scroll buttons to switch between screens.
3.Select [Close].
R/E Preset 1 to 7
Specifies the reduce/enlarge ratios assigned to each of the seven buttons. Select from 26 options in the range of
Connectivity & Network Setup
This section describes the features that allow you to change the default settings for the network configuration. For more information on network setups, refer to Printer Environment Settings on page 233.
NOTE: The options available may vary with the usage environment.
Port Settings – page 90
Protocol Settings – page 92
Machine’s
Proxy Server Settings – page 94
Outgoing/Incoming
Remote Authentication Server Settings – page 96
Security Settings – page 97
Other Settings – page 100
1.Select [System Settings], and then select [Connectivity & Network Setup] in the [Group] menu.
Port Settings
This feature allows you to set the print mode, port status, communication mode, and auto eject time for the communication ports.
1.Select [Port Settings] in the [Features] menu.
2.Change the required settings. Use the scroll buttons to switch between screens.
3.Select [Close].
USB
Specifies whether to enable the USB port and configures the port settings.
90