|
|
|
|
| Configuring a 1x1 Ethernet Wide Area Network |
| |
|
|
|
|
|
|
|
|
|
|
|
|
|
|
|
|
|
|
| The node icons and their corresponding names are also displayed |
| |||
|
|
| under the NetMap1 heading in the TreeView Area on the left. |
| |||
|
|
|
|
|
| ||
| Setting the Initial |
| If you configured an UltraNet Edge 3000 custom chassis (in Chapter |
| |||
| Configuration |
| 4, Building a Custom Edge 3000 Chassis), continue the configuration |
| |||
|
|
| process with the “Setting the Initial Configuration” procedure. |
| |||
|
|
|
|
|
| ||
|
|
| NOTE: When you are performing this part of the configuration, the PC |
| |||
|
|
| which has UltraNet ConfigManager installed on it, must be attached to the |
| |||
|
|
| same subnet as the UltraNet Edge 3000 Ethernet maintenance interface. If this |
| |||
|
|
| is not possible, refer to the “Manual Configuration of the Initial IP Settings” |
| |||
|
|
| procedure in Appendix H. |
| |||
|
|
|
|
|
| ||
|
|
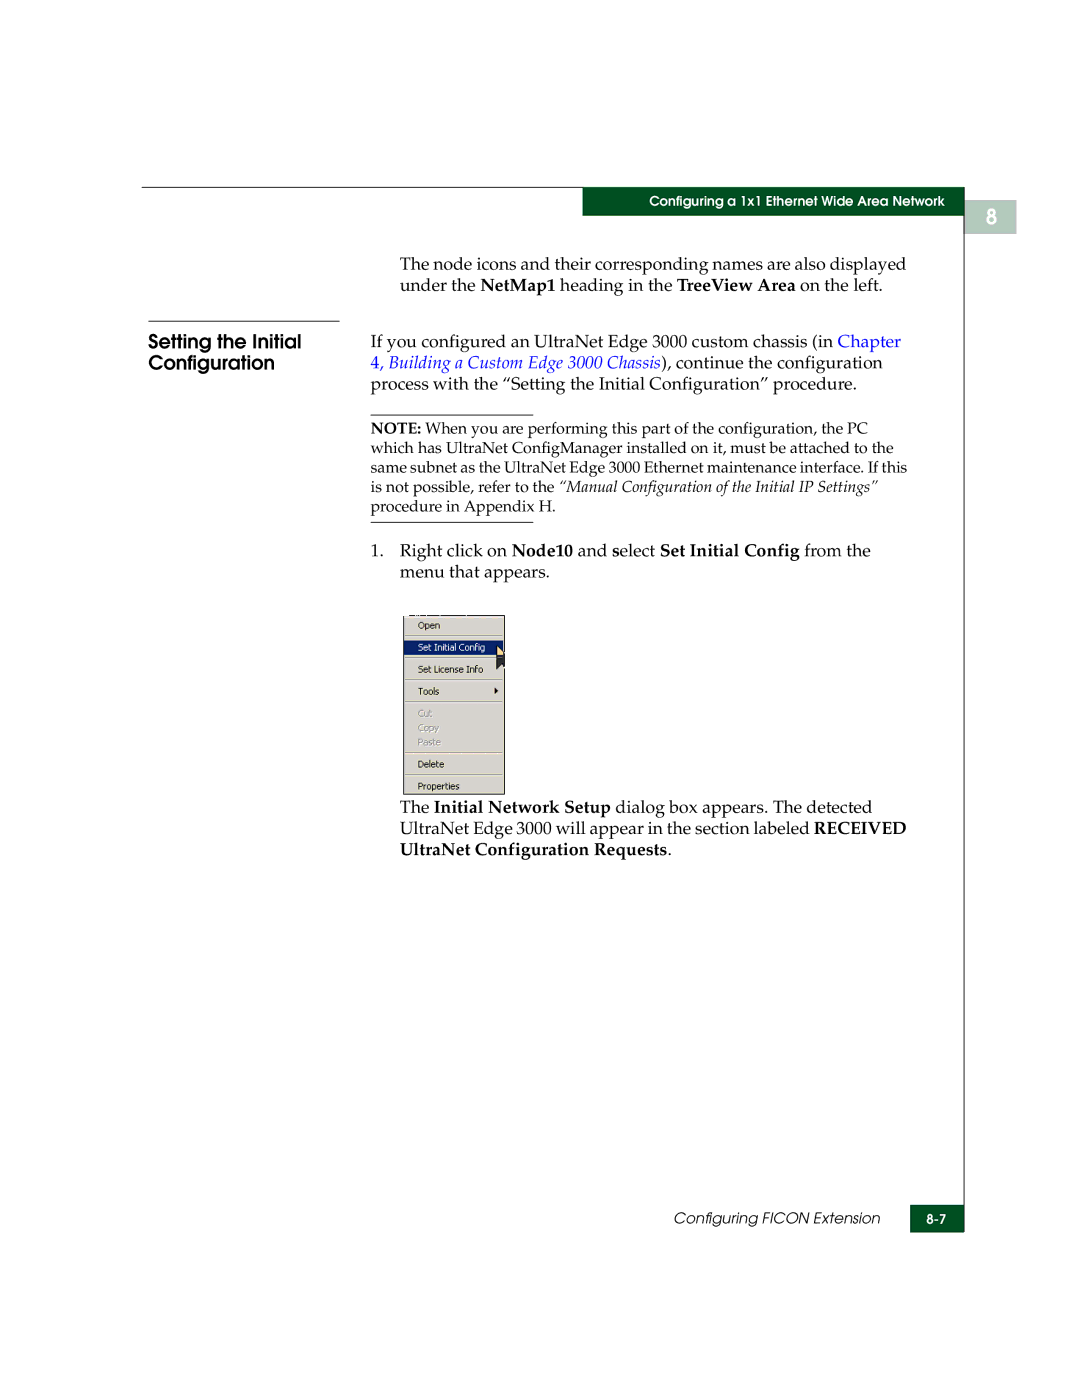
| 1. Right click on Node10 and select Set Initial Config from the |
| |||
|
|
| menu that appears. |
| |||
The Initial Network Setup dialog box appears. The detected
UltraNet Edge 3000 will appear in the section labeled RECEIVED
UltraNet Configuration Requests.
Configuring FICON Extension | |
|
|
8