Keypad Remote Mounting w/o the ASD-MTG-KIT
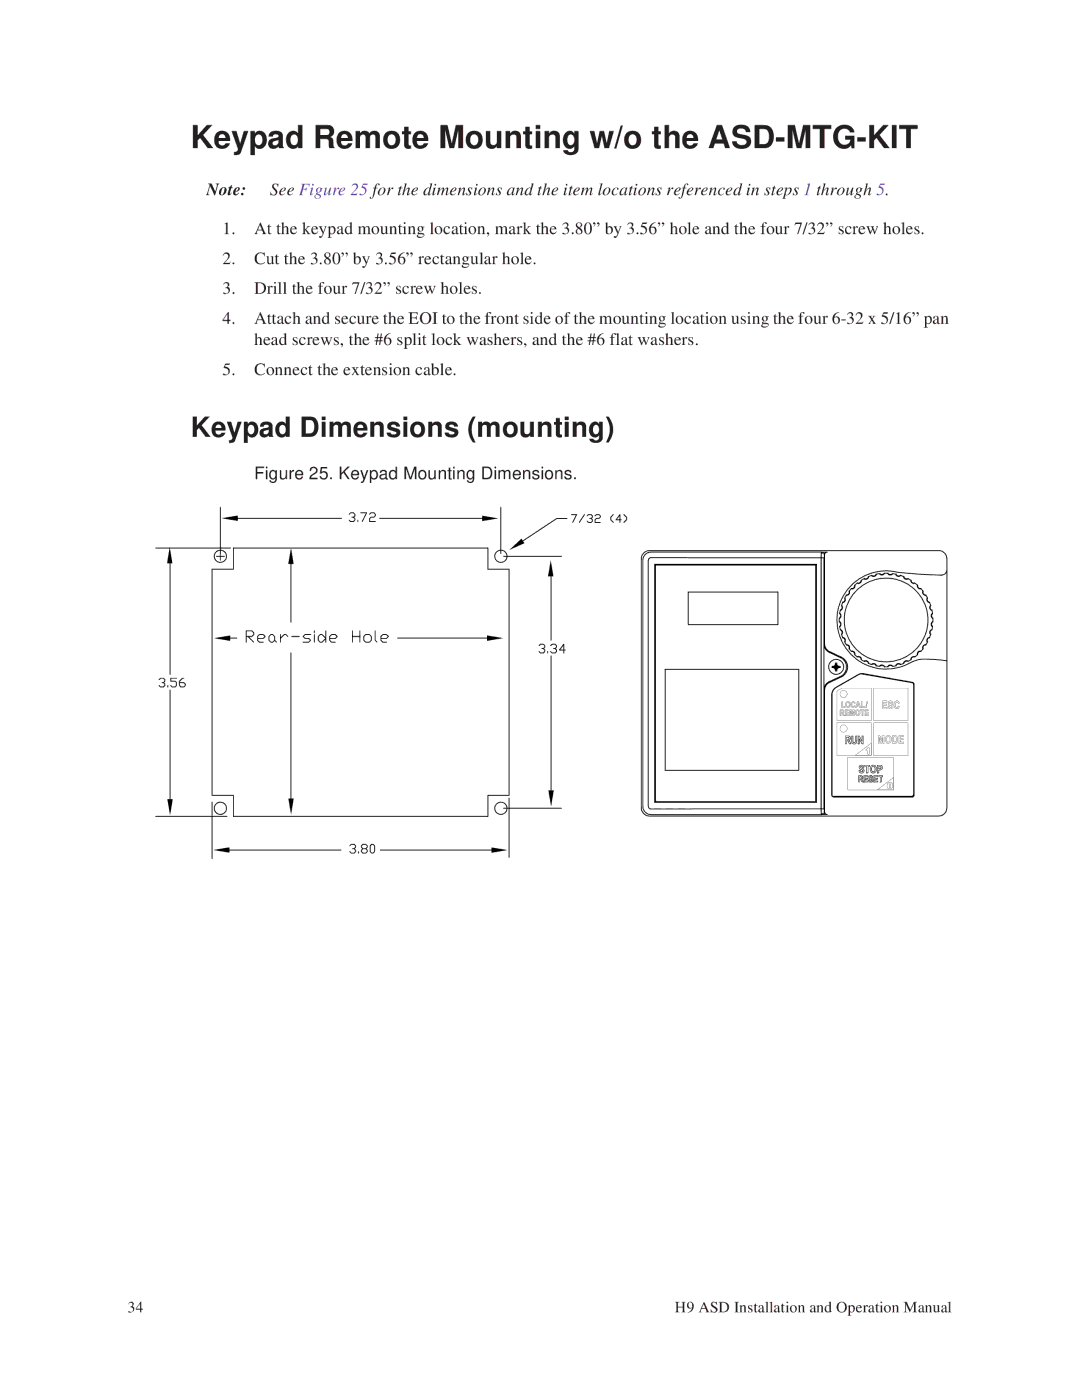
Note: See Figure 25 for the dimensions and the item locations referenced in steps 1 through 5.
1.At the keypad mounting location, mark the 3.80” by 3.56” hole and the four 7/32” screw holes.
2.Cut the 3.80” by 3.56” rectangular hole.
3.Drill the four 7/32” screw holes.
4.Attach and secure the EOI to the front side of the mounting location using the four
5.Connect the extension cable.
Keypad Dimensions (mounting)
Figure 25. Keypad Mounting Dimensions.
34 | H9 ASD Installation and Operation Manual |