Installing a Brocade | 3 |
NOTE
Because there are multiple power supply vendors, the LED layout on your DC power supply may differ from what is shown in Figure 123. However, the LED functions are identical.
Follow these steps to connect a DC power source.
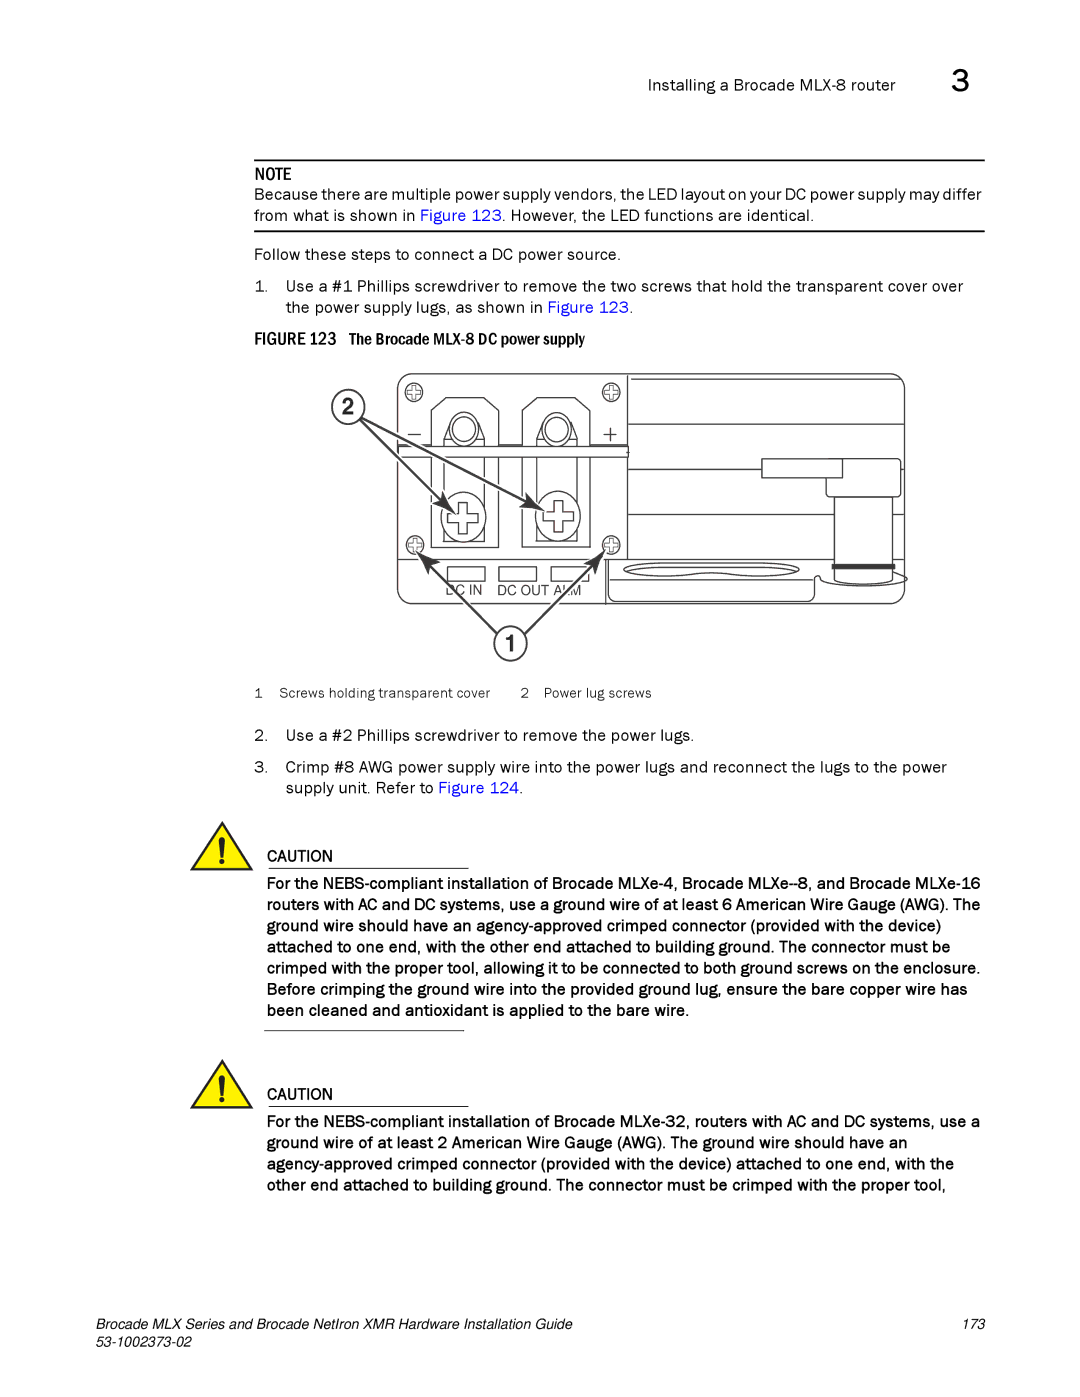
1.Use a #1 Phillips screwdriver to remove the two screws that hold the transparent cover over the power supply lugs, as shown in Figure 123.
FIGURE 123 The Brocade MLX-8 DC power supply
2
IN DC OUT
1
1 Screws holding transparent cover | 2 Power lug screws |
2.Use a #2 Phillips screwdriver to remove the power lugs.
3.Crimp #8 AWG power supply wire into the power lugs and reconnect the lugs to the power supply unit. Refer to Figure 124.
CAUTION
For the
CAUTION
For the
Brocade MLX Series and Brocade NetIron XMR Hardware Installation Guide | 173 |
|
|