Installing a Brocade | 3 |
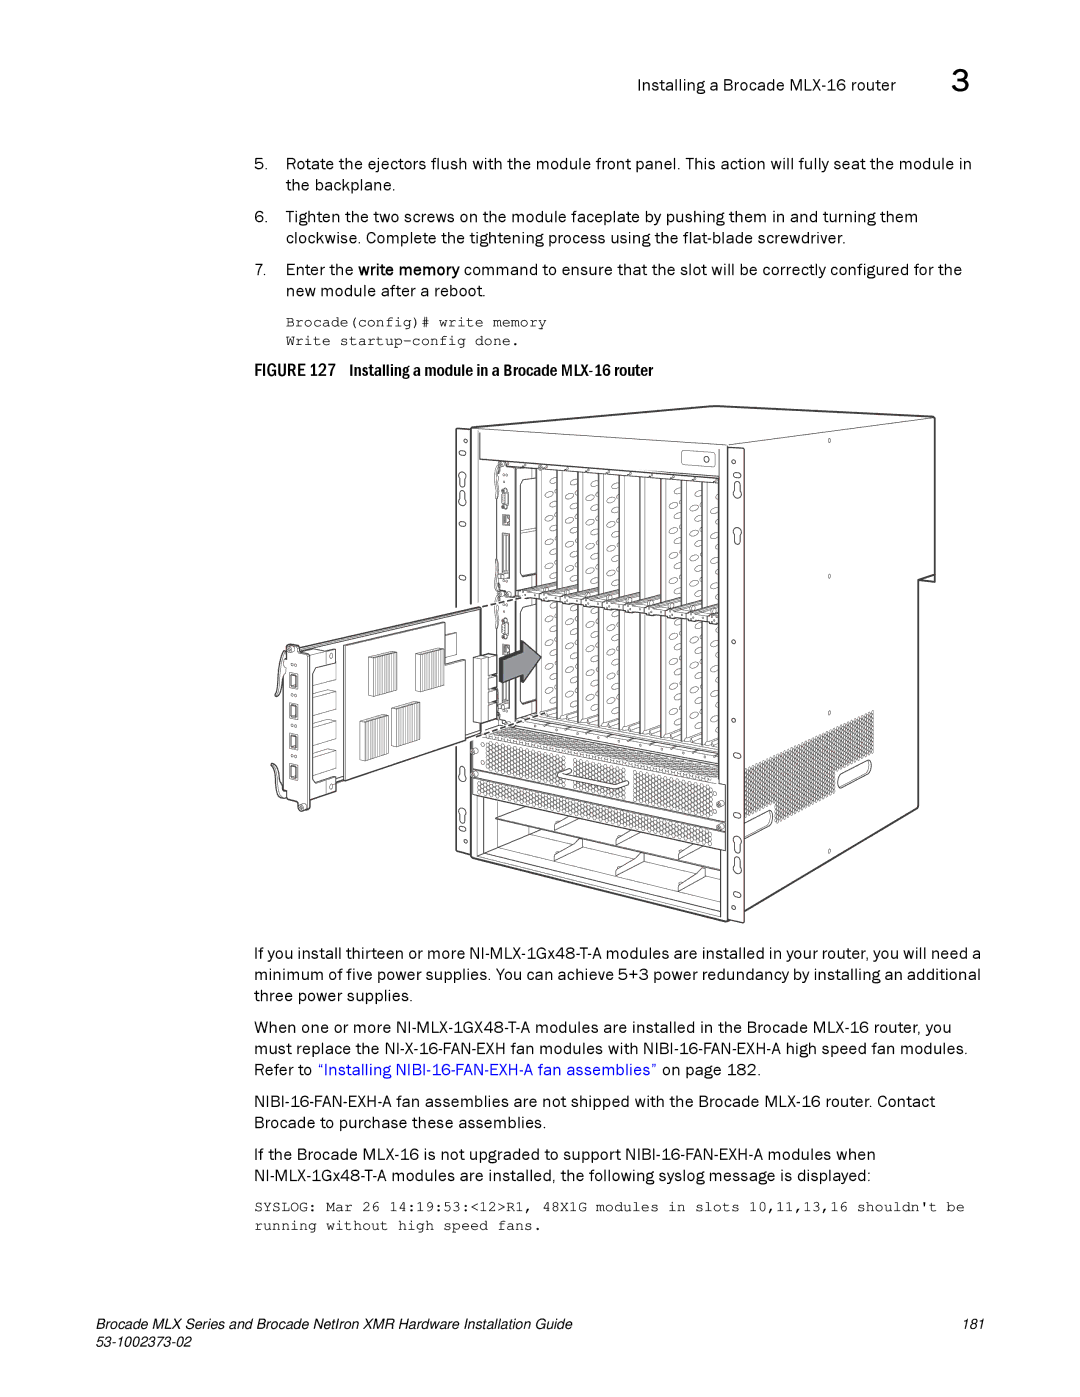
5.Rotate the ejectors flush with the module front panel. This action will fully seat the module in the backplane.
6.Tighten the two screws on the module faceplate by pushing them in and turning them clockwise. Complete the tightening process using the
7.Enter the write memory command to ensure that the slot will be correctly configured for the new module after a reboot.
Brocade(config)# write memory
Write startup-config done.
FIGURE 127 Installing a module in a Brocade MLX-16 router
If you install thirteen or more NI-MLX-1Gx48-T-A modules are installed in your router, you will need a minimum of five power supplies. You can achieve 5+3 power redundancy by installing an additional three power supplies.
When one or more NI-MLX-1GX48-T-A modules are installed in the Brocade MLX-16 router, you must replace the NI-X-16-FAN-EXH fan modules with NIBI-16-FAN-EXH-A high speed fan modules. Refer to “Installing NIBI-16-FAN-EXH-A fan assemblies” on page 182.
NIBI-16-FAN-EXH-A fan assemblies are not shipped with the Brocade MLX-16 router. Contact Brocade to purchase these assemblies.
If the Brocade MLX-16 is not upgraded to support NIBI-16-FAN-EXH-A modules when NI-MLX-1Gx48-T-A modules are installed, the following syslog message is displayed:
SYSLOG: Mar 26 14:19:53:<12>R1, 48X1G modules in slots 10,11,13,16 shouldn't be running without high speed fans.
Brocade MLX Series and Brocade NetIron XMR Hardware Installation Guide | 181 |
|
|