Installing a Brocade NetIron XMR 4000 router | 4 |
Follow these steps to connect DC power source:
NOTE
Due to multiple power supply vendors, the layout of the LEDs on your DC power supply may differ from what is shown in Figure 174, but their function is the same.
1.Use a #1 Phillips screwdriver to remove the two screws that hold the transparent cover over the power supply lugs, as shown in Figure 174. Remove the transparent cover.
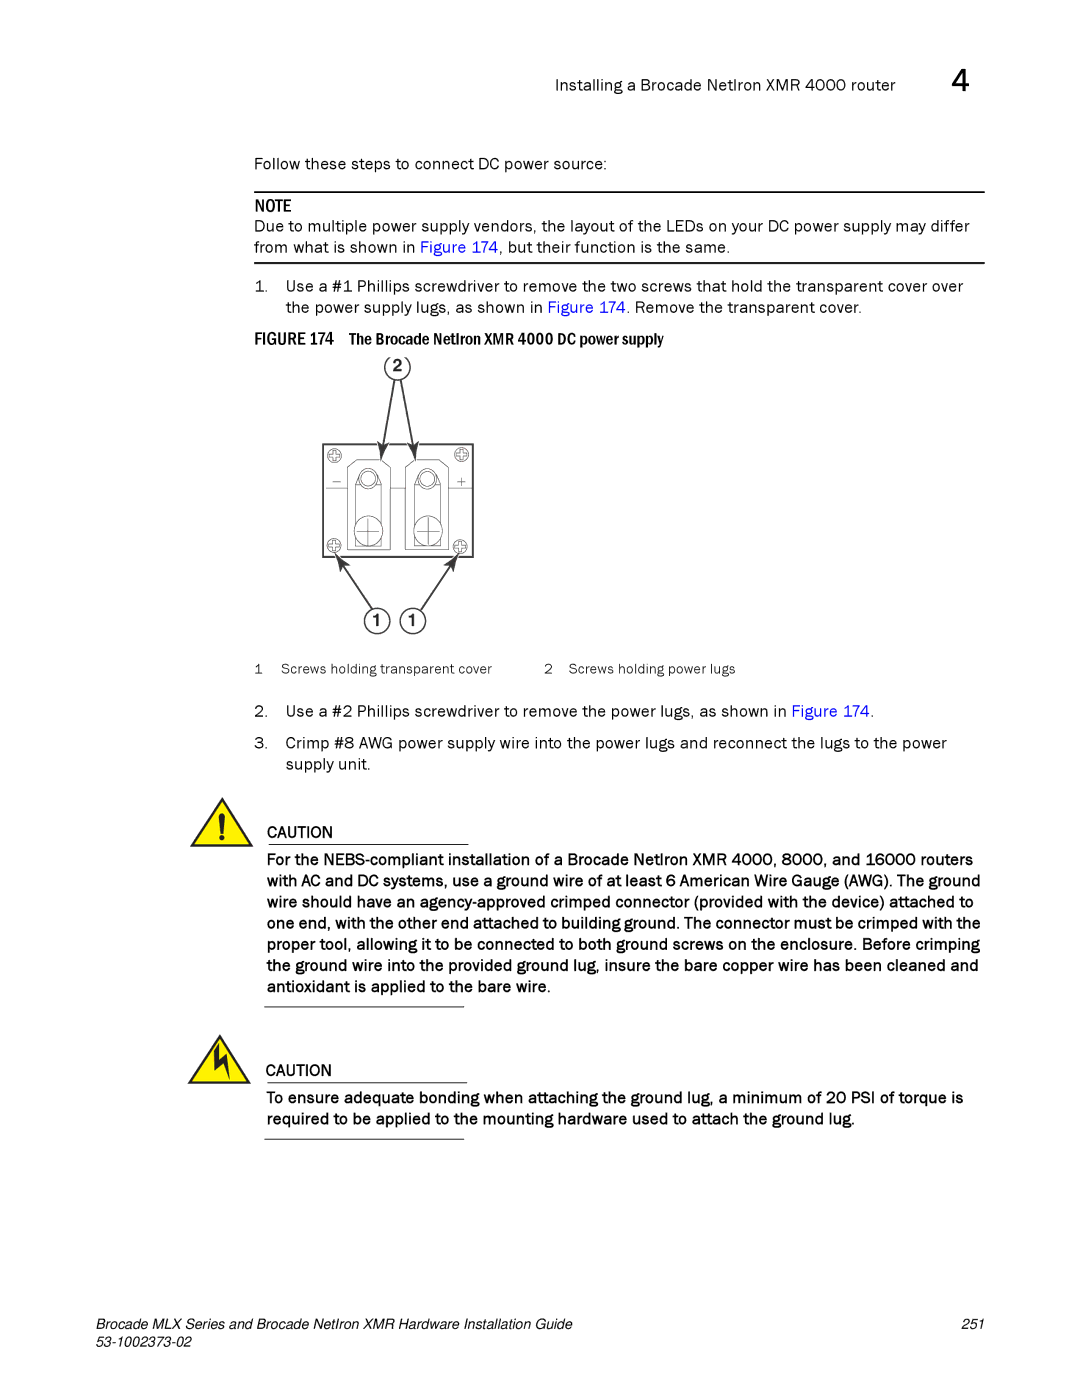
FIGURE 174 The Brocade NetIron XMR 4000 DC power supply
2 |
1 1
1 Screws holding transparent cover | 2 Screws holding power lugs |
2.Use a #2 Phillips screwdriver to remove the power lugs, as shown in Figure 174.
3.Crimp #8 AWG power supply wire into the power lugs and reconnect the lugs to the power supply unit.
CAUTION
For the
CAUTION
To ensure adequate bonding when attaching the ground lug, a minimum of 20 PSI of torque is required to be applied to the mounting hardware used to attach the ground lug.
Brocade MLX Series and Brocade NetIron XMR Hardware Installation Guide | 251 |
|
|