ES4710BD 10 Slots L2/L3/L4 Chassis Switch
front panel of the fan tray will lock automatically. Upon removal, hold the handle in the front panel of fan tray with your middle and ring fingers, press the locker slightly down, and the fan tray can be drawn out smoothly.
Note: The fan trays are installed on switch chassis shipment.
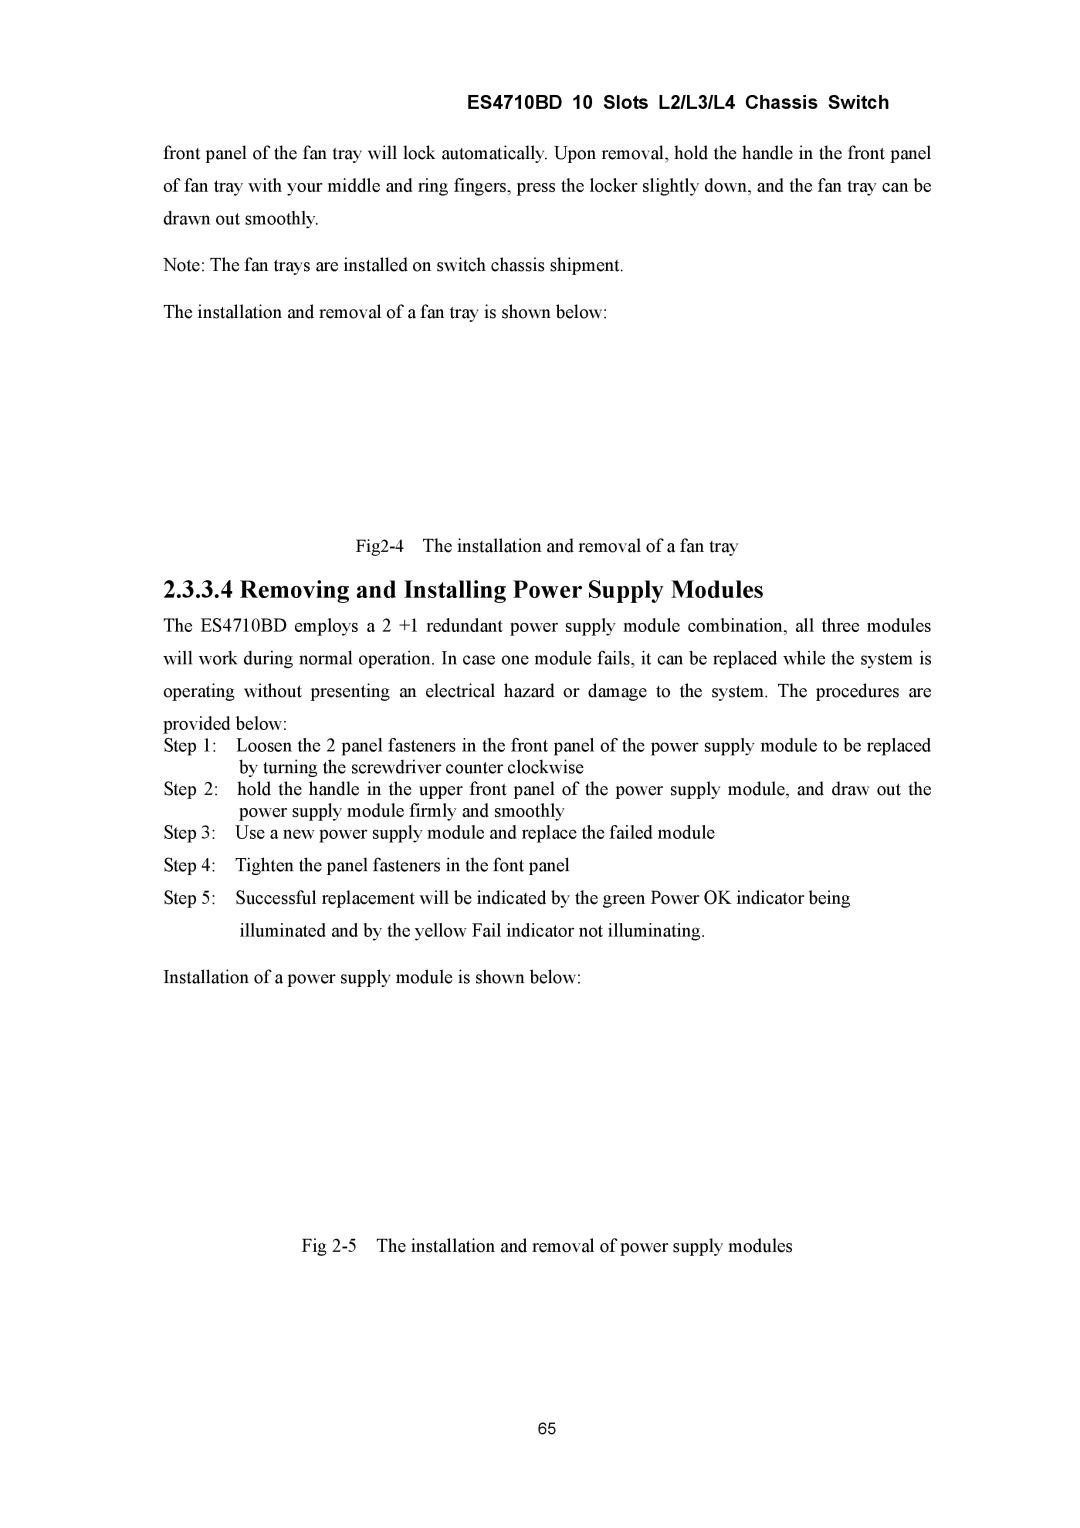
The installation and removal of a fan tray is shown below:
2.3.3.4 Removing and Installing Power Supply Modules
The ES4710BD employs a 2 +1 redundant power supply module combination, all three modules will work during normal operation. In case one module fails, it can be replaced while the system is operating without presenting an electrical hazard or damage to the system. The procedures are
provided below:
Step 1: Loosen the 2 panel fasteners in the front panel of the power supply module to be replaced by turning the screwdriver counter clockwise
Step 2: hold the handle in the upper front panel of the power supply module, and draw out the power supply module firmly and smoothly
Step 3: Use a new power supply module and replace the failed module
Step 4: Tighten the panel fasteners in the font panel
Step 5: Successful replacement will be indicated by the green Power OK indicator being illuminated and by the yellow Fail indicator not illuminating.
Installation of a power supply module is shown below:
Fig
65