Deleting ARP Table Entry
1Open the ARP Settings page
2Click Show All.
The ARP Table page opens.
3Select a table entry.
4Select the Remove check box.
5Click Apply Changes.
The selected ARP Table entry is deleted, and the device is updated.
Configuring ARP Using the CLI Commands
The following table summarizes the equivalent CLI commands for setting fields displayed in the ARP Settings page.
Table
CLI Command | Description |
|
|
arp ip_addr hw_addr {ethernet | Adds a permanent entry in the ARP cache. |
| |
|
|
arp timeout seconds | Configures how long an entry remains in the ARP cache. |
|
|
clear | Deletes all dynamic entries from the ARP cache |
|
|
show arp | Displays entries in the ARP Table. |
|
|
no arp | Removes an ARP entry from the ARP Table. |
|
|
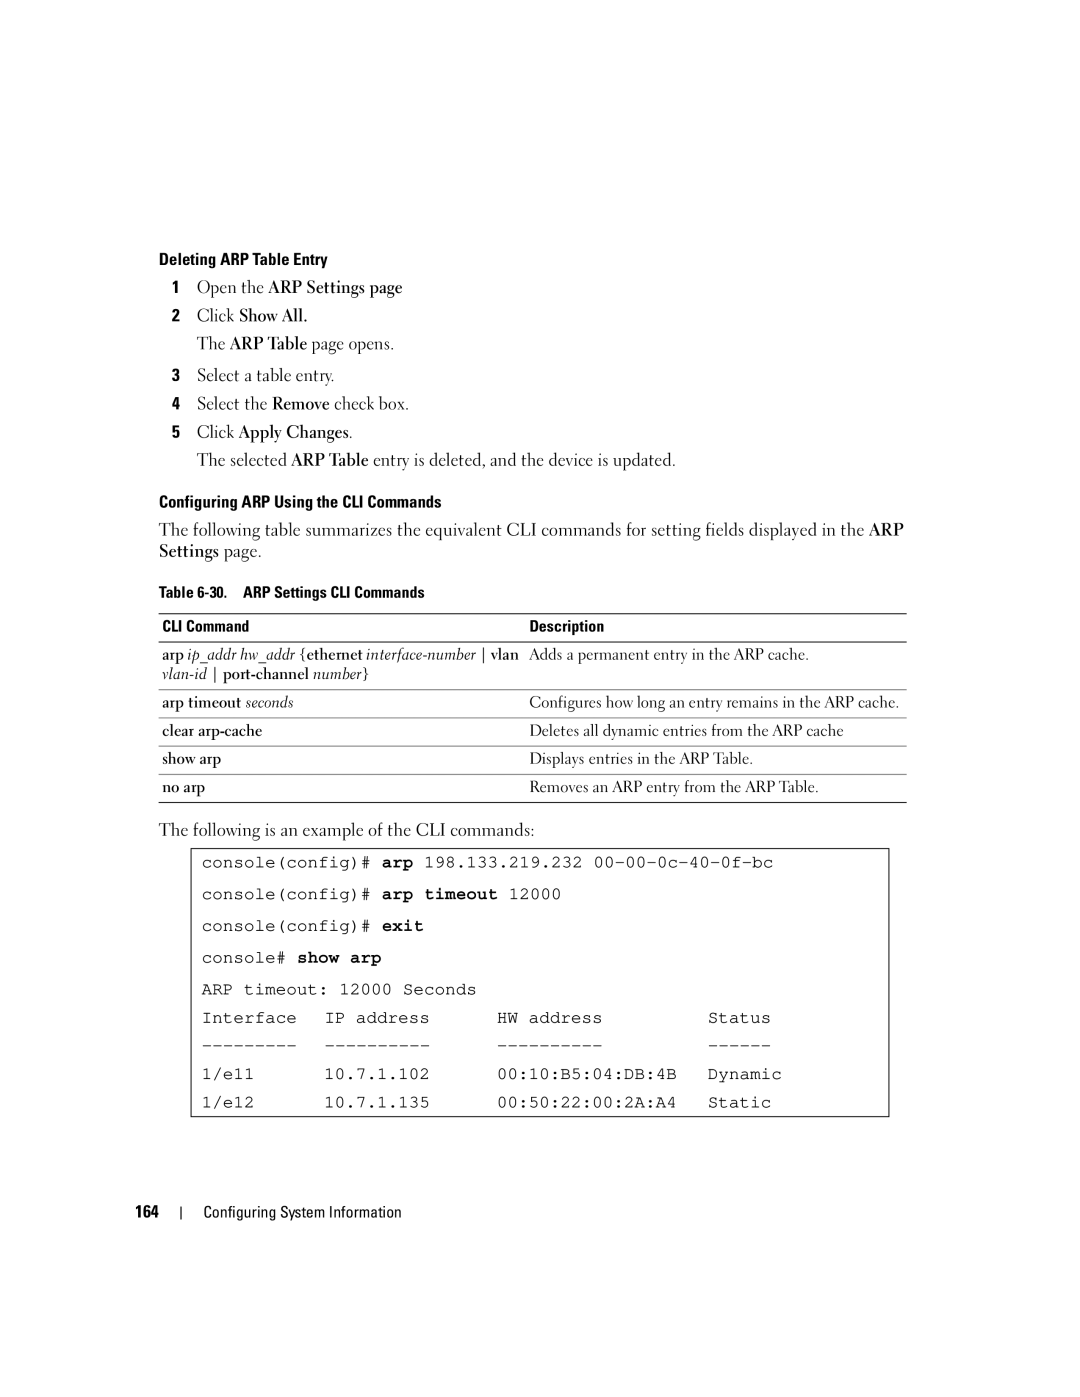
The following is an example of the CLI commands:
console(config)# arp 198.133.219.232
console(config)# exit |
|
| |
console# show arp |
|
| |
ARP timeout: 12000 Seconds |
|
| |
Interface | IP address | HW address | Status |
1/e11 | 10.7.1.102 | 00:10:B5:04:DB:4B | Dynamic |
1/e12 | 10.7.1.135 | 00:50:22:00:2A:A4 | Static |
