Installing the Device on a Wall
1Place the supplied
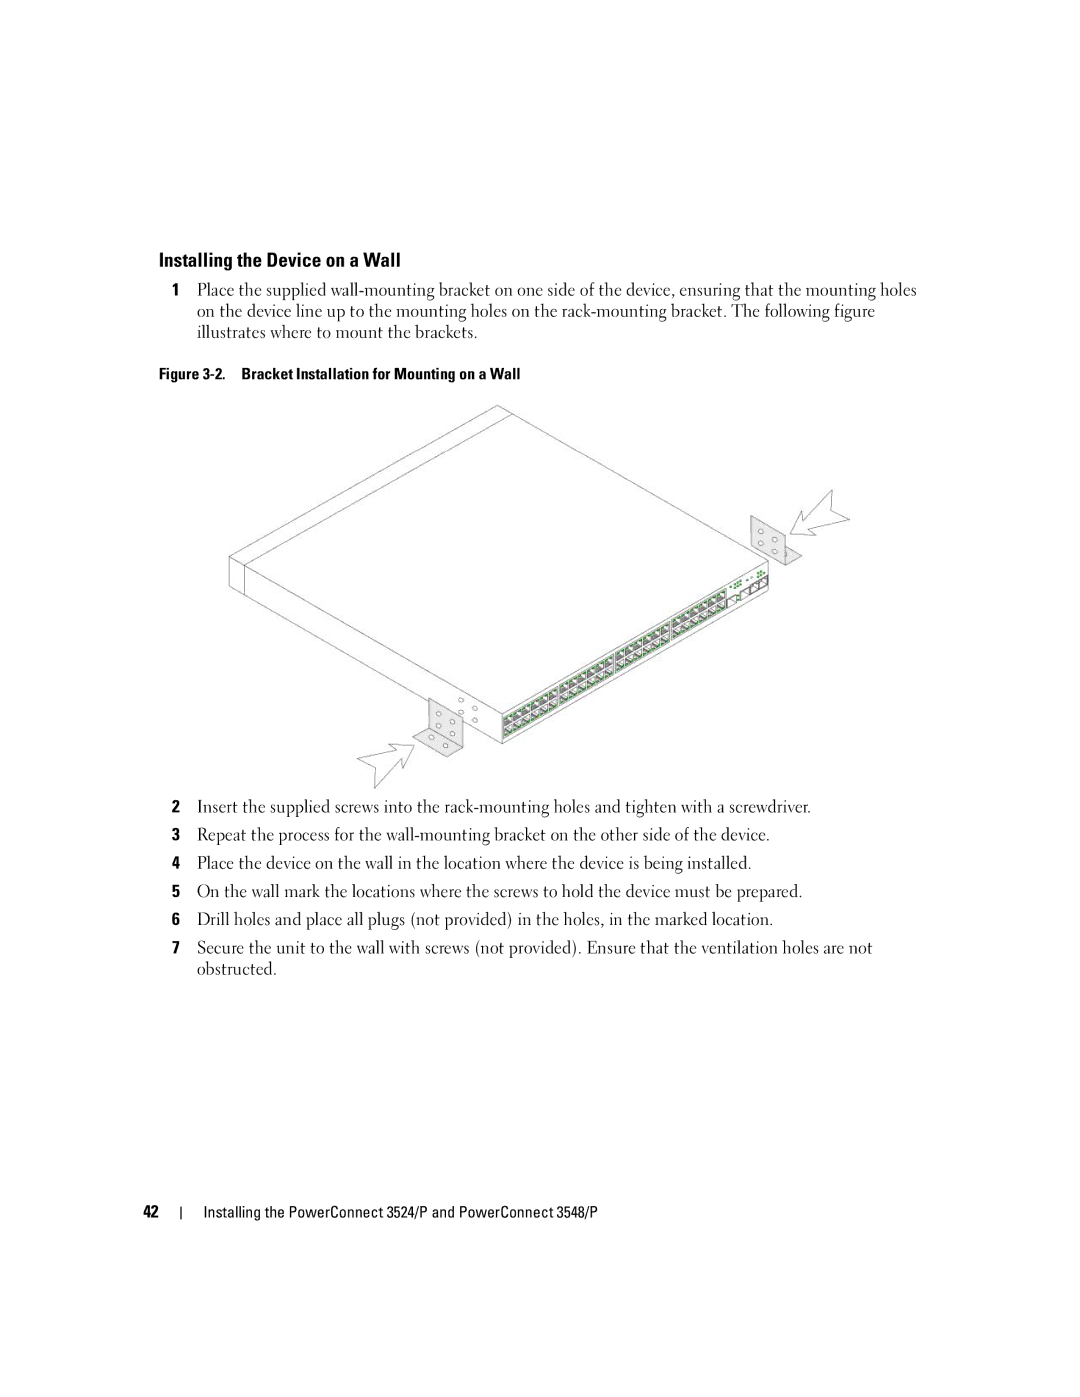
Figure 3-2. Bracket Installation for Mounting on a Wall
2Insert the supplied screws into the
3Repeat the process for the
4Place the device on the wall in the location where the device is being installed.
5On the wall mark the locations where the screws to hold the device must be prepared.
6Drill holes and place all plugs (not provided) in the holes, in the marked location.
7Secure the unit to the wall with screws (not provided). Ensure that the ventilation holes are not obstructed.
42
Installing the PowerConnect 3524/P and PowerConnect 3548/P